 carjourney
From the CarJourney journal
How to Photograph Your Project Car for Social Media
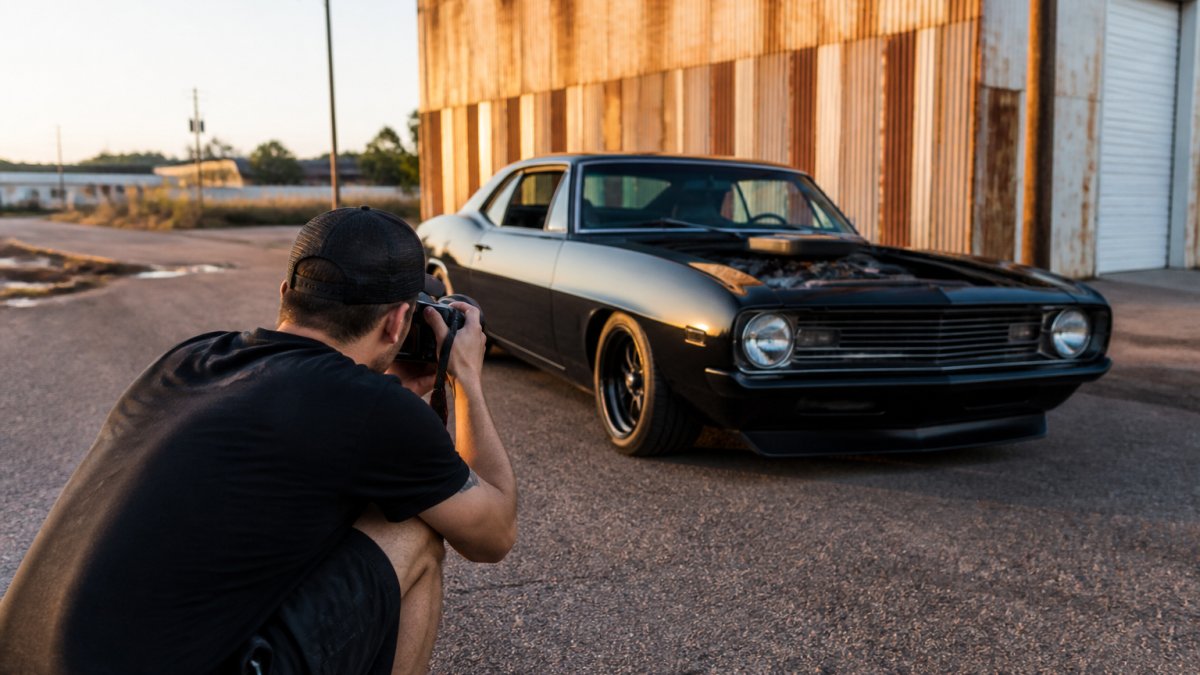
Table of Contents
- Step 1: Prep Your Project Car Before You Shoot
- Step 2: Car Photography With a Smartphone: Settings and Setup
- Step 3: Best Angles for Car Photography That Show Off Your Build
- Step 4: Shooting Project Car Progress Photos That Tell a Story
- Step 5: Location, Lighting, and Managing Shadows
- Step 6: Car Photo Ideas for Instagram and Platform-Specific Framing
- Step 7: Editing Workflow and Color Consistency Across Your Photo Set
- Common Mistakes to Avoid When Photographing Your Project Car
- Frequently Asked Questions
Last Updated: October 14, 2026
Step 1: Prep Your Project Car Before You Shoot
You can't fake a clean car in post. Before you learn how to photograph your project car for social media, spend 20 minutes on prep.
Start with the basics:
- Wash the car, then dry it with a microfiber towel
- Clean the wheels and tires last (they hold the most grime)
- Wipe down glass inside and out
One detail most guides skip: park the car on level ground and turn the front wheels slightly. A small turn shows more of the wheel face and makes the stance look intentional.
Pro Tip Shoot within an hour of cleaning. Dust settles fast, and brake dust returns the moment you drive. If you must move the car, wipe the wheels again before you start.Step 2: Car Photography With a Smartphone: Settings and Setup
Car photography with a smartphone is more capable than most owners realize. Your phone's camera can match a basic DSLR setup for social media if you control it properly. This section is built around smartphones, because that's what most project-car owners actually carry in their pocket while working in the garage.
Pick the Right Lens, Not the Closest One
Modern phones ship with multiple rear lenses. The one that matters for cars is the main wide lens, usually the 1x option. Here's how to choose:
- 1x main lens: Best default for full-car shots. Least distortion, sharpest sensor, best low-light performance.
- 0.5x ultrawide: Useful only for tight engine-bay or interior shots where you can't back up. It bends straight lines at the edges, so keep the car body out of the corners.
- 2x or 3x telephoto: Great for compressing a car against a background and isolating it from clutter. Ideal for detail shots across a parking lot.
Avoid digital zoom entirely. Pinching to 4x or 5x crops the sensor and destroys detail. If you need to get closer, walk closer. If you can't, switch to the telephoto lens and accept the tighter framing.
Lock Exposure and Focus Manually
Tap and hold on the car body until the AE/AF lock indicator appears. This stops the camera from hunting for focus when you change angles. Then drag the exposure slider down slightly. Most phones overexpose bright paint and chrome.
Locking exposure keeps your car photos consistent across a whole photo set. That matters later when you edit.
Turn On the Grid and Level the Horizon
Open your camera settings and turn on grid lines. The rule-of-thirds grid helps you place the car off-center and level the horizon.
If your phone has a level indicator or spirit-level overlay, enable it. A horizon that's off by two degrees is the single most common giveaway of an amateur car photo.
Shoot in the Highest Resolution and Best Format Your Phone Offers
Check your camera settings before you start:
- Resolution: Set the camera to the highest megapixel option available. On many phones this is a 48MP or 50MP mode that must be toggled on manually.
- Format: If your phone supports RAW or ProRAW, use it for hero shots. RAW preserves highlight and shadow detail that JPEG throws away, which matters when you're recovering chrome reflections or dark paint.
- HEIF vs. JPEG: HEIF saves space but some editing apps handle it poorly. If you plan to edit on a computer, switch to JPEG or RAW.
RAW files are larger, often 10 to 25 times the size of a JPEG, so clear storage before a shoot day.
Clean Your Lens Before Every Session
Pocket lint and fingerprints cause haze that looks like bad lighting. Wipe the lens with a soft microfiber cloth before every session. This one habit fixes more "bad phone photos" than any setting change.
Pro Tip If your phone has a case with a raised lip around the camera, check that it isn't catching light and creating a flare. Remove the case for hero shots when you can.Stabilize the Shot
Phone cameras default to fast shutter speeds in good light, but in shade or at dusk they slow down and blur creeps in.
A $15 phone tripod with a Bluetooth shutter is the single cheapest upgrade to phone car photography. It eliminates hand shake and lets you shoot from angles you can't hold.
Step 3: Best Angles for Car Photography That Show Off Your Build
The best angles for car photography put the car's strongest features forward. Every build has a good side. Your job is to find it.
The Front Three-Quarter and Car Face
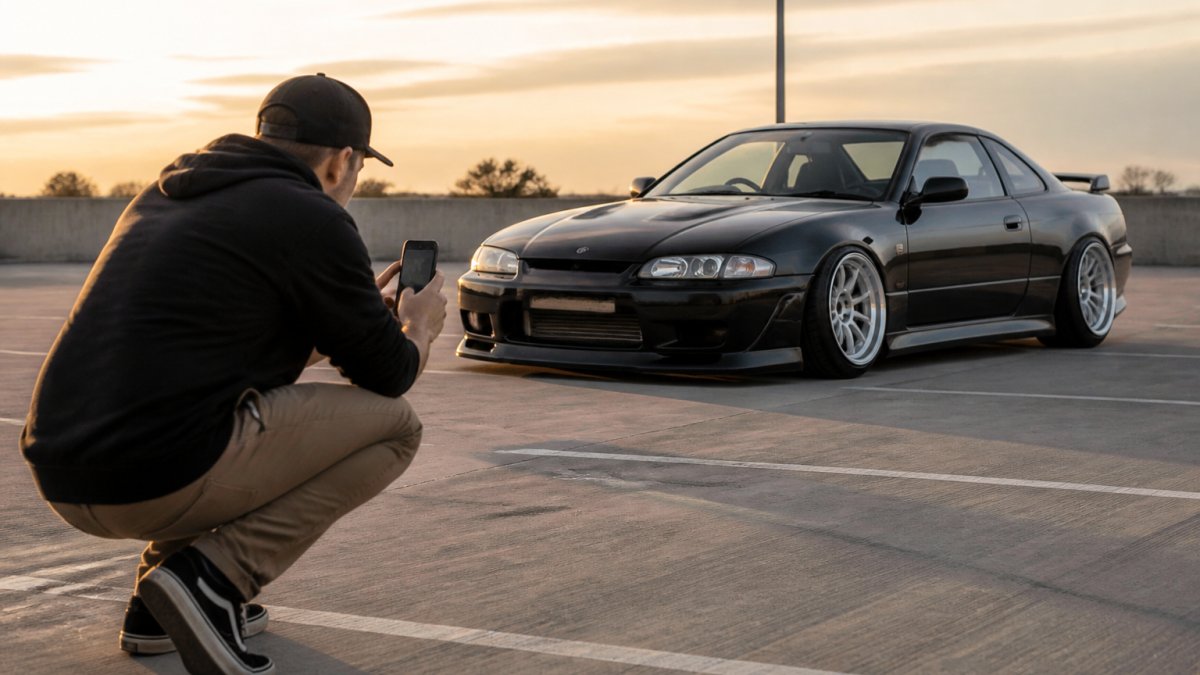
The front three-quarter view is the workhorse of automotive photography. Stand at the front corner and angle toward the car so two sides show at once.
Walk a full circle around the car first. Scout each corner and note where reflections land. Then pick the angle that hides flaws and highlights your mods.
Low Angles, Stomach-Level Shots, and Hillside Viewpoints
Get low. A stomach-level angle makes any car look wider and more aggressive. Crouch down, or kneel if you have to get dirty.
For variety, try a hillside viewpoint. Parking on a slope lets you shoot slightly downward while keeping the car's lines clean. Avoid shooting straight down from standing height, which flattens the whole car.
Step 4: Shooting Project Car Progress Photos That Tell a Story
Project car progress photos work best as a story, not a single hero shot. Buyers and followers want to see the journey, not just the finish.
Shoot the same angles every time you work on the car. Same corner, same height, same distance. When you stack those images side by side, the change is obvious.
Before-and-After Shots and Modification Details
Before-and-after pairs are the most shareable content you can post. Capture the "before" before you touch anything, even if the part looks rough.
For modifications, get close. A detail shot of a new intake, coilover, or wheel gap shows craft that a wide shot misses. Shoot from two or three feet away and fill the frame with the part.
Key Takeaway Consistency beats creativity here. If you shoot the same five angles after every work session, you build a visual timeline that proves the build's progress without a single caption.Step 5: Location, Lighting, and Managing Shadows
Natural light is your best tool, and harsh shadows are your biggest enemy.
Shoot during the golden hour, the first hour after sunrise or the last hour before sunset.
Look at your surroundings before you shoot.
Managing shadows comes down to one habit: keep the sun behind you or to your side.
Watch Out Shooting at noon on a sunny day creates harsh shadows under the car and blown-out highlights on the roof. If you can only shoot midday, find open shade or a covered structure instead.Step 6: Car Photo Ideas for Instagram and Platform-Specific Framing
Car photo ideas for Instagram should match the platform's frame. Every social platform crops images differently, and a shot that looks great on one feed can get chopped in half on another. Shoot with the crop in mind, and you'll never have to re-shoot for a different app.
Know the Crop Before You Shoot
Here's what each major platform actually displays:
- Instagram feed: Vertical 4:5 is the tallest format that fills the most screen real estate. Square 1:1 still works for grid consistency. Landscape 1.91:1 is allowed but gets the least vertical space.
- Instagram Stories and Reels: Vertical 9:16, full screen. Keep the car in the center third, the top and bottom get covered by UI elements.
- TikTok: Vertical 9:16. Same center-safe rule applies.
When you shoot, leave headroom above and below the car. A vertical 4:5 crop of a horizontal shot loses the front and rear bumpers if you framed too tight.
Build a Carousel That Tells a Story
Carousels outperform single images for build content because they reward the swipe. A sequence that works:
- Hero shot, the full car, front three-quarter, best light. This is the hook.
- Detail shot, the modification you're proudest of. Wheels, intake, interior stitch.
- Before shot, the same angle from before the work started.
- After shot, matched to the before, same angle, same distance.
- Process shot, mid-wrench, hands dirty, parts on the ground. This is the one people save and share.
- Close, a wide environmental shot or a teaser of what's next.
Keep the sequence to 5 to 10 slides. Instagram allows up to 20, but engagement drops sharply after slide 10 for most accounts.
Match the Aspect Ratio to the Shot Type
Not every photo belongs in the same crop:
- Full-car hero shots: Vertical 4:5 for feed, 16:9 for YouTube thumbnails and forum posts.
- Detail shots: Square 1:1 crops cleanly and works across every platform without re-framing.
- Before-and-after pairs: Side-by-side in a single square or 4:5 frame. Don't post them as separate slides, the comparison loses its punch.
Publishing Mechanics That Affect How Your Photos Look
A few platform rules change how your image renders once it's uploaded:
- Compression: Every platform re-compresses uploads. Shoot at the highest resolution you can and upload the largest file the app accepts. Instagram historically caps around 1440 pixels wide; uploading larger gives the algorithm more to work with.
- Color profiles: Convert to sRGB before uploading. Adobe RGB and ProPhoto RGB files can shift color when the platform converts them.
- Alt text: Add a short description to each image. It helps accessibility and gives the platform more context about the photo's subject.
Post Consistently, Not Constantly
A steady schedule of build updates keeps followers engaged and grows your audience faster than one viral post. Two to three posts a week with real progress beats daily filler. Save the hero shots for milestones, engine start, first drive, paint, and use process shots to fill the gaps between them.
Key Takeaway Shoot vertical, crop square, and always capture a horizontal version of your best hero shot. One session, three formats, every platform covered.Step 7: Editing Workflow and Color Consistency Across Your Photo Set
A consistent edit makes a scattered photo set look like one body of work. Pick a look and repeat it every time.
Your workflow can stay simple:
- Crop and straighten the horizon
- Adjust exposure and contrast
- Warm or cool the white balance to match the car's paint
- Reduce highlights to recover chrome detail
- Apply the same preset to every shot in the set
Save your settings as a preset.
If you're documenting the build for resale, this visual record pairs well with a written log. CarJourney tracks maintenance and modifications in one digital garage.
Common Mistakes to Avoid When Photographing Your Project Car
Most bad car photos share the same handful of mistakes. Fix these and your shots improve immediately.
- Shooting at high noon and fighting harsh shadows
- Standing straight up instead of getting low
- Leaving a cluttered background in the frame
One more: don't wait for the build to be finished. Some of the best project car content happens mid-wrench, when the car still looks rough. Document the mess.
Best For Owners who work on their cars in stages and want a visual record that doubles as proof of care for a future sale.Frequently Asked Questions
How do you take good photos of a car for social media?
Start by cleaning the car and choosing a simple background with no clutter. Shoot during golden hour for soft, even lighting. Use the best angles for car photography: front three-quarter, low angles, and close-up detail shots of wheels, badges, and engine work. Take more photos than you need, then edit for consistent color and exposure before posting. A varied photo set keeps your audience engaged and shows the full story of your project car.
What is the best time of day to photograph a car?
The first hour after sunrise and the last hour before sunset give you soft, warm light that flatters paint and chrome without harsh shadows. Overcast days also work well because the cloud cover acts as a giant diffuser, eliminating blown highlights. Avoid midday sun when shadows are sharp and contrast is high. If you must shoot at noon, park the car in open shade and adjust your exposure manually to keep the paint looking even.
How do you photograph a car with a phone?
Turn on your phone's grid lines to keep horizons level. Tap and hold on the car to lock focus and exposure, then drag the exposure slider down slightly to protect highlights on paint and glass. Shoot in the native camera app for the best quality, and avoid digital zoom. Get low for dramatic angles, and walk around the car to scout every side before you start shooting. Clean the lens first; it makes a bigger difference than most people realize.
How often should you post project car updates?
Consistent posting matters more than frequency. Two to three posts per week works well for most project car accounts, whether that is a single hero shot, a carousel of progress photos, or a short video clip. Batch your shooting sessions so you always have content ready. Document milestones like new parts, paint work, or dyno runs as they happen. Consistency builds followers and engagement over time, and a documented build history also helps you track progress and share your car's story when you sell.
Most builds have a story worth showing, but scattered photos and receipts rarely tell it well. CarJourney keeps your maintenance logs, modification records, and progress photos in one digital garage. With VIN-based setup, AI-powered logs, and shareable build profiles, you can turn documented upgrades into a history buyers trust. Start free with CarJourney and give your project car the record it deserves.
Start free