 carjourney
From the CarJourney journal
7 Tips for Calculating Vehicle Modification Costs
Table of Contents
- Start With a Car Build Cost Breakdown by Category
- Build a Car Modification Budget Spreadsheet That Reflects Real Shop Rates
- Use a Car Modification Cost Calculator to Pressure-Test Your Numbers
- Account for Hidden Costs That Blow Up Vehicle Modification Costs
- DIY vs Professional Installation: Run the Real Numbers
- Tracking Car Modifications for Insurance and Resale
- Conclusion: Make the Budget a Living Document
- Frequently Asked Questions
Last Updated: October 16, 2026
Start With a Car Build Cost Breakdown by Category
Most build budgets fail in the same place: the owner adds up the big-ticket parts, feels good about the number, and then watches it grow by half again once the car is on the lift. A realistic car build cost breakdown starts with three buckets, not one.
Parts, Labor, and Fees: The Three Buckets
Parts covers the hardware you bolt on: the turbo kit, the coilovers, the wheels and tires, the exhaust, the intake. This is the easy bucket to price because vendors publish it.
Labor is the hours someone spends installing, fabricating, tuning, and re-checking the work. Shop rates vary widely by region and by specialty, so a general repair shop and a performance fabricator will quote the same job very differently.
Fees are the costs that never show up on a parts invoice:
- Sales tax on parts and on labor, depending on your state
- Shipping and core charges on heavy items
- Disposal fees for old fluids, tires, and catalytic converters
Why Sequencing Changes the Total
Order matters more than most people expect. Installing a bigger turbo before upgrading the fuel system means paying for the turbo install twice, once now and once after the supporting parts arrive.
A simple rule: any modification that requires the same disassembly as another should be scheduled together. That single decision can remove hours of billed time from the project.
Build a Car Modification Budget Spreadsheet That Reflects Real Shop Rates
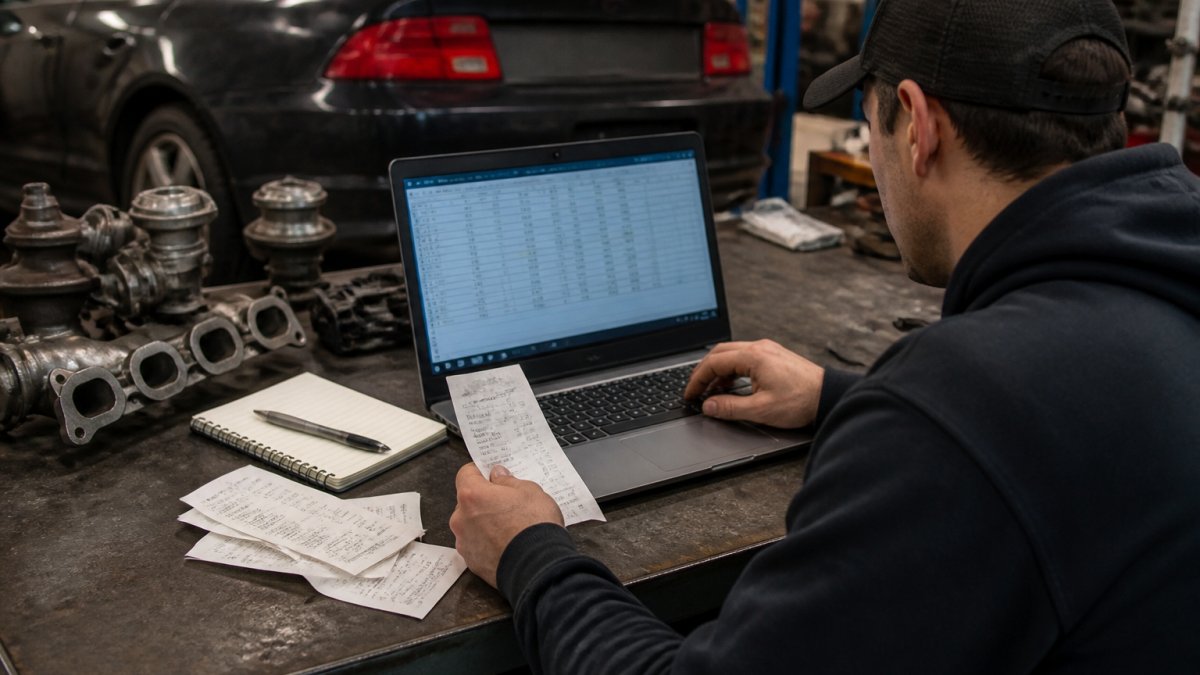
A car modification budget spreadsheet is only useful if the labor column uses your local shop's actual hourly rate, not a national average you found online.
Step 1: List Every Modification as Its Own Row
Start by writing one row per upgrade, even the small ones. A short-throw shifter, a catch can, and a set of lug nuts all belong on the sheet, because they add up faster than owners expect. Group the rows by system so you can see which jobs share disassembly: engine and drivetrain, suspension and steering, wheels and tires, brakes, exterior, interior, and electronics.
Step 2: Fill the Columns That Drive the Total
Build the sheet with these columns, one row per modification:
| Column | What Goes In It | Why It Matters |
|---|---|---|
| Modification | Name of the upgrade | Keeps the list readable |
| Parts cost | Quoted price from the vendor | Your baseline number |
| Supporting parts | Related items the job forces | Prevents double-paying labor |
| Shop hours | Estimated hours for the job | The most underestimated field |
| Labor rate | Your local shop's hourly rate | Regional rates differ a lot |
| Subtotal | Parts + supporting parts + (hours x rate) | Your per-job number |
| Fees and tax | Tax, shipping, disposal, dyno | The silent budget killer |
| Running total | Sum of every row above | Your true project number |
Step 3: Price the Labor Line With Real Shop Rates
Labor is where estimates break. A general repair shop and a performance fabricator will quote the same job very differently, and specialty work such as fabrication, corner-balancing, or dyno tuning often carries a higher hourly rate than routine repair. When you call shops, ask three questions: what is your hourly rate for performance work, do you bill by the job or by the clock, and do you charge a separate rate for tuning or fabrication.
Step 4: Add a Contingency Line and Leave It Alone
Add a contingency row at the bottom of the sheet and treat it as a real cost, not a cushion. A common approach is to set aside a percentage of the total for the unexpected: a seized bolt, a cracked mount, a part that does not fit without fabrication, or a tune that needs a second session.
Then leave it alone. If you spend the contingency on a set of wheels you did not plan for, you have not planned for anything.
Step 5: Pressure-Test With a Worked Example
Here is how the sheet looks for a simple, common job: lowering springs and a set of wheels on a five-year-old sport compact.
- Lowering springs: parts $300, supporting parts (adjustable rear arms to bring alignment back into spec) $250, shop hours 4, labor rate $120/hr = $480, subtotal $1,030
- Wheels and tires: parts $1,400, supporting parts (hub-centric rings, lug nuts) $60, shop hours 1.5, labor rate $120/hr = $180, subtotal $1,640
- Alignment after the drop: flat fee $150
Running total: about $3,450. Notice that the parts alone were $1,700, but the real cost of the job is roughly double that once labor, supporting parts, alignment, tax, disposal, and contingency are counted. That gap is exactly what the sheet exists to expose.
Pro Tip Log every quote the day you receive it. Vendor pricing and shop rates move, and a quote from three months ago is not a budget line, it is a memory.Step 6: Update the Sheet After Every Invoice
A budget that never changes is a budget that is already wrong. After each job, replace the estimate with the actual invoice number, note any supporting parts you had to buy on the spot, and check whether the contingency line still holds. Over two or three jobs, your own history becomes the most accurate labor estimate you have, because it reflects your car, your shop, and your state's tax rules rather than a national average.
Use a Car Modification Cost Calculator to Pressure-Test Your Numbers
A car modification cost calculator is a quick sanity check, not a replacement for your spreadsheet. Run your parts total and your labor estimate through one, then compare the output to your sheet.
Here is where most online calculators fall short:
- They use a single national labor rate instead of your local shop rate
- They ignore supporting modifications that a job forces
- They skip tax, shipping, and disposal
Use the calculator to spot gaps, then go back to the sheet and fill them in. The sheet wins every argument because it reflects your car, your shop, and your state's tax rules.
Account for Hidden Costs That Blow Up Vehicle Modification Costs
Hidden costs are what separate a build that finishes from one that sits on jack stands for a year. Vehicle modification costs climb fastest in three areas: parts that a modification forces you to buy, government fees and taxes you did not know applied, and the regional labor-rate differences that make the same job cost different amounts in two different states.
The Support Chain: One Upgrade Forces the Next
Every major upgrade has a support chain, and the chain is where budgets break. A larger turbo needs more fuel, which needs a stronger pump and bigger injectors, which may need a new tune.
Check compatibility before you buy anything. Confirm the part fits your exact year, trim, and drivetrain. A part that "fits the model" often does not fit your engine code.
Taxes, Fees, and Disposal
Sales tax applies to parts and, in most states, to labor as well. Rates differ by state and sometimes by county, so check your state's department of revenue for the current rate rather than guessing. state sales tax rates and rules
Disposal is the other quiet cost. Used tires, oil, coolant, and catalytic converters all carry a disposal or recycling charge. Ask the shop whether disposal is included in the quote or billed separately.
Regional Labor Rates Change the Same Job
Labor is not a fixed number. A performance shop in a high-cost metro area may charge well above the rate a rural shop charges for the same job, and specialty work such as fabrication, tuning, or alignment often carries a premium over routine repair. Two owners with identical parts lists can see their totals diverge by hundreds or thousands of dollars purely because of where the work is done.
Contingency: The Line That Saves the Build
Contingency is not a cushion, it is a cost. Set aside a percentage of the project total for the unexpected: a seized bolt, a cracked mount, a part that does not fit without fabrication, or a tune that needs a second session. Most practitioners find that a contingency in the range of ten to twenty percent of the project total covers the typical surprises on a moderate build, with the higher end reserved for older vehicles or jobs that touch the engine internals.
Key Takeaway Budget the support chain, the fees, and the contingency before you buy the first part. The headline price of a modification is rarely the price you pay.DIY vs Professional Installation: Run the Real Numbers
DIY saves the labor line, but only if you already own the tools and have the space.
Run both columns side by side:
- Professional: quoted hours times shop rate, plus a warranty on the work
- DIY: parts only, plus tool purchases, plus your weekends, minus any warranty
For bolt-on work with basic hand tools, DIY usually wins on cost. For anything involving tuning, fabrication, alignment, or safety-critical systems like brakes and suspension geometry, professional installation is the cheaper choice once you price in the risk of doing it twice.
Tracking Car Modifications for Insurance and Resale
Tracking car modifications for insurance and resale is not paperwork for its own sake. Insurers need to know about changes that affect the vehicle's value or risk profile, and buyers pay more for a build with a documented history.
This is where CarJourney fits naturally. Our VIN-based setup pulls your vehicle's details automatically, and every upgrade, service, and receipt lives in one digital garage instead of a shoebox.
Best For Enthusiasts running one or more project cars who want every modification, receipt, and service milestone in a single searchable log rather than scattered photos and paper folders.Conclusion: Make the Budget a Living Document
A build budget that never changes is a budget that is already wrong. Parts prices move, shop rates rise, and every project turns up at least one surprise once the car is apart.
CarJourney makes that habit easy. Log modifications as you install them, attach receipts and photos, set reminders tied to both time and mileage, and keep a shareable build profile ready for the day you sell.
Frequently Asked Questions
How do you estimate labor costs for car modifications?
Start by calling three local shops and asking their hourly rate, then ask how many hours they bill for the specific job. Independent shops often charge less than dealerships, but rates vary by region. Multiply the quoted hours by the rate, then add 10 to 15 percent for surprises like seized bolts or missing hardware. If you are tracking car modifications for insurance, keep the written estimates; they become proof of what you paid.
What hidden costs should you include in a car modification budget?
Beyond parts and labor, plan for supporting modifications, taxes, shipping, core charges, and disposal fees. A lift kit often requires new alignment hardware; a turbo may need a larger fuel pump and tuning. Add a contingency line of 15 to 20 percent of the total. If you finance any part of the build, include interest. These items rarely appear in advertised prices, but they show up on the final bill.
Do car modifications increase or decrease resale value?
It depends on the buyer and the modification. Tasteful, well-documented upgrades like a quality suspension or brake kit can add value to an enthusiast. Extreme or poorly executed changes often narrow your buyer pool and lower offers. Keep every receipt and photo. A shareable build profile that shows the work and parts helps a buyer trust the car.
How should you track modification costs for insurance and resale?
Log every part, labor hour, and fee as you go, not months later. Store receipts and photos in one place, either a folder or a digital garage app. For insurance, ask whether your policy covers aftermarket parts and whether you need to add riders. For resale, a clean cost history proves care and justifies your price. Update the log after each install so nothing gets lost.
A car build rarely fails because the owner lacked ambition. It fails because the budget was built on parts prices alone and never updated. CarJourney gives you one place to log every modification, track receipts against your estimate, and prove the work when it is time to sell, with AI-powered logs, VIN-based setup, and shareable build profiles. Get started with CarJourney and keep your project on the road instead of on jack stands.
Start free