 carjourney
From the CarJourney journal
How to Check Tire Pressure Correctly
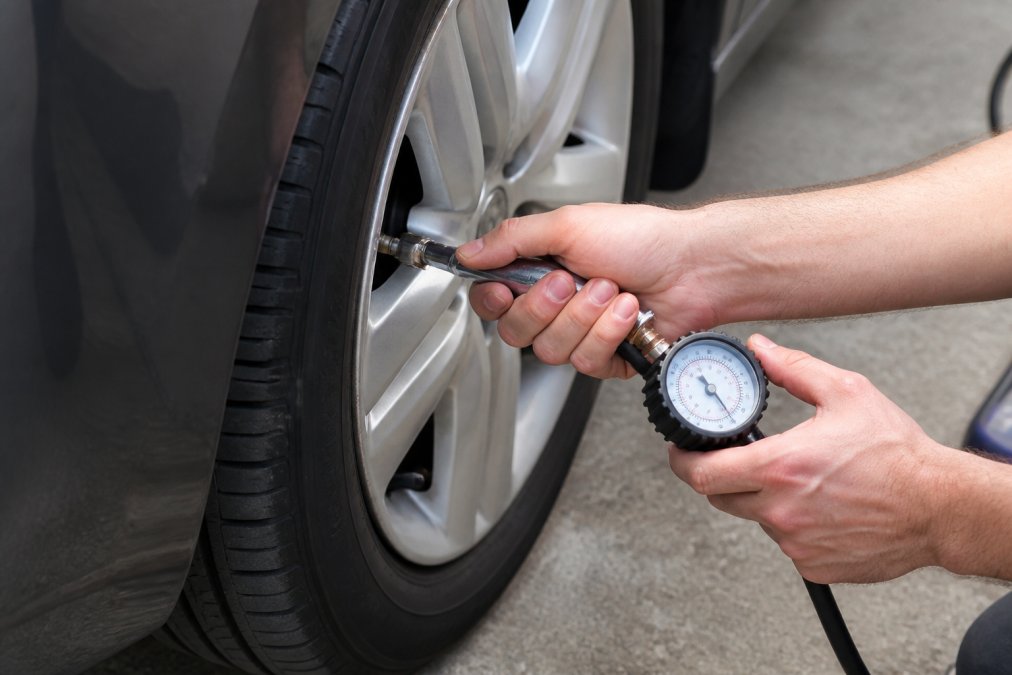
Table of Contents
- Why Checking Tire Pressure Correctly Matters
- Find Your Recommended Tire Pressure PSI
- Pick the Best Tire Pressure Gauge for Accuracy
- Step-by-Step: How to Check Tire Pressure Correctly
- Cold vs. Hot Readings: The 4 PSI Rule
- Tire Pressure Warning Light Meaning and What to Do
- Common Mistakes and Troubleshooting
- Final Checklist for Proper Tire Maintenance
- Frequently Asked Questions
Last Updated: September 5, 2026
Why Checking Tire Pressure Correctly Matters
Driving on improperly inflated tires is one of the most common yet preventable risks on the road. Checking tire pressure correctly is more than a maintenance ritual; it directly affects your safety, your fuel budget, and how long your tires last. The National Highway Traffic Safety Administration has studied real-world driver habits and found that a surprising number of vehicles operate with at least one significantly under-inflated tire, a condition that compromises handling and increases the risk of a blowout NHTSA Tire Pressure Special Study findings.
Tire pressure is a frequently overlooked item on many service schedules. The process takes under five minutes once you know what you're doing.
Find Your Recommended Tire Pressure PSI
The recommended tire pressure PSI for your vehicle is not printed on the tire itself; the sidewall number is the maximum pressure the tire can hold, not what your car needs. The correct figure is on the vehicle placard, typically on the driver's side door jamb, inside the fuel door, or in the owner's manual.
This placard lists the cold tire pressure for both the front and rear axles, which often differ. For most passenger cars and SUVs, this figure falls between 30 and 35 PSI, but you must use the number specific to your vehicle. Always defer to the placard.
Pick the Best Tire Pressure Gauge for Accuracy
The gauge you choose determines whether your reading is trustworthy. Accuracy varies meaningfully across the three main types: digital, analog dial, and pencil. Here is what actually separates them, including the failure modes that lead to false readings.
How to check Tyre Pressures on your Car - How to check Tire Pressures on your Car
Lurgs How To Guides
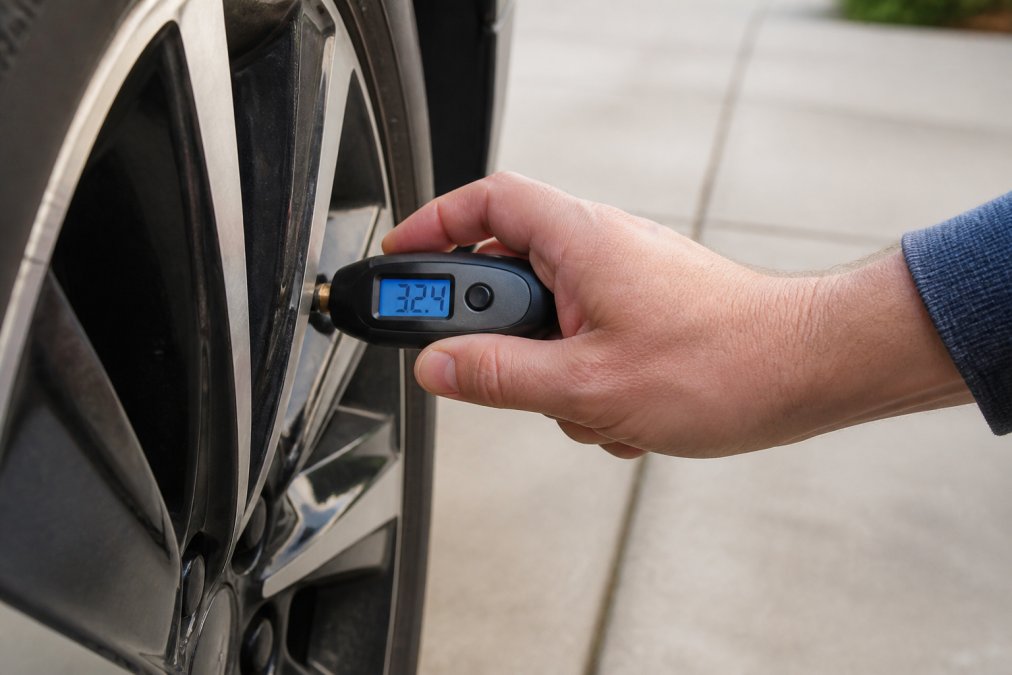
Digital gauges are the most accurate for most drivers, accurate to within ±1 PSI and easy to read in low light. The trade-off is battery dependency and calibration drift if the unit is dropped. Test your digital gauge against a known-accurate source at least twice a year.
Analog dial gauges are the workhorse of professional shops. They do not need batteries, and a quality dial gauge holds calibration for years. Accuracy is typically ±1 PSI, but the reading depends on your ability to interpret the needle position. If the needle sticks or jumps when pressed onto the valve stem, the gauge is compromised.
Pencil gauges are the least reliable, accurate to maybe ±2-3 PSI on a good day, and the small internal spring weakens over time. The bigger problem is seating: the narrow nozzle frequently fails to seal against the valve stem, producing a hissing leak and a reading that is several PSI low.
Gas station compressor gauges are the wildcard. The analog gauge bolted to a public air compressor is exposed to weather, vandalism, and years of hard use, so its calibration drifts and the hose can leak. Use the station gauge only to add air in short bursts, then verify the final pressure with your own gauge.
Pro Tip A simple field test for gauge accuracy: check your tire pressure with your gauge, then immediately check the same tire with a second gauge you trust. If the two disagree by more than 1 PSI, one of them is off. Repeat with a third gauge to break the tie.What to buy: For most drivers, a mid-range digital gauge in the $15-$25 range offers the best balance of accuracy, readability, and durability. Look for one with an angled or flexible head to reach valve stems on vehicles with deep wheel wells.
Step-by-Step: How to Check Tire Pressure Correctly
Follow these steps precisely to avoid the errors that lead to improper inflation.
- Check when tires are cold. Pressure readings are only valid when the tires have been sitting for at least three hours or driven less than a mile. Driving generates heat, which increases pressure and gives a false high reading.
- Remove the valve cap. Unscrew the small cap on the valve stem and set it somewhere you will not lose it, like your pocket or the cup holder.
- Press the gauge firmly onto the valve stem. Push straight on to get a tight seal. You should hear a brief hissing sound as air escapes; if it continues, you do not have a good seal.
- Read the gauge. A digital gauge will display the PSI instantly. An analog gauge will show a reading on the dial. If you get an obviously low reading, reseat the gauge and try again.
- Compare to the placard. Check the reading against the recommended pressure on your door jamb sticker.
- Add or release air as needed. Use an air compressor to add pressure in short bursts, checking between each. To release air, press the small pin in the center of the valve stem with the back of the gauge.
- Replace the valve cap. This cap keeps dirt and moisture out of the valve stem, which can cause slow leaks over time.
Repeat this process for all four tires, including the spare if your vehicle has one.
Cold vs. Hot Readings: The 4 PSI Rule
Cold tire pressure is the baseline reading taken when the vehicle has been stationary for several hours, and it is the only measurement that should be compared to the placard.
As you drive, friction generates heat, which expands the air inside and increases the pressure. It is normal for a hot tire to read 4 to 6 PSI higher than its cold pressure. If you check your tires after a long drive and see a reading a few pounds above the recommended figure, do not release air, you would be setting the tire to the correct cold pressure while it is hot, resulting in an under-inflated tire once it cools. Adjust pressure only when the tires are cold.
Watch Out Do not release air from a hot tire to match the placard pressure. This is the most common mistake drivers make after a long trip, and it leaves the tire dangerously under-inflated when it cools down.Tire Pressure Warning Light Meaning and What to Do
The tire pressure warning light meaning is straightforward: your vehicle's Tire Pressure Monitoring System (TPMS) has detected that one or more tires is at least 25% below the recommended pressure. This system uses sensors in each wheel to provide real-time readings, though these readings are affected by heat generated during driving TPMS sensor behavior discussion. A solid warning light indicates low pressure, while a flashing light typically signals a system malfunction.
When the light comes on, do not ignore it. Find a safe place to stop and use a manual gauge to check each tire, as the TPMS does not always tell you which tire is low. If the pressure is low, add air to bring it to the placard specification. The light may take a few minutes of driving to reset. If it stays on after you have inflated the tires, or if it flashes, the system itself may need service. budgeting for car maintenance.
A key limitation of TPMS is that it only alerts you when pressure drops significantly. Regular manual checks are still necessary to catch gradual leaks and maintain optimal pressure, since the warning threshold is well below the level where uneven tread wear begins.
Common Mistakes and Troubleshooting
Even experienced drivers make errors when checking tire pressure. The most common is checking tires when they are hot, which produces artificially high readings. Another frequent issue is using the tire sidewall number as the target pressure instead of the door jamb placard.
Here is how to diagnose the most common problems when a reading seems wrong or a tire keeps losing pressure.
The gauge reads lower than expected. Before assuming the tire is low, check your technique. A hissing sound when you press the gauge on means you do not have a good seal. Reseat the gauge, pressing straight on with firm, even pressure. If the hissing stops and the reading jumps up, your original reading was false. If the gauge still reads low with a good seal, test it against a second gauge.
The valve stem is leaking. A slow leak at the valve stem is a common cause of a tire that needs air every few weeks. To test, apply soapy water to the valve stem. If you see bubbles forming, air is escaping. The leak is often the valve core, the small threaded pin inside the stem. A valve core tool (available at any auto parts store for under $5) lets you replace the old core in under a minute, without removing the tire. If bubbles appear around the base of the stem where it meets the wheel, the stem itself may be cracked or the seal has failed, that requires professional replacement.
The valve cap is missing. The cap is not just a dust cover; it is the primary seal against air loss. A missing cap leaves the valve core exposed to dirt and moisture, which can cause the core to stick or corrode. Replace missing caps immediately. Metal caps with a rubber gasket seal better than the plastic ones that come on most vehicles.
The TPMS light stays on after you have inflated the tires. The system does not reset instantly. You typically need to drive for 10 to 20 minutes at speeds above 15 mph for the sensors to re-sync and the light to go out. If the light flashes for about a minute and then stays solid, the system has detected a malfunction, often a dead sensor battery (sensors typically last 5 to 10 years) or a sensor damaged during a tire rotation. If the light stays on solid after a full drive cycle, re-check your pressures with a manual gauge; the TPMS threshold is 25% below the placard, so a tire at 24 PSI when the placard says 32 PSI will not trigger the light but is still significantly under-inflated.
The tire loses pressure only in cold weather. This is physics, not a leak. Tire pressure drops about 1 PSI for every 10-degree Fahrenheit drop in ambient temperature. If you filled your tires to 32 PSI in September when it was 70°F, and the temperature drops to 20°F in January, your tires will read about 27 PSI, without any air escaping. Check pressure monthly and adjust for the season.
The "touch test" is not a diagnostic. Pressing the tire with your palm tells you almost nothing. A tire can be 10 PSI low and still feel firm to the touch, especially on a stiff sidewall tire. The only reliable way to know is with a gauge.
Watch Out If you find yourself adding air to the same tire every week, you have a leak that needs attention. Driving on a tire that is repeatedly under-inflated causes flexing in the sidewall, which generates heat and can lead to a blowout. Do not ignore a recurring slow leak.Digital gauges can drift. If your digital gauge was dropped, or if it has been in a hot glovebox for a year, its readings may be off. Compare it against a known-accurate gauge or a tire shop's master gauge. If it disagrees by more than 1 PSI, replace it, a $20 gauge is cheaper than a set of tires ruined by improper inflation.
Final Checklist for Proper Tire Maintenance
Use this checklist to keep your tires in peak condition between service intervals.
- Check cold tire pressure monthly and before long trips
- Verify readings against the door jamb placard, not the sidewall
- Inspect tread depth using the penny test or a tread wear indicator
- Look for uneven tread wear, which signals alignment or inflation issues
- Check for visible cracks, bulges, or embedded objects in the tread
- Rotate tires according to your vehicle's maintenance schedule
- Log your pressure checks and any air added in your maintenance tracker
Keeping a record of your tire pressure checks helps you spot slow leaks and irregular wear patterns early. CarJourney makes this easy by letting you log service milestones and maintenance reminders in one digital garage, so you never lose track of when your tires were last checked or rotated.
| Maintenance Task | Recommended Frequency | Key Benefit |
|---|---|---|
| Check tire pressure | Monthly and before trips | Prevents uneven tread wear, improves fuel efficiency |
| Inspect tread depth | Monthly | Identifies when tires need replacement |
| Rotate tires | Every 5,000-8,000 miles | Ensures even wear across all four tires |
| Visual inspection | Monthly | Catches cracks, bulges, and embedded objects |
Proper tire pressure is the cheapest insurance you can buy for your vehicle. It improves handling, reduces braking distance, extends tire life, and saves fuel, yet most drivers neglect it until a warning light appears. The process takes minutes, and the only tools you need are a quality gauge and access to an air compressor. CarJourney helps you stay ahead of essential services like tire rotations and pressure checks with reminders tied to both time and mileage. Get started with CarJourney and build a service record that proves how well you care for your vehicle.
Frequently Asked Questions
Should I check tire pressure when tires are hot or cold?
Check tire pressure when tires are cold, meaning the car has been parked for at least three hours or driven less than a mile. Driving heats the air inside the tire and increases pressure, giving a false high reading. The recommended PSI on your door jamb placard is based on cold tire pressure. For accurate results, check your tires in the morning before driving or after the car has cooled down.
How do I know the correct PSI for my tires?
Look for the vehicle placard on the driver's side door jamb. It lists the recommended tire pressure PSI for both front and rear tires. This number is set by the vehicle manufacturer and is the one you should follow. Do not use the maximum pressure printed on the tire sidewall; that is the tire's limit, not your car's recommended setting.
What is the 4 PSI rule on tires?
The 4 PSI rule refers to the common guideline that tire pressure increases by roughly 1 PSI for every 10 degrees Fahrenheit of temperature change. A 40-degree drop in temperature can reduce your tire pressure by about 4 PSI. This is why checking pressure seasonally is critical, especially when colder months arrive and the tire pressure warning light may trigger.
What is the most accurate way to check tire pressure?
A high-quality digital tire pressure gauge is the most accurate way to check tire pressure. Digital gauges are less prone to calibration errors than analog pencil-style gauges. To get an accurate reading, remove the valve cap, press the gauge firmly onto the valve stem to get a tight seal (you should not hear a hissing sound), and read the display. For best results, check when tires are cold.
Start free