 carjourney
From the CarJourney journal
A Project Car Timeline Example That Actually Works
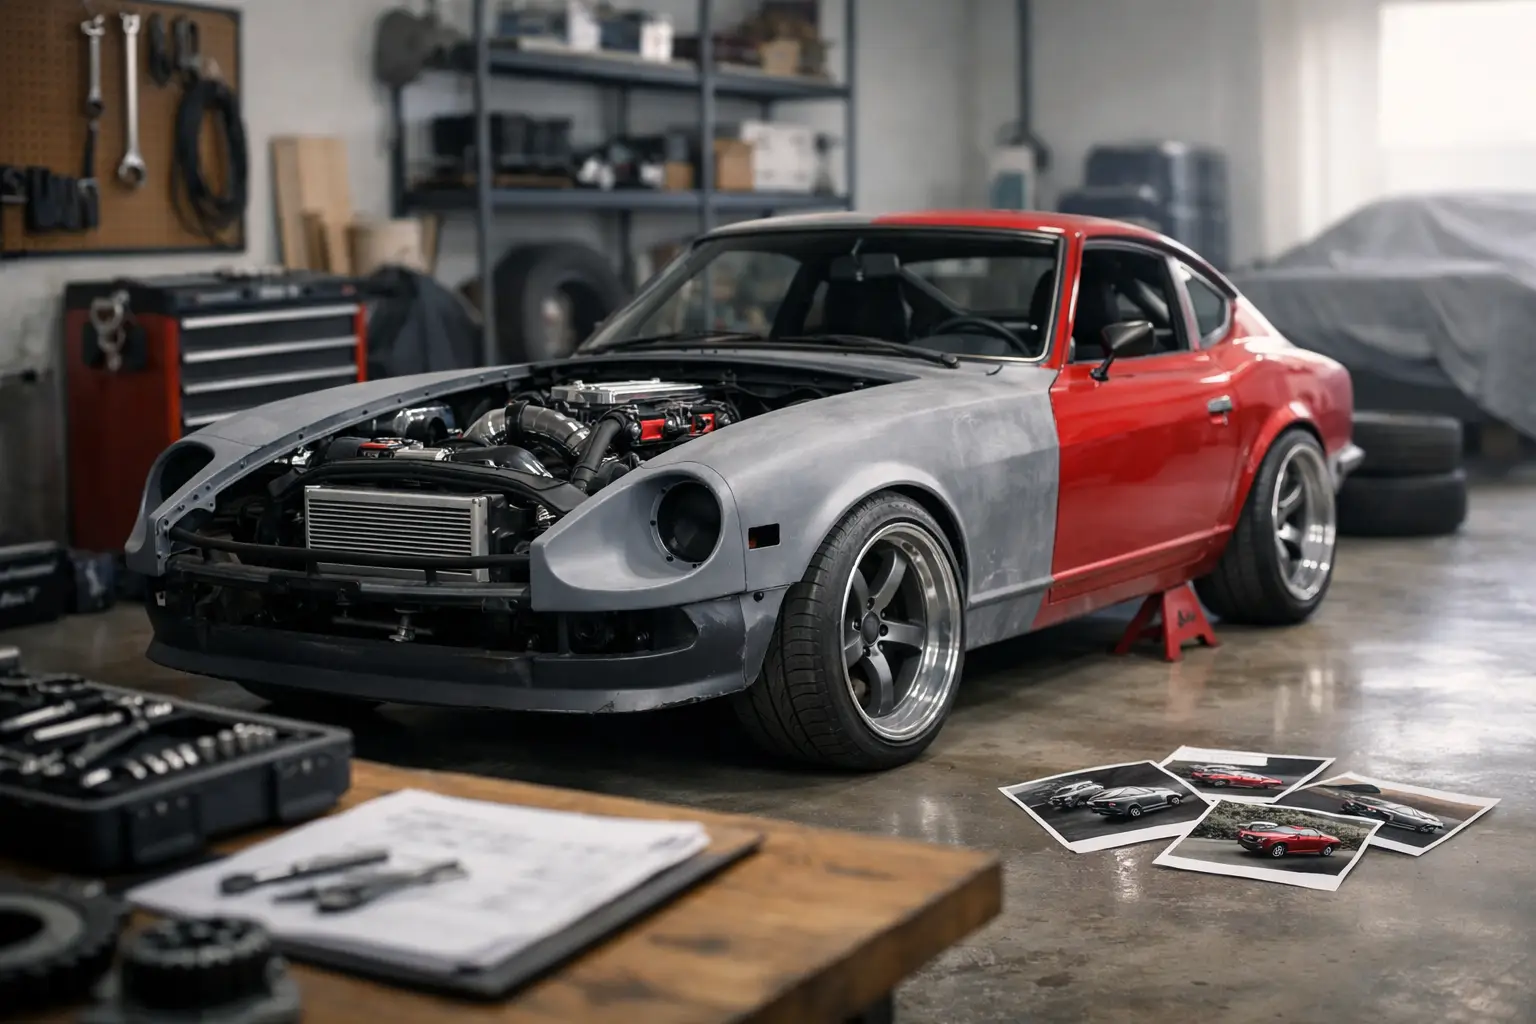
A project car timeline example is more than a calendar with parts listed on it. It is the difference between a build that keeps moving and one that sits on jack stands for two years because the next step, the budget, and the missing hardware were never clear. Whether you are reviving a neglected weekend car or building a reliable street machine, a timeline gives every dollar and every garage hour a job.
The goal is not to predict every problem perfectly. Project cars do not work that way. The goal is to create enough structure that surprises become manageable instead of build-stopping.
Why a timeline matters before the first part arrives
Most stalled builds do not fail because the owner lost interest. They stall because several major jobs get started at once, the budget gets consumed by unplanned repairs, or critical maintenance gets pushed behind horsepower parts. A real timeline forces you to answer a few practical questions early: What does the car need to run safely? What can wait? What needs to be completed before another upgrade makes sense?
It also protects the ownership story. A future buyer will see more value in a car with dated receipts, clear photos, and documented maintenance than one with a vague claim that it has been fully built. Even if you never plan to sell, knowing when the timing belt, clutch, suspension, or tune was completed makes ownership less stressful.
Your timeline should be built around milestones, not wishful deadlines. A milestone is a result you can verify: the car passes a cooling-system pressure test, the brakes are bedded in, the alignment is complete, or the first 500 break-in miles are logged. That is much more useful than writing finish engine work by June.
Set the build scope and baseline first
Before creating dates, inspect the car and write down its current condition. Start with safety and reliability: tires, brakes, steering, suspension wear, cooling, fluid leaks, battery condition, charging system, lights, and rust. Then assess the drivetrain and the areas affected by your planned modifications.
Be honest about the end use. A canyon car, drag-focused build, overland rig, and clean weekend cruiser need different priorities. A turbo kit may be the centerpiece of a build, but it does not belong in month one if the chassis needs bushings, the cooling system is questionable, and the engine has low compression.
Set a total budget, then hold back a contingency fund of at least 15 to 25 percent. Older cars, custom fabrication, and engine work usually deserve the higher end of that range. The part price is rarely the final price once you add fluids, gaskets, fittings, shipping, machine work, specialty tools, tuning, and alignment.
Project car timeline example: a six-month street build
This example assumes a running but neglected 1990s or 2000s enthusiast car being turned into a dependable, better-handling weekend street car. The exact schedule will change based on your platform, garage access, and budget, but the order is what keeps the build logical.
Month 1: Inspect, service, and establish a baseline
The first month is for facts, not flashy purchases. Get a pre-build inspection, scan for codes if applicable, check compression or leak-down when engine health is in question, and photograph the car from every angle. Record the odometer, VIN, existing modifications, and visible issues.
Complete basic service now: engine oil, filters, coolant check or replacement, brake fluid, transmission and differential fluids where appropriate, and a full brake inspection. Address any immediate safety issue before driving the car hard. If the car is new to you, assume its maintenance history is incomplete until records prove otherwise.
By the end of month one, you should have a prioritized repair list, a parts plan, an initial budget, and a baseline drive. Note how it starts, idles, brakes, shifts, tracks, and handles. Those notes make it easier to diagnose changes later.
Month 2: Fix reliability weak points
Month two is where you remove the problems that can strand you or damage the car. That may mean replacing a leaking radiator, worn belts and hoses, tired motor mounts, a weak alternator, aging ignition components, or a failing fuel pump. For a timing-belt engine with unknown service history, this is the time to deal with it.
Do not rush into modifications just because the car is finally apart. If a larger job exposes other worn components, add them only when they support the current milestone and fit the contingency budget. Replacing accessible seals during a clutch job makes sense. Adding an unrelated exhaust system because it is on sale may not.
The month-two target is simple: the car should be dependable enough to drive regularly while you evaluate it.
Month 3: Upgrade brakes, tires, and suspension
A faster car needs more control, but even a stock-power build benefits from a sorted chassis. Start with tires and brakes if they are compromised. Then move to suspension components that solve a known issue, such as worn bushings, blown dampers, weak springs, or poor alignment adjustment.
Install related parts as a system when possible. Springs and dampers should work together. Brake pads, rotors, fluid, and lines should match the car's intended use. After suspension work, schedule an alignment and save the final specifications in your build record.
This stage often changes how the car feels more than an engine modification does. It also gives you a stable platform before adding power.
Month 4: Add performance parts with supporting upgrades
Now the build can move into the fun stuff: intake and exhaust changes, a header, a mild cam, forced induction, fueling upgrades, or a drivetrain improvement. The right choice depends on your goal and the platform's known limits.
This is where sequencing matters most. A turbo setup may require injectors, fuel pump capacity, intercooling, gauges or data monitoring, a stronger clutch, and professional calibration. Buying only the headline part creates a half-finished car. Build the complete supporting-parts list before ordering anything.
Schedule realistic downtime. A bolt-on intake may take an afternoon. A custom turbo system or engine swap can take weeks once fabrication, troubleshooting, and tuning are included.
Month 5: Tune, test, and fix the details
After major changes, avoid treating the first successful startup as the finish line. Check for leaks, re-torque hardware where the manufacturer or part supplier specifies it, monitor temperatures, and make short test drives before a long trip or hard pull.
A tuned car needs a conservative approach. Use the correct fuel, watch the data available to you, and work with a reputable calibrator when the modification requires it. If the car develops a new vibration, pull, noise, or warning light, pause the next upgrade and diagnose it. Small issues are cheaper before they turn into damaged parts.
Month five should include a realistic shakedown period. Log mileage, fuel changes, tune revisions, and any adjustments. This is also the right time to revisit the budget. If you have used the contingency fund, delay cosmetic wants rather than compromising the next maintenance need.
Month 6: Detail, document, and enjoy it
The final month is for the work many owners skip: cleaning wiring, securing hoses, replacing missing clips, correcting small leaks, touching up neglected areas, and organizing the record. Take updated photos of the engine bay, underside, interior, and finished stance.
Log each completed service and modification with the date, mileage, cost, part number, installer, and photos. Store receipts, alignment sheets, dyno results, tune files, and warranties in one place. CarJourney can keep that history tied to the vehicle, so your maintenance record and build story do not disappear into old emails, paper folders, and scattered notes.
Keep the timeline flexible without losing control
A good timeline has room for delays. Parts backorders, machine-shop schedules, broken bolts, and the discovery of hidden rust are normal project-car realities. The mistake is not the delay. The mistake is letting one delay turn every task into a guessing game.
When a milestone slips, update three things immediately: the expected completion date, the remaining budget, and the next dependency. If the clutch job runs long, for example, move the tune appointment before it becomes a cancellation fee. If the engine needs more work than expected, put cosmetic upgrades on hold and protect the reliability budget.
Avoid stacking too many open jobs. Finish the brakes before starting the interior. Get the cooling system proven before adding boost. A project car feels manageable when you can point to the next completed milestone, not just the pile of parts waiting in the garage.
Build a record that proves the work
The timeline is valuable while you own the car, but documentation keeps paying off later. Log labor even when you do the work yourself. Record the mileage at installation, not just the date. Photograph before-and-after condition, especially for rust repair, engine work, and suspension installation.
For major modifications, include the reason behind the choice. A note such as upgraded radiator installed after repeated high-temperature readings gives useful context years later. It helps you troubleshoot, maintain the build correctly, and show a buyer that the car was modified with intention instead of assembled from random parts.
The best project car timeline does not make the build feel like work. It gives you enough control to spend more weekends driving, less time searching for receipts, and more confidence every time you turn the key.