 carjourney
From the CarJourney journal
Step by Step Brake Replacement: DIY Guide for Car Owners
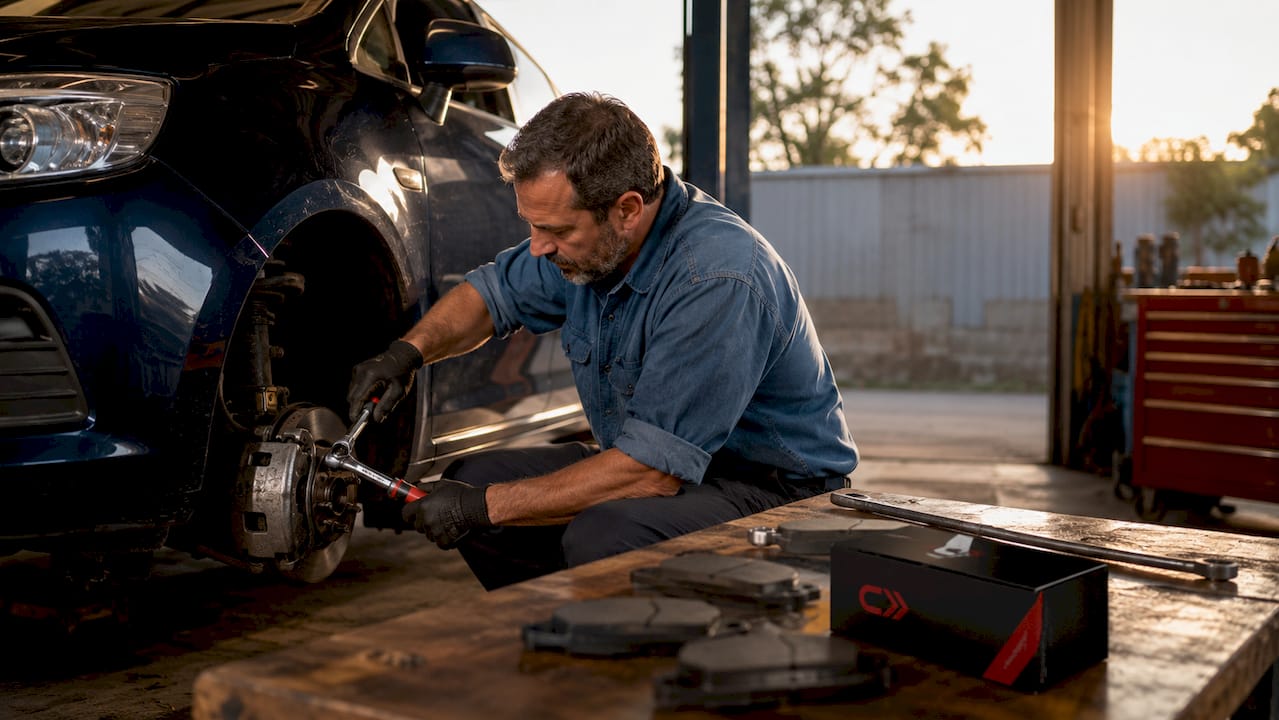
Step by step brake replacement is the methodical process of removing worn brake pads and installing new ones to restore your vehicle’s braking efficiency and safety. Brake pads should be replaced when friction material drops to 3mm or less, a threshold where stopping power degrades noticeably. The good news: brake pad replacement is rated a 5 out of 10 difficulty for DIYers, meaning most car owners can handle it with the right tools and a clear process. Done correctly, a DIY brake job saves you $150–$500 per axle compared to shop labor rates. Carjourney exists precisely to help you track and manage jobs like this one.
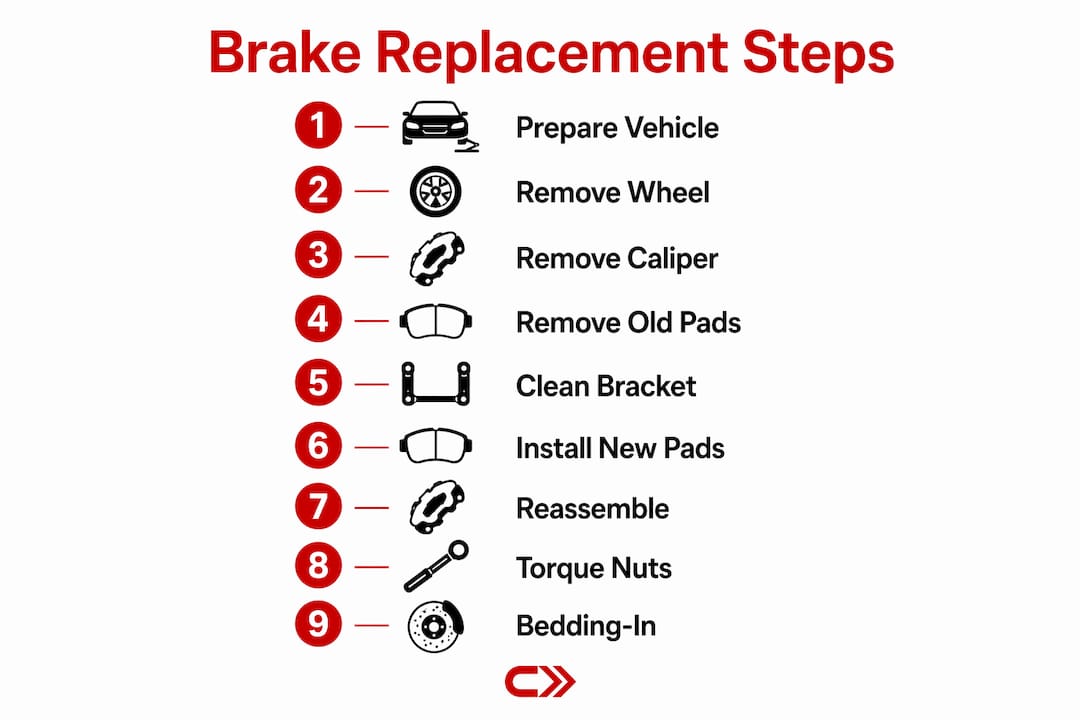
What tools and materials do you need for brake pad replacement?
Gathering everything before you start is the single most important preparation step. Running back to the parts store mid-job with a caliper dangling is how mistakes happen.
Essential tools:
| Tool | Purpose | Typical Cost |
|---|---|---|
| Floor jack | Lifts the vehicle safely | $50–$150 |
| Jack stands (pair) | Supports vehicle while you work | $30–$80 |
| Lug wrench or impact gun | Removes and reinstalls wheel nuts | $20–$150 |
| C-clamp or piston tool | Compresses caliper piston | $10–$40 |
| Torque wrench | Tightens bolts to spec | $30–$100 |
| Wire brush | Cleans caliper bracket contact points | $5–$15 |
| Brake cleaner spray | Degrease rotors and hardware | $5–$10 |
| Brake caliper grease | Lubricates slide pins and contact points | $5–$15 |
Required materials:
- New brake pads (matched to your vehicle’s year, make, and model)
- Replacement rotors if thickness is below minimum spec
- Anti-rattle clips or hardware kit (often included with pads)
- Brake fluid (to top off reservoir after piston compression)
- Nitrile gloves and safety glasses
Pro Tip: Buy a brake pad kit that includes new hardware clips. Reusing old, corroded clips is one of the most common causes of brake squeal after a fresh pad installation.
Quality tools matter here. A torque wrench is not optional. Incorrect torque is a leading failure point in DIY brake jobs, and a $40 click-type wrench eliminates that risk entirely.
How do you safely lift and prepare your vehicle?
Safe vehicle preparation prevents accidents before the real work begins. Never skip this phase, even on a quick brake change.
Follow these steps in order:
- Park on flat, solid ground. Concrete is ideal. Asphalt can shift under jack stands.
- Apply the parking brake and place wheel chocks behind the tires on the opposite axle.
- Loosen the lug nuts while the tire is still on the ground. Breaking them loose with the wheel spinning wastes effort and risks injury.
- Position your floor jack under the manufacturer-specified lift point. Check your owner’s manual. Jacking under the wrong spot can crack sills or damage suspension components.
- Raise the vehicle until the tire clears the ground by a few inches.
- Place jack stands under the frame or subframe lift points. Lower the vehicle onto the stands slowly.
- Confirm the vehicle is stable by pushing it firmly before sliding underneath.
Never work under a vehicle supported only by a floor jack. Hydraulic jacks can fail without warning. Jack stands are the only safe support for a vehicle you are working under.
Pro Tip: Spray the lug nuts and caliper bolts with penetrating oil the night before your brake job. This one step can cut your removal time in half on older vehicles with rust.
Step-by-step process to remove old pads and install new ones
This is the core of the brake replacement guide. Work one wheel at a time so you always have the opposite side as a reference.
Removing the wheel and caliper
- Remove the lug nuts completely and pull the wheel off. Set it aside flat.
- Locate the brake caliper. It clamps over the rotor and holds the brake pads.
- Remove the caliper slide bolts (usually two bolts on the back of the caliper). Use the correct socket size for your vehicle.
- Slide the caliper off the rotor. Do not let it hang by the rubber brake hose. Hanging a caliper by its hose can cause invisible internal damage that leads to future brake failure. Use a bungee cord or wire hook to support it from the spring or strut.
- Slide the old brake pads out of the caliper bracket. Note their orientation before removing them.
Cleaning the caliper bracket
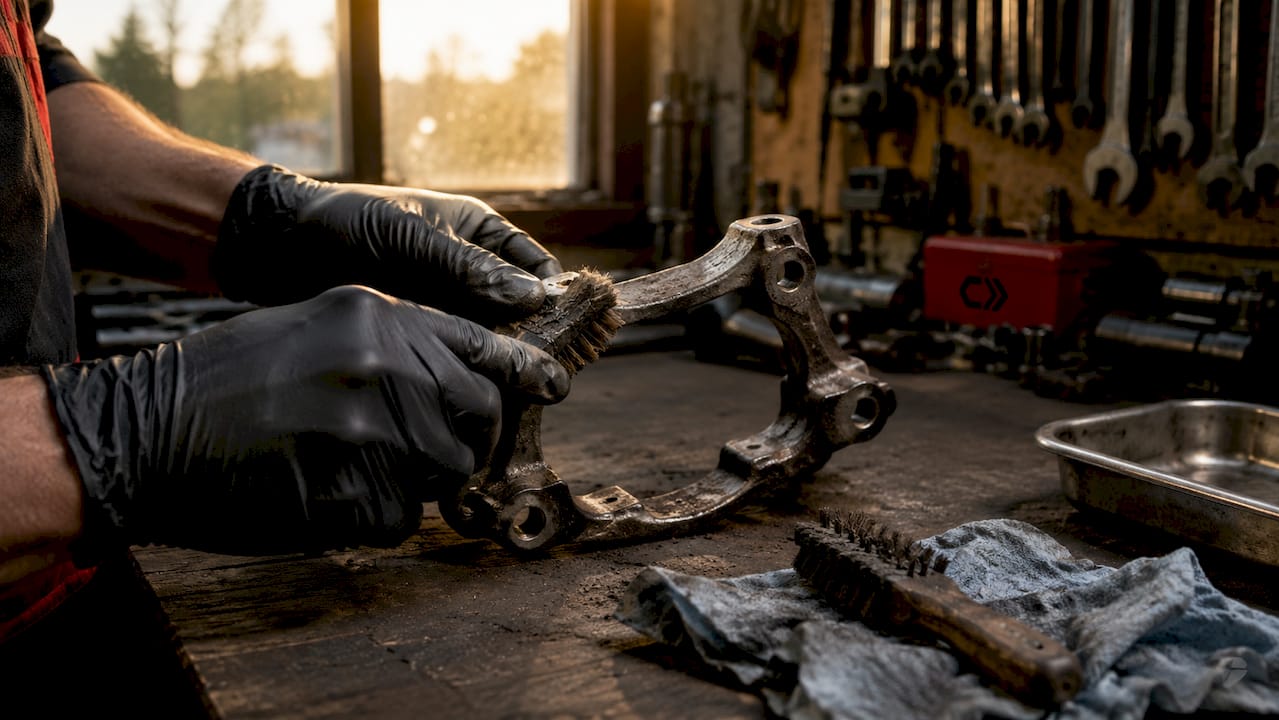
Rust on the caliper bracket causes uneven pad wear. Wire-brushing contact points to bare metal extends pad lifespan significantly. This step is frequently skipped and frequently regretted. Spray the bracket with brake cleaner, scrub with a wire brush until the metal is clean, and wipe dry.
Compressing the caliper piston
The new pads are thicker than the worn ones. The caliper piston must be pushed back to make room.
- Remove the brake fluid reservoir cap under the hood. This prevents pressure buildup as you compress the piston.
- Place a C-clamp or dedicated piston tool against the piston face and an old brake pad (as a protective buffer).
- Slowly compress the piston until it sits flush with the caliper body. Apply steady, even pressure. Some pistons require rotation while compressing. Caliper pistons vary by design, and forcing the wrong retraction method can damage the piston seal.
- Check the fluid reservoir. If it overflows, remove excess fluid with a turkey baster.
Installing new brake pads
Key checks before installing:
- Confirm the new pads match the old ones in shape and size.
- Install new anti-rattle clips or hardware if included in your kit.
- Apply a thin layer of brake caliper grease to the metal contact points on the bracket where the pad ears rest. Never apply grease to the friction surface or rotor face.
Install the inner pad (piston side) first, then the outer pad. Slide the caliper back over the rotor and new pads. Thread the slide bolts in by hand first, then torque them to spec. Always consult your vehicle’s service manual for exact caliper bolt torque values. On vehicles with aluminum knuckles, use the lower end of the torque range to avoid stripping threads.
Pro Tip: Take a photo of the old pad orientation before removing anything. New pads sometimes have directional wear indicators, and installing them backward causes noise and uneven wear within days.
Reinstall the wheel and hand-tighten the lug nuts. Lower the vehicle off the jack stands, then torque the lug nuts in a star pattern. Torqueing in a star pattern prevents rotor warping, a subtle problem that shows up as brake pedal vibration weeks later.
How do you finish the brake replacement correctly?
Reassembly is only half the job. The finishing steps determine whether your brakes work safely from the first press of the pedal.
Follow this sequence after reinstalling both wheels:
- Pump the brake pedal 5–10 times with the engine off. The pedal will feel soft or go to the floor on the first press. Pumping the pedal seats the pistons against the new pads. Skipping this step means your brakes will not engage properly the first time you need them.
- Check the pedal feel. After 5–10 pumps, the pedal should feel firm. If it remains soft, check for fluid leaks at the caliper and bleed the system if needed. A guide on brake bleeding basics covers that process in detail.
- Check the brake fluid level in the reservoir and top it off to the MAX line if needed.
- Start the engine and press the brake pedal firmly before moving the vehicle. Confirm the pedal holds pressure.
- Drive slowly in a safe area before returning to normal roads.
The bedding-in process
Bedding-in new brake pads is the step most DIYers skip. Ignoring the bedding-in process reduces braking performance and increases noise by preventing proper pad-to-rotor mating.
The correct bedding-in sequence:
- Accelerate to 30 mph and apply moderate brake pressure to slow to 5 mph. Do not stop completely.
- Allow the brakes to cool for 60–90 seconds while driving slowly.
- Repeat from 45 mph, again slowing to 5 mph without stopping.
- Repeat the 45 mph cycle 3–4 more times with cooling intervals between each stop.
- Drive normally for 200–300 miles before any aggressive braking.
Pro Tip: Find an empty parking lot or quiet road for bedding-in. You need controlled, repeatable stops without traffic pressure. Rushing this process is the main reason new pads squeal.
What are the most common mistakes in a DIY brake job?
Even careful DIYers run into predictable problems. Knowing them in advance saves time and money.
Common errors and their consequences:
- Installing pads backward. Wear indicators face the wrong direction, causing noise and rapid pad failure. Always check the manufacturer’s orientation markings.
- Letting the caliper hang by the hose. This is the most costly beginner mistake. Internal hose damage is invisible until the hose fails under pressure.
- Skipping the wire brush step. Rust scale on the bracket causes the pad to bind, leading to uneven wear and a dragging brake.
- Over-torquing lug nuts. Exceeding spec warps rotors. Under-torquing risks a wheel coming loose. A torque wrench eliminates both risks.
- Not pumping the pedal before driving. The first brake application with unseated pistons can result in little to no stopping power.
- Replacing pads on one side only. Always replace pads as a full axle pair. Mismatched friction material causes the vehicle to pull under braking.
If your brakes squeal after installation, the most common causes are missing anti-rattle clips, grease on the friction surface, or pads that were not bedded in properly. If the pedal feels spongy after pumping, air is in the system and the brakes need bleeding. For a full walkthrough on logging your brake jobs and tracking parts over time, Carjourney makes that process straightforward.
Key takeaways
Replacing brake pads correctly requires proper tools, strict safety steps, and a bedding-in process that most DIYers skip but none should.
| Point | Details |
|---|---|
| Replace at 3mm friction material | Waiting longer than 3mm compromises stopping power and risks rotor damage. |
| Never hang the caliper by its hose | Support the caliper with a wire hook to prevent invisible internal hose damage. |
| Torque everything to spec | Use a torque wrench and your vehicle’s service manual for every bolt. |
| Pump the pedal before driving | 5–10 pumps with the engine off seats the pistons and restores firm pedal feel. |
| Bed in new pads properly | Gentle stops from 30 and 45 mph prevent noise and maximize pad-to-rotor contact. |
What I have learned doing brake jobs the hard way
The first time I replaced brake pads, I skipped the bedding-in step because I thought it was optional. The brakes worked fine for two weeks, then started squealing every time I slowed for a light. I had to pull the wheels again, clean the rotors, and redo the whole process. That wasted afternoon taught me more than any guide.
The preparation phase is where most beginners underestimate the job. Penetrating oil the night before, a clean wire brush on the bracket, and a torque wrench instead of a breaker bar. These are not optional extras. They are the difference between a brake job that lasts 40,000 miles and one that starts causing problems at 5,000.
Cost savings are real but require investment in the right tools upfront. A quality torque wrench and a proper piston tool pay for themselves on the first job. Cheap substitutes create problems that cost more to fix than the original shop bill.
The part I find most satisfying is logging the job afterward. Knowing exactly when pads were installed, what brand, and at what mileage gives you a clear picture of your vehicle’s health over time. That kind of record is what separates a car owner from a car enthusiast. If you want to build that habit, the DIY car repairs guide on Carjourney is a solid place to start.
— Chally
Carjourney keeps your brake maintenance organized
Replacing your own brakes is one of the most satisfying DIY jobs you can do. The next challenge is remembering when you did it, what parts you used, and when the next service is due.
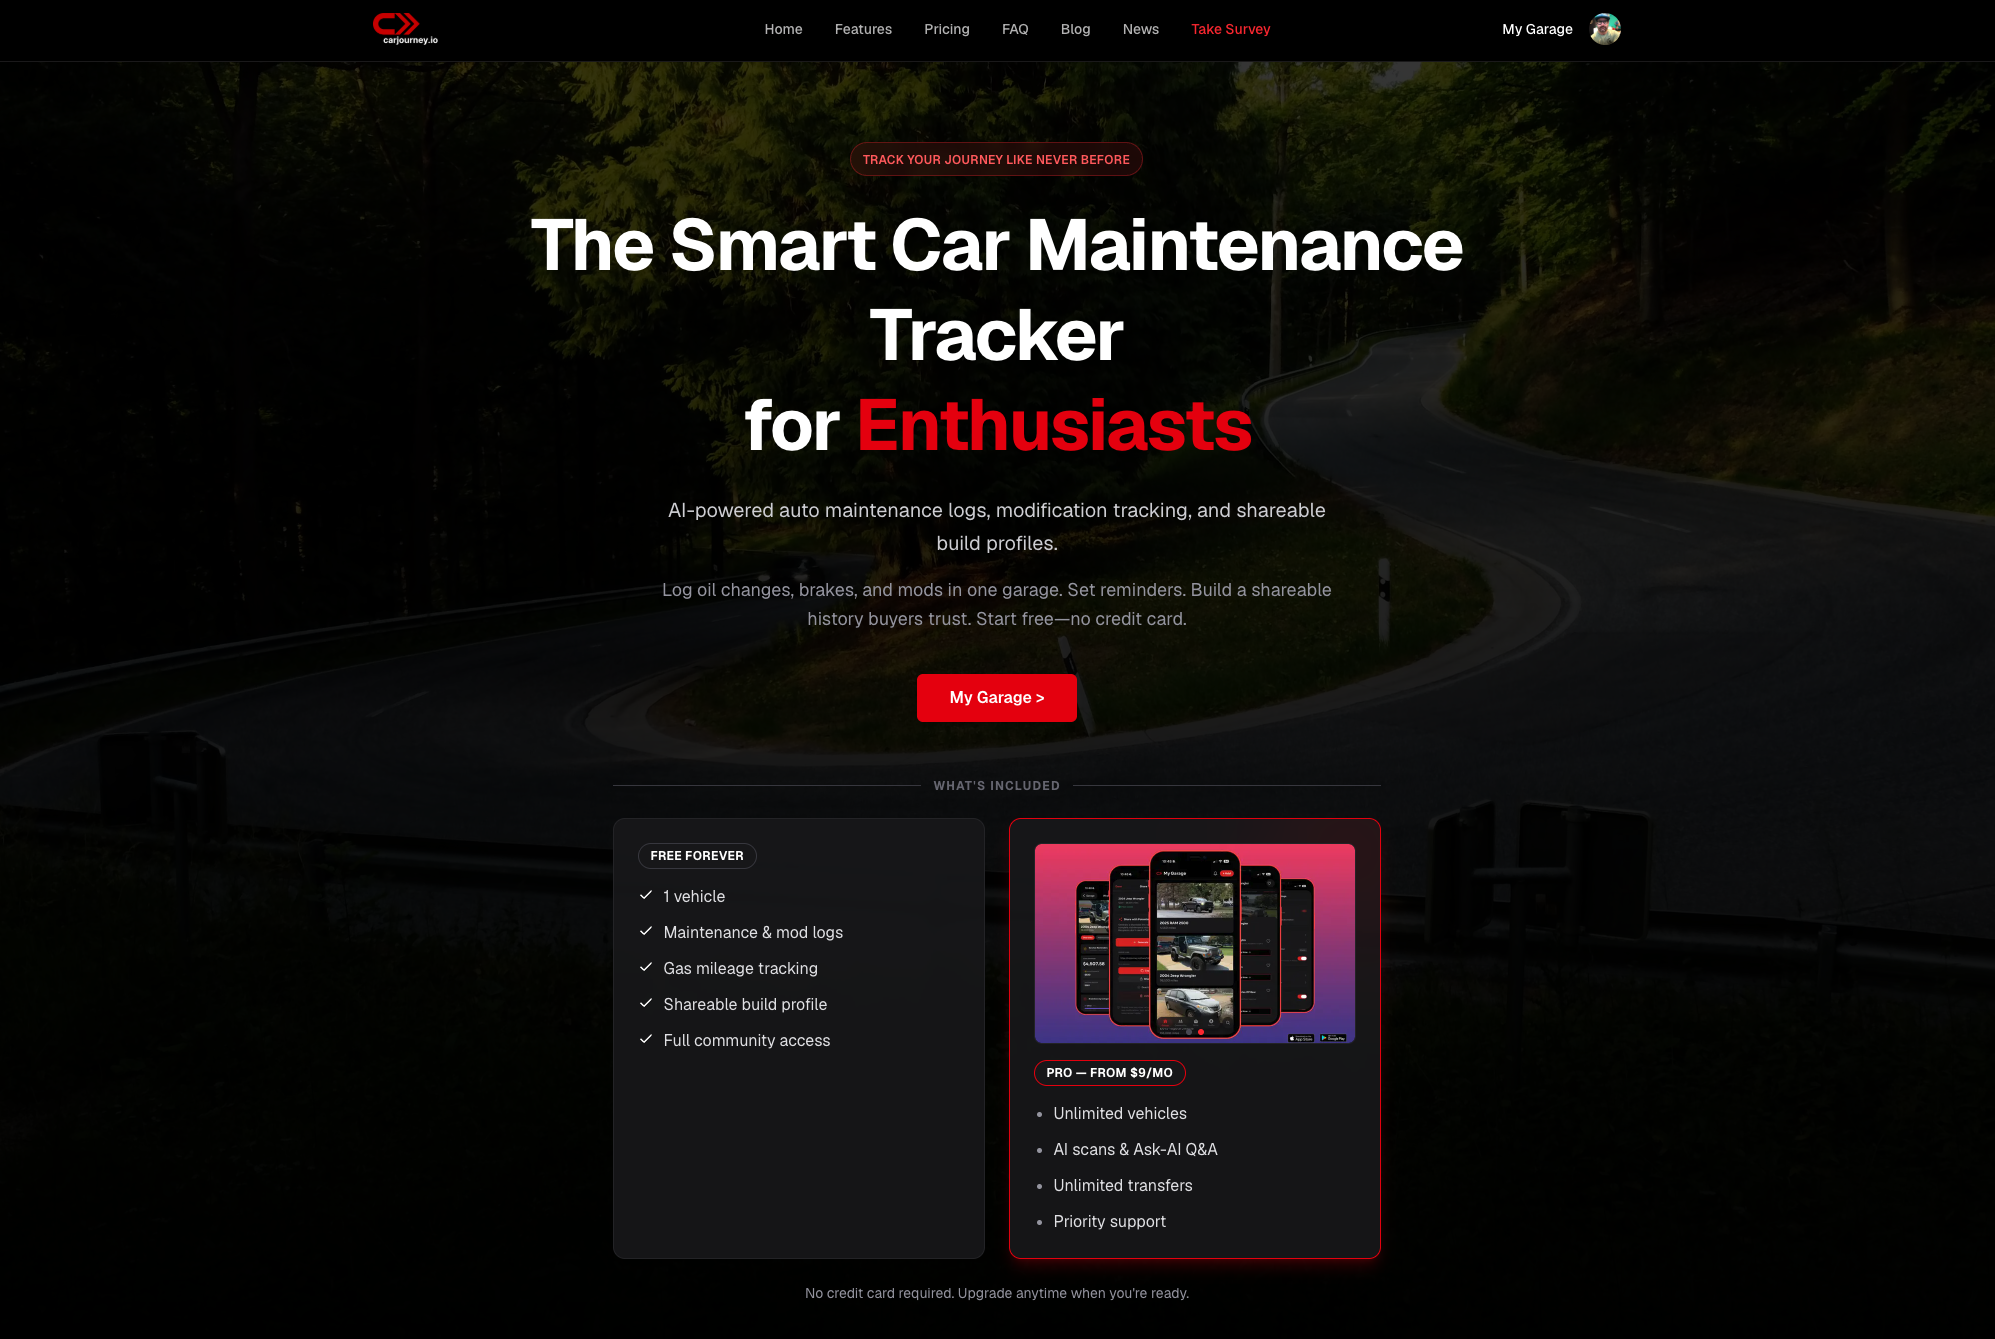
Carjourney is built for exactly this. The platform uses AI to scan your service documents, track brake jobs by mileage and date, and remind you when maintenance is coming up based on your specific vehicle. You can log parts, costs, and notes in one place instead of scattered receipts and forum threads. Whether you are tracking one car or an entire garage, Carjourney’s maintenance tracker gives you a clear record of every job you have done and every one coming up next.
FAQ
How long does a DIY brake pad replacement take?
A DIY brake pad replacement typically takes 45–90 minutes per axle for someone working carefully with the right tools.
When should brake pads be replaced?
Replace brake pads when the friction material measures 3mm or less. At that thickness, braking performance drops and rotor damage becomes likely.
Do I need to replace rotors when I replace brake pads?
Not always. Inspect rotor thickness and surface condition. Replace rotors if they are below minimum thickness, deeply grooved, or show heat cracks.
Why does my brake pedal feel soft after a pad replacement?
A soft pedal after reassembly means the caliper pistons have not seated against the new pads yet. Pump the pedal 5–10 times with the engine off until it feels firm.
What is brake bedding-in and why does it matter?
Bedding-in is a series of controlled stops that transfer a thin, even layer of pad material onto the rotor surface. Skipping it causes noise, vibration, and reduced stopping power.