
DIY Car Repairs Guide: Fix Your Car With Confidence
A guide to DIY car repairs is a practical system for diagnosing, maintaining, and fixing your vehicle at home using the right tools, correct procedures, and a clear understanding of your limits. Most car owners can handle a wider range of repairs than they realize. Oil changes, brake pad swaps, filter replacements, and battery installs are all within reach if you follow a structured approach. This guide covers the tools you need, the maintenance tasks worth doing yourself, how to diagnose problems accurately, and the mistakes that trip up beginners. You will also find step-by-step instructions for the repairs that deliver the most value when done correctly at home.
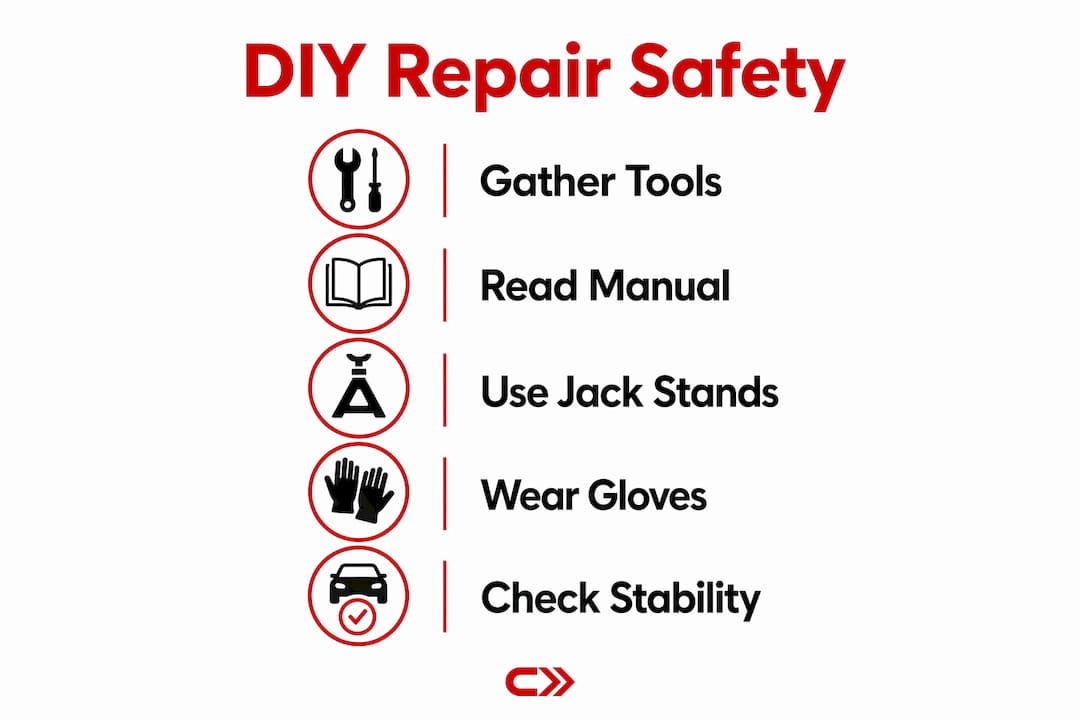
What tools and safety practices you need before starting DIY car repairs
The right tools separate a successful repair from a dangerous one. Before you touch anything under the hood or beneath the car, you need a baseline toolkit and a clear safety plan.

The essential starter toolkit
Routine DIY repairs require a socket set, oil drain pan, funnel, jack stands, gloves, and clean rags as your foundation. That list covers the majority of maintenance tasks most car owners will ever attempt. Add a torque wrench and an OBD2 scanner, and you are equipped for a serious range of repairs. A torque wrench is not optional for brake or suspension work. Guessing at fastener tightness is one of the most common causes of repair failure among beginners.
Here is what belongs in every DIY toolkit:
- Socket set (metric and standard, 3/8-inch and 1/2-inch drives)
- Torque wrench (click-type for accuracy)
- OBD2 code scanner
- Floor jack and a pair of rated jack stands
- Oil drain pan and funnel
- Nitrile gloves and safety glasses
- Shop rags and a parts tray
- Flashlight or work light
How to use jack stands safely
Jack stand misuse is one of the leading causes of accidents in home garages, and the fix is straightforward. Always lift on flat, solid concrete. Never work on gravel, asphalt in summer heat, or any surface that can shift. Locate the manufacturer-designated lift points in your owner’s manual before you raise the car. These points are reinforced to handle the load. Placing a jack under a rocker panel or random frame section can crush it or cause the car to slip.
Once the car is raised, place the jack stands at the correct lift points and lower the vehicle onto them slowly. Give the car a firm push before sliding underneath. If it rocks or shifts, stop and reset.
Pro Tip: After placing jack stands and lowering the car onto them, grab the rocker panel and push the car sideways with real force. If the stands shift or the car moves more than a half inch, the setup is not safe. Reset before going under.
Your owner’s manual is also the authority on correct fluid types and torque specifications. Using the wrong oil viscosity or overtightening a drain plug because you skipped the spec is an avoidable mistake that costs real money.
How to perform common DIY maintenance tasks
Routine maintenance is where most car owners see the biggest return on their DIY effort. These tasks are low-risk, require minimal tools, and directly prevent expensive repairs down the road.
Step-by-step oil change
- Warm the engine for two minutes, then shut it off and let it cool for ten minutes.
- Locate the drain plug under the engine and position your oil pan beneath it.
- Remove the drain plug with the correct socket and let the oil drain completely.
- Remove the old oil filter by hand or with a filter wrench.
- Install the new filter hand-tight, then a quarter turn more.
- Replace the drain plug and torque it to the manufacturer’s specification.
- Add the correct oil type and quantity per your owner’s manual.
- Run the engine for one minute, check for leaks, then verify the level with the dipstick.
Used motor oil must go to a designated recycling site, not your trash or storm drain. The EPA classifies used motor oil as hazardous waste, and most auto parts stores accept it for free. Pouring it down a drain contaminates groundwater and carries legal penalties.
Other maintenance tasks worth doing yourself
The RACV safety checklist identifies tire pressure, lights, wiper function, and fluid levels as the core inspections every car owner should perform regularly. These checks take under thirty minutes and catch problems before they become failures.
- Tire pressure and tread: Check cold pressure with a digital gauge against the sticker inside your driver’s door. Use a tread depth gauge or the quarter test. Insert a quarter into a tread groove with Washington’s head down. If you see the top of his head, you are at roughly 4/32 inch of tread and need new tires soon.
- Air and cabin filters: Both pull out without tools on most vehicles. A dirty engine air filter reduces fuel economy. A clogged cabin filter cuts HVAC airflow and traps allergens. Replace both annually or every 15,000 miles.
- Fluid levels: Check coolant, brake fluid, transmission fluid, and power steering fluid at the reservoir markings. Top off with the exact type specified in your owner’s manual. Mixing fluid types causes damage.
- Battery terminals: Look for white or blue corrosion buildup. Clean with a wire brush and a baking soda solution. Loose terminals cause hard starts and electrical gremlins.
- Lights and wipers: Walk around the car with the lights on. Replace any burned bulb immediately. Wiper blades that streak or skip in rain need replacement, not adjustment.
How to diagnose car problems before attempting repairs
Misdiagnosis is the most expensive mistake in DIY automotive repair. Replacing a part that is not the cause of the problem wastes money and leaves the real issue unresolved.
Start with an OBD2 scanner
When a check-engine light appears, scan for fault codes before touching anything. An OBD2 scanner reads diagnostic trouble codes (DTCs) that identify the faulted system or circuit. This is not the same as identifying the broken part. A P0420 code, for example, points to catalytic converter efficiency below threshold. That could mean a bad cat, an oxygen sensor, or an exhaust leak. The code narrows the search. It does not hand you the answer.
Warning lights do not always mean a bad part. They often indicate a system fault captured by the OBD2 system pointing to an underlying circuit or sensor issue. Replacing a part without confirming the root cause is guessing, not diagnosing.
The diagnostic workflow
Follow this sequence before ordering any parts:
- Symptom: Note exactly when and how the problem occurs. Cold starts only? Under load? At idle?
- Scan: Pull OBD2 codes and research each one for your specific vehicle make and model.
- Inspect: Perform a visual check for fluid leaks, cracked hoses, corroded connectors, and worn components.
- Decide: Based on codes plus visual evidence, identify the most likely cause and confirm it with a targeted test before replacing anything.
Some repairs require professional equipment and training. AC system work involving refrigerant is the clearest example. Refrigerant handling requires EPA certification and specialized recovery equipment. Attempting it without both is illegal and dangerous. Diagnose AC symptoms yourself, but hand off the refrigerant work to a certified technician.
Step-by-step guide for select DIY repairs you can safely tackle at home
These repairs are within reach for most car owners with basic tools and patience. Each one follows the same principle: read the procedure first, gather everything you need, and work methodically.
Changing brake pads
- Loosen the lug nuts before jacking the car.
- Raise the vehicle and secure it on jack stands at the manufacturer’s lift points.
- Remove the wheel and locate the brake caliper.
- Remove the caliper bolts and slide the caliper off the rotor. Hang it with a wire hook. Never let it hang by the brake line.
- Slide out the old pads and inspect the rotor for deep grooves or scoring.
- Use a C-clamp or caliper piston tool to compress the caliper piston back into its bore.
- Install the new pads, reinstall the caliper, and torque the bolts to spec.
- Pump the brake pedal until firm before moving the car.
Pro Tip: Apply a thin layer of brake caliper grease to the back of the new pads and the caliper slide pins. Skipping this step causes brake squeal and uneven pad wear within weeks.
Battery replacement
Disconnect the negative terminal first, then the positive. Connect the new battery positive first, then negative. This sequence prevents accidental shorts. Torque specifications for battery terminal clamps are in your service manual. Overtightening cracks the terminal post on some batteries.
Headlight bulb replacement
Most modern vehicles allow bulb access from behind the headlight housing in the engine bay. Check your owner’s manual for the correct bulb type. Halogen bulbs must not be touched with bare hands. The oils from your skin create hot spots that shorten bulb life dramatically. Use gloves or a clean cloth.
Common mistakes and troubleshooting tips for successful DIY repairs
Even experienced home mechanics make avoidable errors. These are the ones that cause the most damage and frustration.
- Guess-torquing fasteners: Every critical fastener has a specification. Torque procedures exist because under-tightening causes parts to loosen and over-tightening strips threads or warps components. Buy a torque wrench and use it.
- Skipping the load test after lifting: After placing jack stands, always push the car before going under. Load shifts happen when stands are not perfectly seated or the ground is uneven.
- Ignoring persistent codes after a repair: If a check-engine light returns within a few drive cycles after your repair, the root cause was not fixed. Rescan, research, and inspect again before replacing more parts.
- Improper fluid disposal: Used oil, coolant, and brake fluid all require proper disposal at certified collection centers. Auto parts stores like AutoZone and O’Reilly Auto Parts accept used oil at no charge.
- Working beyond your skill level: Complex electrical faults, transmission rebuilds, and AC refrigerant work require professional tools and training. Knowing when to stop is not a failure. It is good judgment.
Stopping a repair and calling a professional is always the right call when you are unsure about safety. A botched brake job or a dropped vehicle costs far more than a shop visit.
Key takeaways
Successful DIY car repair depends on three things: the right tools, accurate diagnosis before any parts are replaced, and strict adherence to manufacturer specifications for torque and fluid types.
| Point | Details |
|---|---|
| Build your toolkit first | A socket set, torque wrench, OBD2 scanner, and jack stands cover the majority of home repairs. |
| Safety before everything | Always use jack stands at manufacturer lift points and test stability before going under the car. |
| Diagnose before you buy parts | Scan OBD2 codes and inspect visually before ordering anything to avoid replacing the wrong component. |
| Follow torque specs exactly | Guess-torquing is a leading cause of repair failure. Use a calibrated torque wrench on every critical fastener. |
| Know your limits | AC refrigerant work, transmission rebuilds, and complex electrical faults require professional equipment and certification. |
What I’ve learned after years of wrenching in my own driveway
The first brake job I ever did took four hours. Not because it was hard, but because I kept second-guessing myself and rereading the procedure. That experience taught me something that no car repair tutorial mentions directly: patience is the actual skill. The mechanical steps are learnable. The discipline to slow down, check your work, and not rush a reassembly is what separates a clean repair from a callback.
The biggest mistake I see beginners make is skipping the car maintenance checklist phase and jumping straight to parts replacement. They feel a symptom, search for it online, find one possible cause, and order the part. That approach works maybe half the time. The other half, you have a new part you do not need and the original problem still sitting there.
I also think the DIY community undersells the value of a good service manual. Haynes and Chilton manuals exist for most vehicles and contain torque specs, wiring diagrams, and step-by-step procedures written for non-professionals. They cost twenty dollars and save hundreds. If you are serious about understanding your maintenance intervals, your service manual is the first investment to make, not the last.
One more thing: do not let a single bad experience stop you. Every experienced home mechanic has a story about a stripped bolt, a wrong part, or a repair that took three times longer than expected. That is not failure. That is how the knowledge gets built.
— Chally
Let Carjourney keep your repairs organized

Carjourney is built for car owners who take their maintenance seriously. The platform uses AI to scan your service documents, track what has been done, and surface what is coming up next based on your exact vehicle and build. Instead of hunting through receipts or relying on generic schedules, you get a maintenance history that actually reflects your car. Whether you are tracking oil changes, brake pad replacements, or upcoming fluid intervals, Carjourney puts everything in one place. Start managing your repairs the smart way at Carjourney and stop guessing what your car needs next.
FAQ
What tools do I need to start DIY car repairs?
A socket set, torque wrench, OBD2 scanner, floor jack, and jack stands cover the majority of home repairs. Add an oil drain pan, funnel, gloves, and safety glasses to complete a solid starter kit.
How do I know when a car problem is too complex for DIY?
AC refrigerant work, transmission rebuilds, and complex electrical faults require professional tools and EPA certification in some cases. If you cannot confirm the root cause after scanning and inspecting, a professional diagnosis is the right next step.
What is the correct way to dispose of used motor oil?
Used motor oil must go to a designated recycling or collection site, not household trash or drains. Most auto parts retailers, including AutoZone and O’Reilly Auto Parts, accept used oil at no charge.
Can an OBD2 scanner tell me exactly what part to replace?
No. An OBD2 scanner identifies the faulted system or circuit, not the specific broken component. Use the code to narrow your inspection, then confirm the root cause visually or with a targeted test before ordering parts.
How often should I check my car’s fluid levels?
Check tire pressure, oil, coolant, and brake fluid monthly and before any long trip. Your owner’s manual specifies the correct fluid types and change intervals for your exact vehicle.