 carjourney
From the CarJourney journal
Aftermarket Parts Inventory Guide for Builds
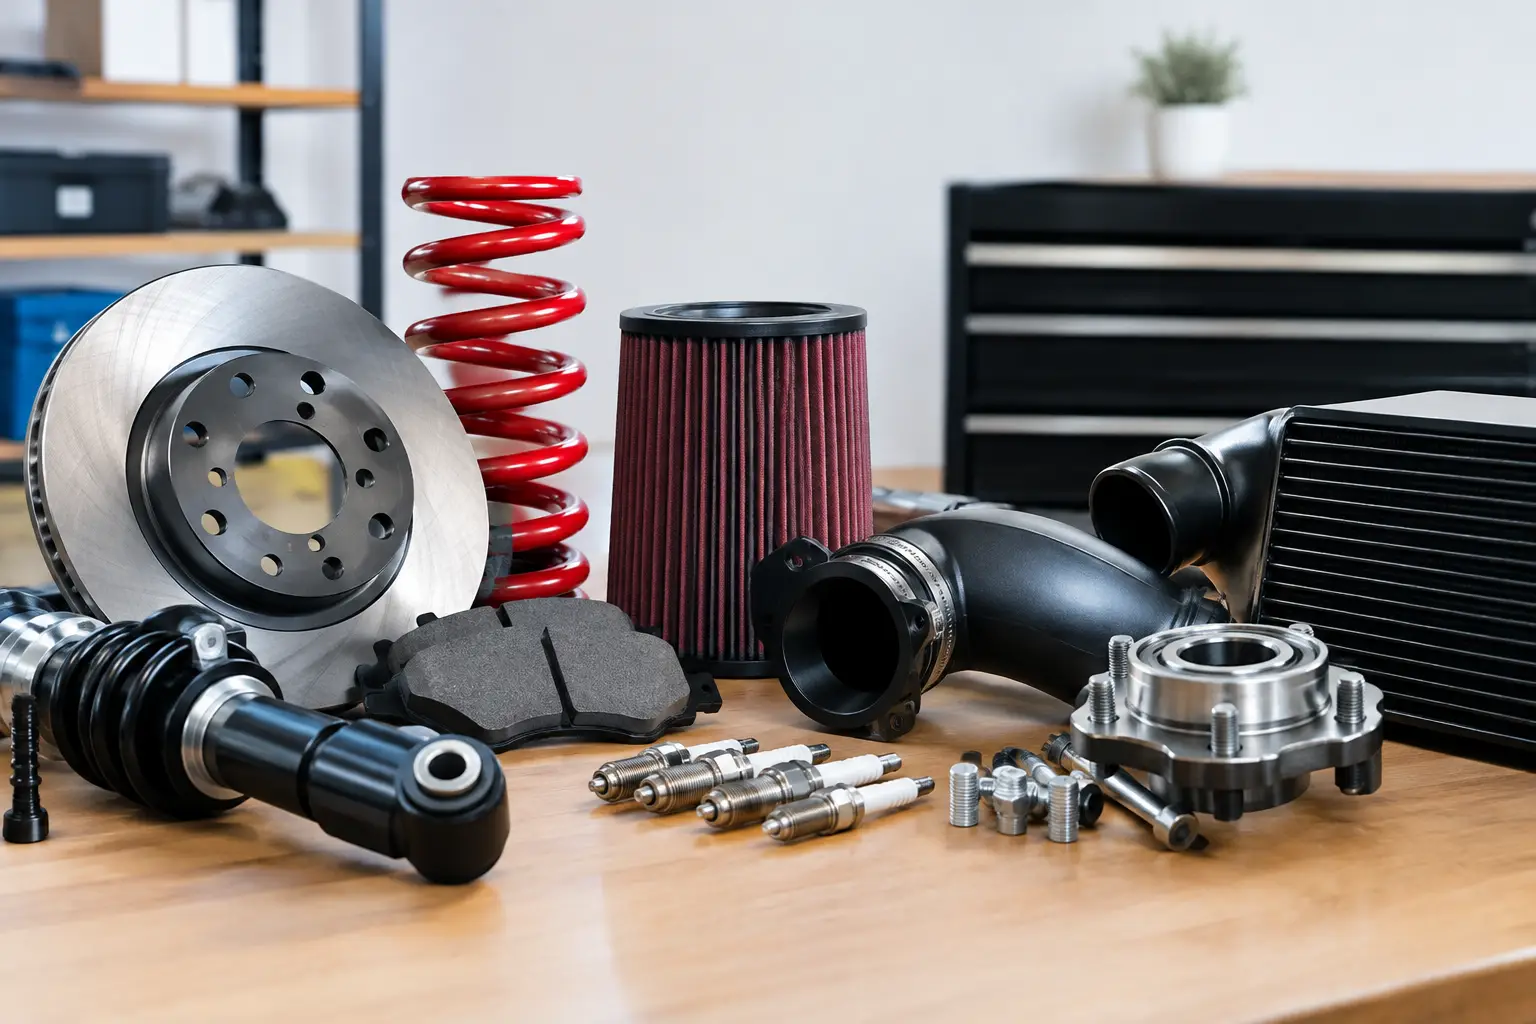
A pile of boxes in the garage can look like progress. Six months later, it can also become a missing receipt, an unknown part number, and a suspension setup nobody can explain. This aftermarket parts inventory guide gives your build a system, so every upgrade stays connected to its cost, fitment, service needs, and story.
For enthusiasts, an inventory is not just a list of what is on the car. It is proof of what you installed, what you still own, what needs attention, and how much you have invested. That matters when you are diagnosing a problem, planning the next phase, ordering replacement hardware, or showing a serious buyer why your vehicle deserves their trust.
Why aftermarket parts deserve their own inventory
Factory service records are relatively straightforward. An oil change has a date, mileage, fluid type, and receipt. Modifications carry more context. A set of wheels may involve tire sizing, offsets, center bore adapters, lug hardware, sensors, alignment settings, and the original wheels stored in the corner of the garage.
Without a dedicated record, that context disappears fast. You may remember the brand but not the exact model. You may know the exhaust was installed before a road trip but not whether the clamps were retorqued afterward. If a part fails, a warranty claim becomes harder when the purchase date and invoice are buried in an old email.
A good inventory gives you control over all of it. It also prevents an easy mistake: treating the purchase price as the full cost of a modification. Installation, tuning, supporting parts, shipping, taxes, and recurring maintenance belong in the real number.
Start your aftermarket parts inventory with the right categories
Your system should be detailed enough to answer real questions, but simple enough that you will actually update it. Start by separating parts by how they function on the vehicle: performance, suspension and steering, brakes, wheels and tires, exterior, interior, lighting, electronics, drivetrain, and recovery or utility equipment.
This is more useful than sorting only by brand. When you need to know what is due for inspection before a track day, you want to see the brake pads, fluid, lines, and cooling upgrades together. When you are troubleshooting a noise, grouping mounts, control arms, sway bars, and coilovers gives you a clearer place to start.
It also helps to label each item by status. Installed, in storage, sold, returned, or planned are usually enough. The status matters because a part you own is not always a part currently fitted to the car. Keeping removed OEM equipment in the same record can protect value later, especially for a collector vehicle or a clean, reversible build.
Record the details that solve future problems
For every installed part, capture the manufacturer, product name, part number, purchase date, purchase price, source, and installation date. Add the mileage at installation whenever the part affects wear, safety, or maintenance.
Then capture the details specific to that component. For a turbocharger, note the tune, boost target, fuel requirements, and supporting hardware. For coilovers, save spring rates, ride height settings, damper clicks, alignment specs, and corner-balance information if you have it. For wheels, record diameter, width, offset, tire size, load rating, and the lug or spacer setup used.
Photos are worth adding even when the part seems obvious. Take one photo of the product label or serial number, one during installation if it reveals routing or hardware, and one of the finished setup. Those images can save time when you need to identify a revision, reorder a component, or explain the build to a shop.
Track fitment, not just the part
The same aftermarket part can fit differently across trims, model years, drivetrains, and production changes. “Fits 2015-2020” is rarely enough information for a long-term record.
Write down the exact vehicle configuration the part is installed on, including engine, transmission, trim, and relevant options. If installation required trimming, custom brackets, a wiring adapter, coding, or calibration, document that too. A future owner, technician, or even your future self needs to know what is stock and what was changed to make the part work.
This is especially valuable for parts that affect safety systems or emissions compliance. A tune, brake conversion, lighting modification, seat, harness, or suspension component may have legal, inspection, or insurance implications depending on your state and how the vehicle is used. An inventory is not a substitute for checking those rules, but it gives you an accurate record to work from.
Fitment notes should also include compatibility conflicts. Maybe your front brake kit clears a 17-inch wheel only with a specific spoke profile. Maybe a skid plate conflicts with an aftermarket transmission cooler. These are the kinds of details that keep a future purchase from becoming an expensive return.
Treat maintenance items as parts with a schedule
Some upgrades are install-once items. Others need routine attention. Air filters, catch cans, brake pads, tires, coilovers, belts, bushings, fluids, batteries, and off-road recovery gear all need inspection or replacement at different intervals.
Attach a mileage- or time-based reminder to parts that wear out or require checks. The exact interval depends on use. A weekend cruiser may inspect its coilovers annually, while a track car may need a closer look after every event. Tires that age out before they wear out need a date reminder, not only a mileage reminder.
This is where maintenance tracking and build tracking should work together. A modification changes the service plan. Bigger brakes may require a different pad inspection routine. Forced induction may change oil service expectations. A lowered vehicle may need alignment checks more often. Logging the modification without updating the maintenance plan leaves part of the job unfinished.
A centralized record in CarJourney can keep the part, receipt, photos, cost, install mileage, and future reminder tied to the same vehicle. That is far more useful than a spreadsheet on one device, receipts in a drawer, and a reminder app that has no idea what changed on the car.
Keep receipts, warranties, and serial numbers attached
Receipts are easy to ignore until something breaks. Save a digital copy as soon as the purchase arrives, and attach it to the part entry. Include order confirmations for online purchases, invoices for local shops, and any warranty registration confirmation.
For higher-value components, record the serial number, warranty length, and any conditions that could affect coverage. Some manufacturers require professional installation, specific fluids, or documented maintenance. If a claim depends on proof, having the paperwork connected to the part can save a frustrating back-and-forth.
Do the same for tuning and electronics. Save calibration files, device serial numbers, license information, and the name of the tuner or installer. If a handheld tuner is lost or the car changes hands, those records can be as valuable as the hardware itself.
Include the costs people forget
A clean inventory should show what the build actually cost, not just the price displayed on the product page. For each part, add shipping, tax, installation labor, fabrication, tuning, consumables, and any supporting parts required to make the upgrade work.
That total helps you make smarter decisions on the next purchase. It may reveal that a cheaper component became more expensive after adapters and labor. Or it may show that buying a complete kit was the better value because it avoided fitment surprises.
Cost tracking also gives you a realistic picture of resale. You will rarely recover every dollar spent modifying a vehicle, and some changes narrow the buyer pool. But organized documentation can help a buyer understand the quality of the parts, the care behind the installation, and the difference between a well-planned build and a collection of unknowns.
Manage spares and removed factory parts
Do not overlook what is off the vehicle. Inventory spare sensors, filters, belts, brake pads, wheels, and replacement hardware with their storage location. “Garage” is not specific enough when you are searching for an extra boost solenoid the night before an event. Use a clear location such as “shelf B, bin 3” or “basement parts rack.”
Removed OEM parts deserve the same treatment. Keep the original component name, condition, mileage removed, and location. Factory wheels, intake parts, exhaust sections, suspension components, and trim pieces can make a vehicle easier to return to stock or more attractive to the right buyer.
Build a record you will keep using
The best aftermarket inventory is not the most complicated one. It is the one you update when a box arrives, a part goes on the car, or a shop completes work. Set up the baseline once, then make each new entry part of your install routine.
Your build is more than what is visible at a car meet. It is the choices, maintenance, and details behind every mile. Keep that history organized, and the next repair, upgrade, or sale starts with confidence instead of guesswork.