 carjourney
From the CarJourney journal
How Do You Plan a Staged Car Build?

Last Updated: November 16, 2026
Quick Summary
A staged car build starts with a clear goal for how the finished car will be used, followed by an honest inspection of the base vehicle. Then set a budget with contingency and work through stages in dependency order, testing the car at each gate before moving on.
- Define primary use, budget ceiling, and ownership length before buying parts.
- Split the budget across baseline repairs, upgrades, labor, and a 15 to 20 percent contingency.
- Fix chassis and reliability issues before handling, braking, and power upgrades.
- Pass a safety and reliability gate after each stage before starting the next one.
- Log fitment, dependencies, and install dates for every part to avoid costly conflicts.
Table of Contents
- Defining the Finished Build Goal and Intended Use
- Choosing and Assessing a Suitable Vehicle or Chassis
- Setting a Realistic Project Car Build Budget and Contingency
- Mapping Out the Project Car Build Stages in Order
- Building a Project Car Build Timeline and Milestones
- Creating a Project Car Modification Checklist and Parts Compatibility Log
- Deciding Which Stages to Do Yourself and When to Hire Out
- Frequently Asked Questions
Defining the Finished Build Goal and Intended Use
Every good project car starts with a clear answer to one question: what will this car do when it's finished? A weekend track car, a daily driver with a little attitude, and a show car each demand different parts, budgets, and timelines, so define the goal of your staged car build before you touch a wrench.
Here's the mistake most builders make. They start with the parts they want, not the job they need the car to do. Three years later, they own a stiff suspension that makes their commute miserable.
Ask yourself three things:
- Primary use: Daily driving, track days, drag strip, show, or off-road?
- Budget ceiling: What can you spend without putting the project at risk?
- Ownership length: Are you keeping it for ten years or selling in two?
Watch out: A goal that says "make it faster" is too vague to plan around. Name a target, such as "a reliable car that handles one track day a month."
Keep the goal on paper. Every later decision, from engine swaps to wheel choices, should be checked against it.
Choosing and Assessing a Suitable Vehicle or Chassis
The base vehicle sets the ceiling for everything you do next. A solid frame with a clean history gives you room to grow. A rusted or wrecked starting point can eat your budget before the build even begins.
Start with an honest inspection. Look for frame rust, prior accident repair, flood damage, and signs of deferred maintenance. Pull the vehicle's history, and check it against the VIN before you buy.
Good starting points include:
- Cars with strong aftermarket support and parts availability
- Models with known reliability in their stock form
- Chassis with straight frames and no hidden structural damage
A common mistake is buying the cheapest car on the lot. The purchase price is only the start. A cheap car with a failing transmission often costs more than a sound one.
Setting a Realistic Project Car Build Budget and Contingency
A project car budget needs three layers: parts, labor, and a contingency fund. Most builders forget the third one, and that is usually where projects stall. The deeper problem is that a single lump-sum number tells you nothing about whether you can afford stage two after stage one runs over.
How To Plan a Project Car. All the Things you Might Not Know!
The Skid Factory
Build the budget stage by stage, and allocate before you buy. A workable pattern most practitioners use is to split the total into four buckets:
- Baseline repairs and reliability: roughly 25 to 35 percent of the total
- Performance and handling upgrades: roughly 30 to 40 percent
- Labor and specialist work: roughly 15 to 25 percent, higher if you are not doing the wrenching
- Contingency: 15 to 20 percent on top of everything else
Those ranges are starting points, not rules. A rust-belt chassis pushes the baseline bucket up. A car you plan to track pushes the upgrade bucket up.
Separate parts from labor in every stage. A $1,200 set of coilovers is not a $1,200 stage if installation and a proper alignment add several hundred more. When you price a stage, price the whole job: parts, consumables, fluids, fasteners, alignment, tuning, and any tools you have to buy.
Add contingency per stage, not just to the project total. If stage one is chassis and reliability work, hold back 15 to 20 percent of that stage's number for the rusted brake line or cracked mount you find once the car is apart.
Watch out: Don't spend the contingency on upgrades. Once it's gone, the next surprise repair turns into a stalled project, and stalled projects are usually sold at a loss.
Track actual spend against the stage allocation after every purchase. A basic spreadsheet with columns for stage, budgeted amount, actual cost, and running variance is enough. Update it the day you buy, not at the end of the month, because the variance is what tells you whether the next stage is still funded.
Some builders also finance larger projects. Lenders often treat heavily modified vehicles differently than stock cars, so check terms before committing. Financing Options for Heavily Modified Vehicles covers what to ask lenders.
Suggested budget share by stage of a project car build
Baseline repairs and reliability 25 to 35 percentPerformance and handling upgrades 30 to 40 percentLabor and specialist work 15 to 25 percentContingency 15 to 20 percentMapping Out the Project Car Build Stages in Order
The sequence of work matters as much as the parts you choose. Install a big turbo before the brakes are sorted, and you're building a car that can't stop. The order below is built around dependencies: each stage assumes the one before it is finished and verified, because later upgrades lean on earlier ones.
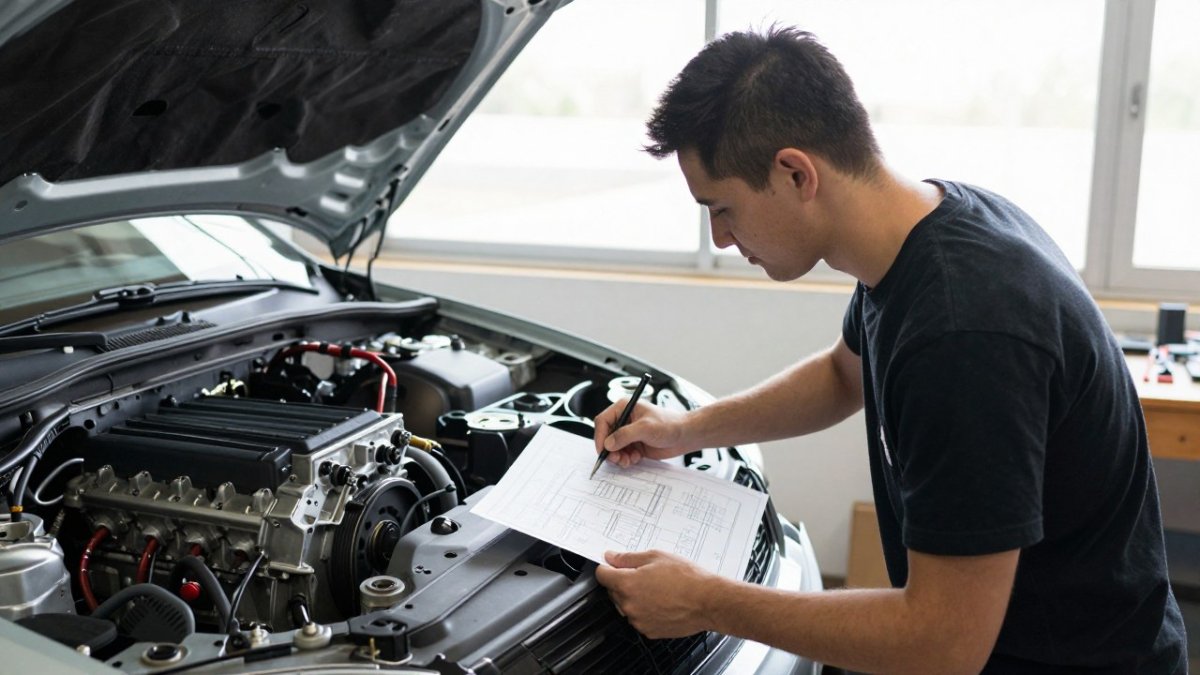
- Baseline assessment and chassis repair. Rust, frame damage, and structural repair come first. Nothing bolted to a flexing or rotting shell stays aligned for long.
- Reliability and safety systems. Cooling, fuel delivery, electrical, brakes in stock form, tires, and steering. The car must be healthy and predictable before it is fast.
- Handling foundation. Suspension bushings, dampers, springs, and a proper alignment. Do this before power, because more power on tired suspension is a handling problem you cannot tune out.
- Braking upgrade. Bigger brakes, lines, and fluid matched to the intended use. This follows suspension because brake and wheel fitment depend on the final ride height and wheel size.
- Engine and drivetrain performance. Intake, exhaust, tuning, forced induction, clutch, and driveline. Power goes last because every supporting system has to be ready to handle it.
- Cosmetics, interior, and final tuning. Paint, trim, seats, and a final alignment and dyno session. Finish work goes last so it is not damaged by the mechanical stages.
Each stage depends on the one before it. Suspension changes affect alignment, and alignment affects tire wear. A brake kit may require a specific wheel diameter, which changes tire choice, which changes gearing and speedometer calibration. Plan for those knock-on effects by writing the dependency next to each part in your build sheet before you order it.
Repairs and Reliability Before Performance
Performance parts make a sick car faster. They don't make it healthy. Fix worn bushings, leaking seals, and tired cooling systems first. A common mistake is chasing horsepower while the car still overheats in traffic. Reliability work is less exciting, but it's the foundation everything else sits on, and it is the cheapest stage to get wrong, because a failed reliability item usually takes the new performance part with it.
Safety and Reliability Gates Between Stages
Treat each stage as a gate. Don't move on until the current stage passes a checklist. Test the car after each major change, whether that means a short drive, a brake check, or a leak inspection.
Passing a gate might mean:
- No fluid leaks after a 20-minute drive
- Brakes stop straight under firm pedal pressure
- Temperatures stay stable under load
- Electrical systems show no warning lights
- No new noises, vibrations, or handling changes you cannot explain
Log each gate result with the date and mileage. Your records prove the work was done right, which builds buyer trust later, and they give you a clean point to roll back to if the next stage introduces a problem.
Watch out: Skipping a gate to save a weekend is how a small alignment issue becomes a set of ruined tires or a brake problem discovered at speed. The gate exists to catch the cheap failure before it becomes the expensive one.
Building a Project Car Build Timeline and Milestones
A timeline turns a big dream into a series of smaller wins. Break the build into milestones, assign a rough date to each, and review it monthly. You can model your own schedule on a project car timeline example that actually works.
A sample structure might look like this:
| Milestone | Typical focus | Review point |
|---|---|---|
| Month 1 | Inspection and baseline log | Parts list finalized |
| Months 2-3 | Chassis and reliability repairs | Gate 1 passed |
| Months 4-6 | Brakes and suspension | Gate 2 passed |
| Months 7+ | Engine work and finish | Final test and records review |
Real projects run longer than planned. Expect delays from parts backorders and labor scheduling. Adjust the timeline instead of abandoning it.
Milestones also make it easier to decide when to bring in outside help, covered later in this guide.
Creating a Project Car Modification Checklist and Parts Compatibility Log
Parts that look compatible on a website sometimes don't fit together. A checklist catches conflicts before you pay for them.
For each part, record:
- Fitment: Exact year, make, model, and submodel it's rated for
- Dependencies: Other parts it requires, such as a tune or a matching ECU
- Conflicts: Components it can't run alongside
- Install date and mileage: For resale records and future troubleshooting
Check fitment against the actual car, not just the listing. Measure clearances and confirm bolt patterns before ordering.
A written log also protects you when parts are removed or replaced. Logging modifications properly is covered in How to Log Car Modifications: A Complete Guide.
Deciding Which Stages to Do Yourself and When to Hire Out
Not every stage is a good DIY project. Match each task to your skill level, tools, and the risk if it goes wrong.
Good candidates for DIY include:
- Basic maintenance and fluid changes
- Interior and cosmetic work
- Bolt-on parts with clear instructions
Consider a professional for:
- Structural welding or frame repairs
- Brake system work tied to safety
- Engine internals and tuning
- Anything that affects legal roadworthiness or registration
Check your state's rules for modified vehicles. Requirements for inspection and registration vary, so confirm current rules with your state DMV.
If you hire out a stage, keep the invoice and add it to the build record. Documented professional work carries real weight with buyers. Plans and pricing for tracking this work are available if you want the records kept in one place.
Planning a staged build gets easier when every inspection, part, and milestone lives in one place. CarJourney helps you keep a shareable record of your project from the first day. Start free and build a history that proves your work.
Frequently Asked Questions
How do you plan a project car build?
Start by writing one clear goal for the finished car, such as a daily-driven track-capable coupe or a show car for local events. Then assess the vehicle's condition, price a realistic budget with a contingency of roughly 15 to 20 percent, and list every planned change. Sort those changes into stages ordered by dependency, putting repairs and reliability work ahead of performance upgrades. Record each stage in a shared log so you can track spending, parts, and progress as the plan changes.
What order should you build a car in?
Address the foundation first: inspect the body, frame, brakes, suspension, cooling, and fuel system before adding power. Replace worn wear items and fix any leaks or electrical faults next. Once the car is reliable and roadworthy, move to handling upgrades such as suspension and brakes, then engine and drivetrain changes. Cosmetic and interior work usually comes last so it is not damaged by later stages. Check that each new part is compatible with what is already installed.
What should you upgrade first on a project car?
Upgrade the parts that make the car safe and predictable before anything that adds speed. Brakes, tires, and suspension bushings usually come first because they affect stopping and handling at any power level. After that, address cooling and fuel delivery if you plan to add power. Avoid major engine modifications until the baseline mechanical systems pass a road test, since extra power exposes weaknesses elsewhere in the drivetrain and chassis.
How do you keep track of parts and modifications?
Keep a single modification log that lists each part, its part number, the stage it belongs to, the purchase date, the price in USD, and whether it was installed by you or a shop. Attach receipts and photos as you go. Note any part that changes the requirements of another component, such as a larger turbo needing upgraded fueling. CarJourney lets you log maintenance and modifications in one digital garage so your build history stays organized and shareable.
 Add carjourney.io as a preferred source on Google →