 carjourney
From the CarJourney journal
Best Practices for Documenting Classic Car Mods
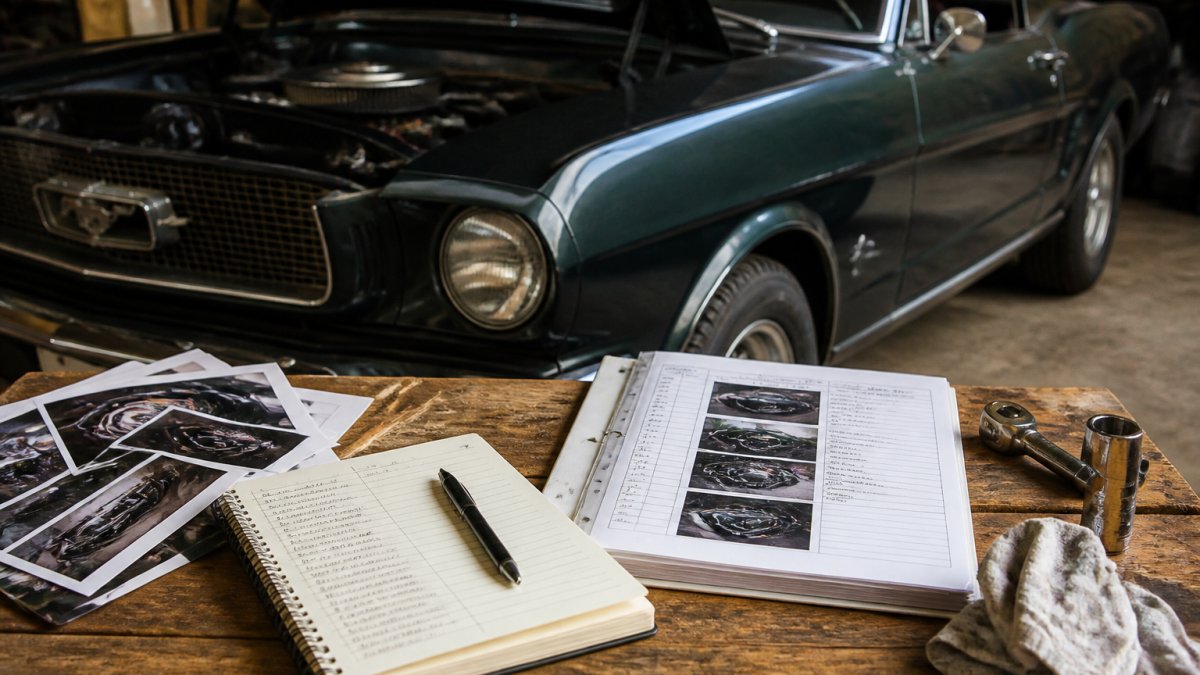
Table of Contents
- Why Documenting Classic Car Mods Matters
- Planning Your Documentation System Before Work Begins
- Creating a Classic Car Build Sheet Template
- Capturing Classic Car Restoration Photos That Prove Your Work
- Maintaining a Classic Car Modification Log
- Organizing Classic Car Maintenance Records and Receipts
- Digital Backup and Long-Term Storage for Your Build History
- Common Documentation Mistakes to Avoid
- Frequently Asked Questions
Last Updated: October 21, 2026
Why Documenting Classic Car Mods Matters
Documenting classic car mods isn't just about keeping receipts, it's about proving your work.
A well-documented build protects your investment, shows future owners what you've done, helps appraisers value your modifications, and keeps you organized.
Many enthusiasts skip this step, thinking they'll remember everything. Years pass, photos get lost, receipts fade, and you can't recall which parts you installed or when.
Pro Tip Start documenting on day one, not after the project ends. Early records are easier to maintain and more complete than trying to reconstruct history later.Planning Your Documentation System Before Work Begins
Before you turn a wrench, decide how you'll document the work to prevent scattered photos and lost receipts.
Choose your format: digital files, printed folders, or both.
Next, identify what you need to track:
- Part numbers and specifications
- Installation dates
- Labor hours and costs
Set up a simple naming system using dates and part names, like "2026-01-15_Engine_Swap_Receipt.pdf." Consistency saves time later.
Create a checklist for each project phase covering what photos you need, what paperwork to collect, and what details to log.
Key Takeaway A documentation plan takes 30 minutes to create and saves hours of scrambling later. Invest that time before you start.Creating a Classic Car Build Sheet Template
A build sheet is your master record, a one-place summary of your classic car mods and modifications.
Your build sheet should include:
- Vehicle identity: VIN, year, make, model, color, original specifications
- Modification summary: What you changed and why
- Parts list: Part numbers, suppliers, installation dates
This template helps you remember what you did, proves authenticity to buyers, supports insurance claims, and references future maintenance.
Keep it updated as you complete each phase, small updates are easier than filling in blanks months later.
Capturing Classic Car Restoration Photos That Prove Your Work
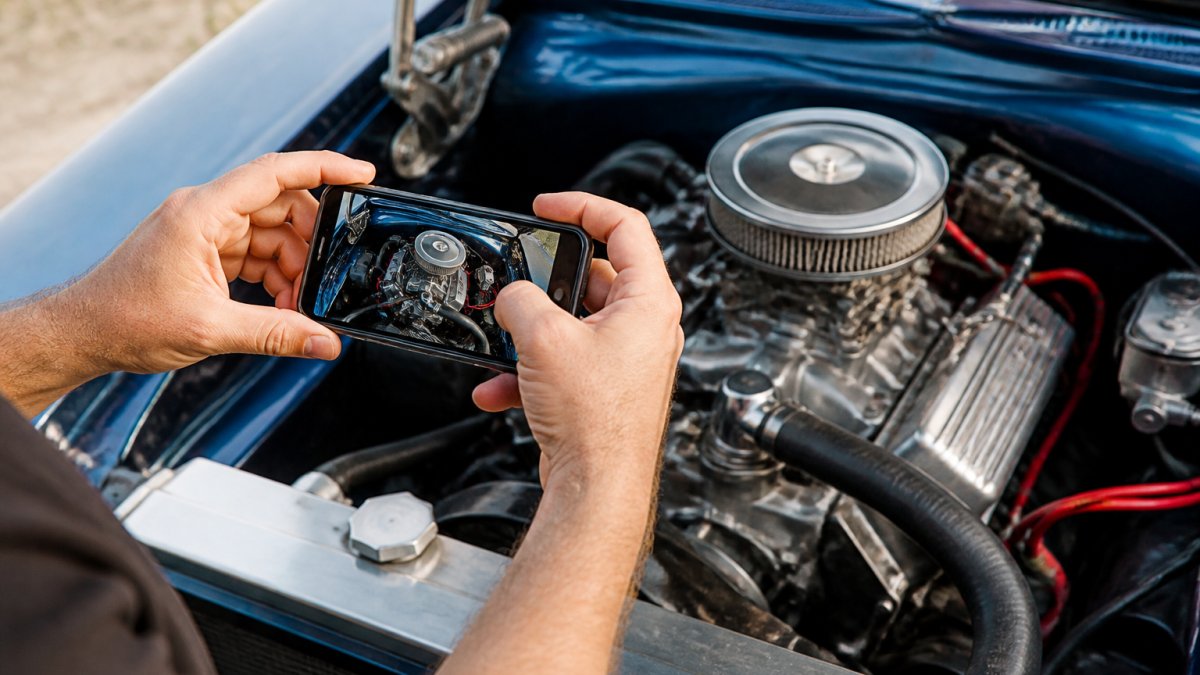
Photos are your strongest evidence, a good sequence tells the story of your classic car restoration.
Take photos at every stage. Before you start. During disassembly. During installation. After completion. This sequence proves the work happened.
For before photos, capture:
- Overall vehicle condition from multiple angles
- Close-ups of problem areas you're fixing
- Original parts before removal
During installation, photograph:
- How parts fit together
- Any custom work or modifications
- Alignment and positioning
After completion, show:
- Final result from multiple angles
- How parts perform in the vehicle
- Any test results or measurements
Use good lighting, natural daylight is best, and include a reference object for scale, like a ruler or coin, especially for small parts.
Date your photos.
Store photos in organized folders with consistent naming, like "Engine_Rebuild_01_Before.jpg," so they're easy to find and share.
Watch Out Blurry or poorly lit photos create doubt. Buyers and appraisers may question whether the work was actually done if they can't see clear evidence. Take the time to get sharp, well-lit images.Maintaining a Classic Car Modification Log
A modification log is a running record of every change, capturing details over time rather than summarizing like a build sheet. Specificity is what makes it useful: a future owner, mechanic, or appraiser should understand exactly what was done, with what parts, by whom, and how to reverse it.
A Copyable Modification Log Template
Use these fields for every entry. Copy them into a spreadsheet, a notebook, or a vehicle-tracking app. Consistency matters more than the tool.
| Field | What to Record | Example |
|---|---|---|
| Entry ID | Sequential number for cross-referencing | MOD-014 |
| Date | Date work completed (not ordered) | 2026-03-14 |
| Odometer | Mileage at completion | 84,212 mi |
| System | Engine, suspension, brakes, electrical, interior, paint/body, wheels/tires | Brakes |
| Modification | Short description | Front disc brake conversion |
| Reason | Why the change was made | Improve stopping distance and safety |
| Part number(s) | Manufacturer part number, not just brand | Wilwood 140-11056-D |
| Supplier | Where purchased | Summit Racing |
| Installer | Self, shop name, or contractor | Self |
| Labor hours | Actual or estimated | 6.5 hrs |
| Parts cost | USD | $1,240.00 |
| Labor cost | USD (if paid) | $0.00 |
| Total cost | USD | $1,240.00 |
| Specifications | Torque values, fluid type, clearances, settings | 85 ft-lb spindle nuts; DOT 4 fluid |
| Reversible? | Yes / No / Partial, and what reversal requires | Yes, retain original drum components |
| Evidence | Photo IDs, receipt IDs, invoice IDs | PH-2026-03-14-01 through -12; RCP-0087 |
| Test results | Measurements, road test notes, inspection outcome | 60-0 mph stop in 132 ft; no fade after 5 stops |
| Open issues | Anything unresolved | Slight pedal travel; re-bleed at 500 mi |
Recording Technical Detail That Future Owners and Mechanics Need
A log entry that says "installed new carburetor" is nearly worthless. Record details that let someone else understand and service the work:
- Part numbers and specifications. Record the manufacturer part number, the model or size, and any critical specs (cfm, jetting, spring rate, wire gauge). If a part is discontinued, note the equivalent.
- Settings and adjustments. Record carburetor jet sizes, ignition timing, ride height, alignment specs, and torque values. These are the details a mechanic needs to diagnose problems later.
- Wiring and plumbing. For electrical or fuel changes, note wire colors, fuse ratings, relay locations, and hose routing. A simple hand-drawn diagram photographed and filed with the entry is enough.
Linking Evidence to Every Entry
A log entry is only as strong as its attached evidence. Use the Entry ID as the anchor:
- Name photos with the Entry ID and a sequence number:
MOD-014_PH-01_before.jpg,MOD-014_PH-07_installed.jpg. - Name receipts and invoices with the Entry ID:
MOD-014_RCP-0087.pdf. - In the log, list the evidence IDs so anyone can find the supporting files without searching.
This cross-referencing turns scattered photos and receipts into a verifiable record, when a buyer or insurer asks for proof, you can produce the entry and evidence in seconds.
Logging Routine Maintenance Alongside Modifications
Log routine maintenance in the same system. Oil changes, brake fluid flushes, tire rotations, and coolant services show consistent care and help future owners understand the vehicle's history, regular maintenance entries often persuade buyers more than a single dramatic build entry.
A Simple Workflow
- Before work begins, create the entry with the planned modification and reason.
- Photograph the baseline condition and any original parts removed.
- During installation, photograph key steps and record specifications as you go.
- On completion, fill in costs, labor, test results, and evidence IDs.
- Update the entry if open issues are resolved later.
Organizing Classic Car Maintenance Records and Receipts
Receipts and invoices prove what you paid and bought, essential for resale transparency, insurance claims, and, depending on your state, safety inspections and emissions compliance. Organize them so you can produce the right document on request, not after a frantic search.
Categorize Receipts by System and Purpose
Organize receipts by category so you can pull a complete set for a specific request:
- Engine and drivetrain
- Suspension and steering
- Brakes
Within each category, file by date. Keep originals in a dry place and photograph or scan them as backup. Thermal receipts fade; a digital copy preserves the information.
What to Record for Each Receipt
For every receipt or invoice, record:
- Date of purchase
- Vendor name and contact information
- Part description and manufacturer part number
Create a master spreadsheet with columns for date, vendor, item, part number, cost, category, and file location, your searchable inventory for proof of purchase.
Documentation for Insurance Disclosures
Insurers increasingly ask whether a vehicle has been modified and how. Keep a modification summary listing each change, its cost, and its effect on value, with receipts and photos attached. With agreed value coverage, update the policy with documented modifications and keep the policy and endorsements with your records.
Safety Inspection and Emissions Documentation
Some states require safety inspections or emissions testing, and modifications can affect both. Keep:
- Inspection reports and dates
- Emissions test results
- Receipts for emissions-related parts
If a modification could affect emissions compliance, retain the manufacturer's documentation showing the part is legal for the vehicle's intended use. Do not assume a part is compliant; keep the paperwork that supports the claim.
Records for Shops and Contractors
If a shop performed work, keep the invoice with the shop's name, work performed, labor and parts costs, and any labor warranty. Note the shop's contact information so a future owner can verify the work, a documented shop invoice is stronger evidence than a self-written note.
Warranty Documentation
Keep warranty documents with the corresponding receipt. Note the warranty period, what it covers, and whether it transfers to a subsequent owner. Record expiration dates in your log so you know when coverage ends.
Pro Tip Photograph receipts immediately after purchase and store digital copies in cloud storage. If the original fades or is lost, you still have proof of the purchase, the date, and the amount. Watch Out Missing receipts for emissions-related or safety-related parts can complicate inspections, insurance claims, and resale. If you cannot document a part, disclose that in your records rather than leaving a gap a buyer or inspector will notice.Digital Backup and Long-Term Storage for Your Build History
Digital storage is more reliable than paper: searchable, shareable, and it survives a flooded or burned garage.
Choose a backup system:
- Cloud storage (Google Drive, Dropbox, OneDrive)
- External hard drive stored safely
- Both cloud and external backup
Cloud storage lets you access files anywhere, syncs across devices, and shares files with buyers or mechanics without physical copies.
External hard drives are good insurance if cloud services go down or your account is compromised.
Organize your digital files logically:
- Create a main folder for your vehicle (Year_Make_Model)
- Create subfolders for each system (Engine, Suspension, Interior, etc.)
- Create subfolders for documentation types (Photos, Receipts, Build_Log, Specifications)
Back up regularly, a monthly 15-minute routine beats waiting for disaster.
Common Documentation Mistakes to Avoid
Many enthusiasts make the same errors. Learn from them:
Mistake 1: Starting too late. Half the work is done before you think about documentation. Start on day one, even mid-project, document what you can going forward.
Mistake 2: Incomplete photo records. You photograph the finished product but skip the process.
Mistake 3: Losing receipts. You know you bought parts. You can't find proof.
Mistake 4: Vague descriptions. Your log says "engine work", rebuild? Tuning? Repair?
Mistake 6: No backup system. Your hard drive fails. Your garage floods.
Strong documentation transforms your classic car mods from a personal memory into a transferable asset.
Frequently Asked Questions
What should you include in a classic car modification record?
A complete modification record includes the part name and part number, the date installed, labor costs and parts costs, the installer or mechanic name, before-and-after photos, the reason for the upgrade, and whether the modification is reversible. For performance or safety upgrades, note the technical specifications (horsepower gains, braking distance improvements, etc.). Store receipts and invoices alongside each entry. This level of detail proves authenticity to future buyers and appraisers, and helps you remember why you made each choice.
How do you document a classic car restoration?
Start by recording your vehicle's VIN, chassis number, and original specifications before any work begins. Take baseline photos of the car's condition from multiple angles. Create a chronological log with dates, descriptions of work completed, photos at each stage, and all receipts. Separate restoration work (returning the car to original condition) from modifications (adding new features). Keep records of research into the vehicle's history, any authentication documents, and before-and-after comparisons. Digital tools that sync across devices make it easier to update your log in real time from the garage.
How do modification records affect a classic car's resale value?
Detailed modification records increase resale value by proving the work was done professionally, using quality parts, and installed correctly. Buyers and appraisers trust documented upgrades more than unverified claims. Records showing reversible modifications (like upgraded suspension or modern infotainment) appeal to buyers who value the improvements. However, records also reveal permanent changes, some buyers want originality. Transparent documentation of both types builds credibility and helps attract the right buyer for your specific build.
What's the best way to organize scattered receipts and photos from years of work?
Start by sorting receipts and photos by date or by modification type. Photograph each receipt clearly (front and back) and store digital copies in a cloud backup. Create a spreadsheet or use a dedicated tool with columns for date, part name, cost, and photo reference. Group related modifications together (engine work, interior upgrades, etc.) so the history reads chronologically. Set up a consistent naming convention for photo files that includes the date and part name. Once organized, review the complete record once per year to catch gaps and ensure nothing is lost.
Start free