
Guide to Organizing Car Projects for Digital-First Builders
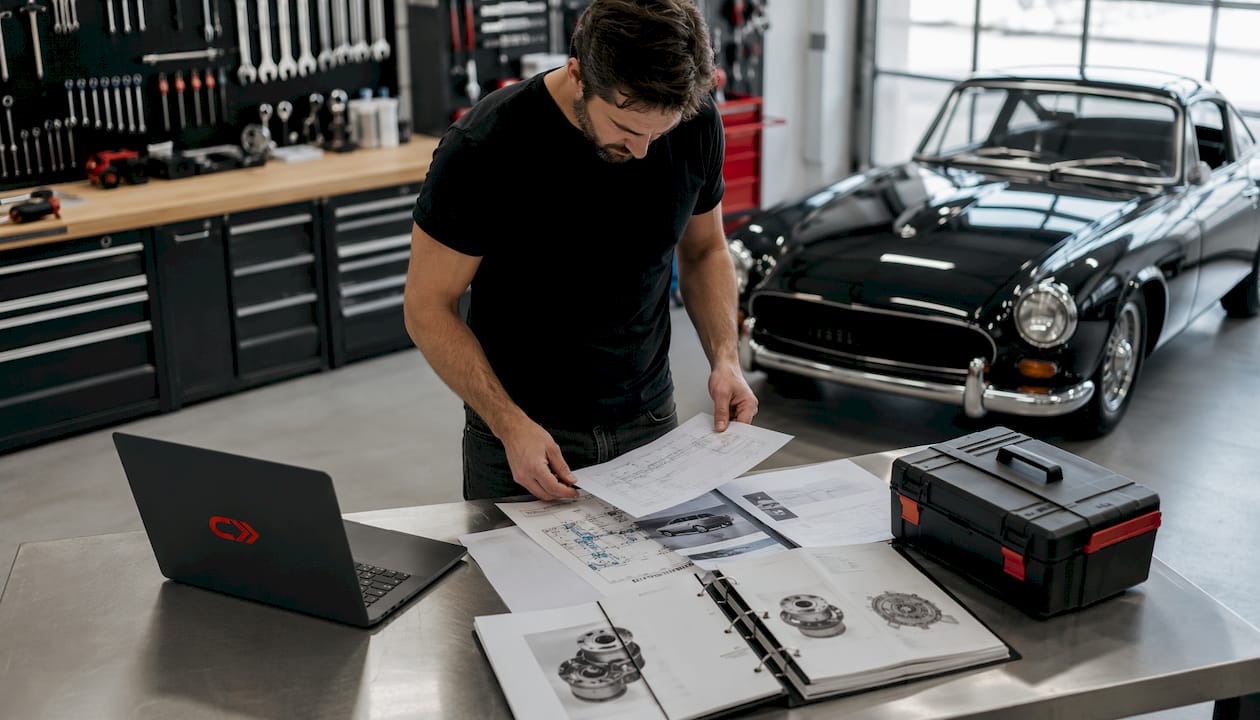
The most reliable system for finishing a car project comes down to four components: a one-page Project Bible, a budget spreadsheet that separates parts from labor and outsourced from DIY, a centralized documentation hub, and a simple task workflow. Build those four things first, and the rest follows.
According to Marco Antonio Pulisci, successful builders prioritize consistent progress over chasing perfection, and intentional planning is what prevents scope creep and abandoned projects. Carjourney is the recommended digital hub for tying all four components together.
Start this week with these three actions:
- Create your Project Bible one-pager (purpose, scope, top three milestones, acceptance criteria).
- Open a budget spreadsheet and add every part or receipt you already have, categorized as parts, DIY labor, or outsourced.
- Import or photograph your existing documentation into Carjourney so it lives in one place from day one.
Table of Contents
- How do you build a one-page Project Bible?
- How do you set up a budget spreadsheet that actually works?
- Why does documentation make or break a long restoration?
- What does a repeatable garage workflow look like?
- Which templates and tools make organization painless?
- What does a realistic restoration timeline look like?
- What are the most common reasons car projects fail?
- Key Takeaways
- Why process beats perfection every time
- Carjourney brings the whole system together
- Sources and further reading
How do you build a one-page Project Bible?
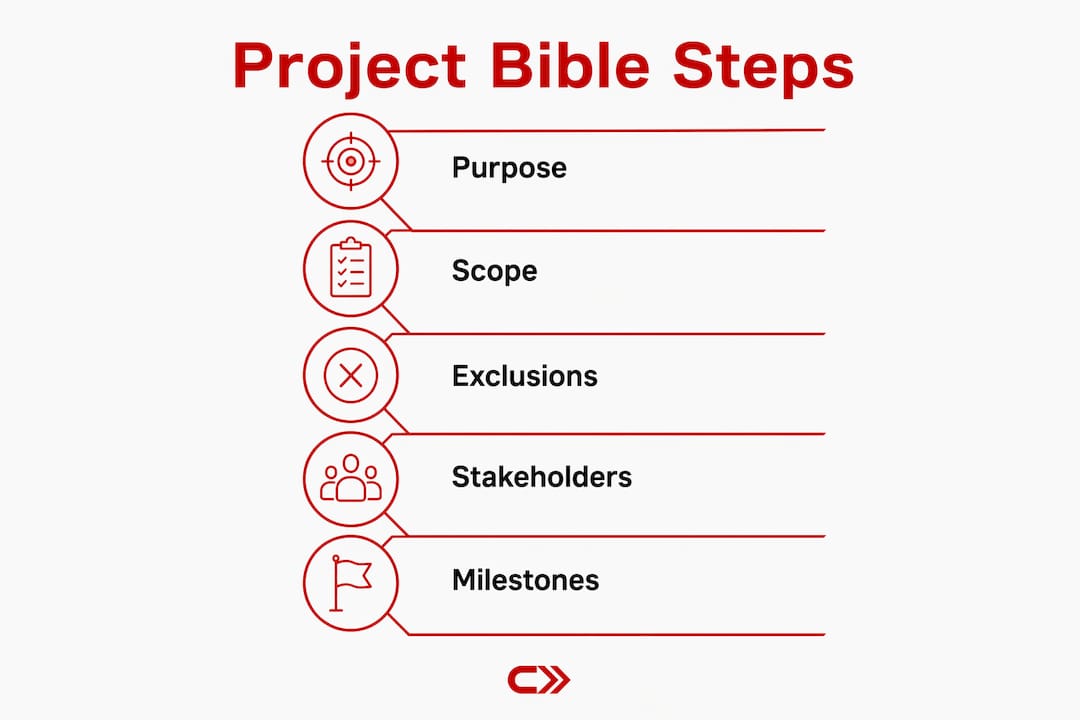
A Project Bible is the single document that defines what your build is, what it is not, and what “done” looks like. Without it, every shiny part becomes a potential detour.
Start with four fields: purpose (daily driver, show car, track day weapon), inclusions (what work is in scope), exclusions (what you are explicitly deferring), and top-level acceptance criteria (the conditions that make the build complete). Acceptance criteria might be “passes 30-minute highway drive with no warning lights” or “clears tech inspection at a regional autocross.”
Automotive SPICE MAN.3 defines project management around clear scope, a work breakdown structure, and regular status reviews. You can scale that framework down to a hobby build by converting your scope into three to five phases, each with a named milestone deliverable.
Example milestone template:
- Assessment complete: condition report, parts fitment checks, and compatibility confirmed.
- Teardown complete: all subassemblies photographed, hardware labeled and stored.
- Mechanical complete: engine, drivetrain, and suspension rebuilt and bench-tested.
- Body and paint complete: panel gaps within spec, paint cured.
- Final road test: 30-minute drive, no faults.
Early fitment checks prevent buying incompatible components later, which is one of the most common budget killers in custom builds.
Your stakeholder list belongs on the same page: the upholstery shop, alignment shop, parts vendors, and any fabricators. Store their contact info and invoice links directly in the Project Bible or link to a dedicated contacts tab.
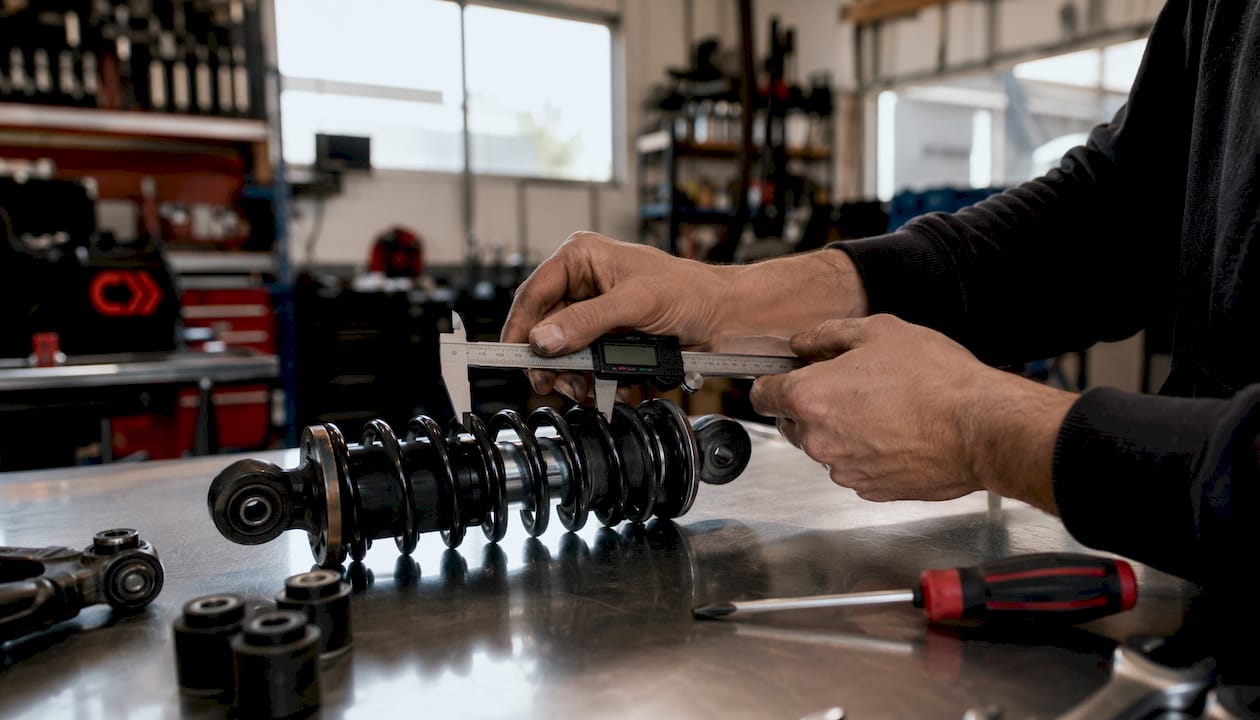
Pro Tip: Keep the Project Bible to one printed page. Anything deeper lives in a linked document. If you cannot summarize the build on one page, the scope is not defined yet.
How do you set up a budget spreadsheet that actually works?
The recommended layout separates outsourced work from DIY and distinguishes parts costs from labor so totals update dynamically. Here are the columns that matter:
| Column | Purpose |
|---|---|
| Item / Description | What the part or task is |
| SKU / Part Number | For reorders and warranty claims |
| Category | Engine, suspension, body, electrical, etc. |
| Vendor | Supplier name for invoice matching |
| Qty + Unit Cost | Drives the parts subtotal |
| DIY Labor Hours | Your time at an estimated hourly rate |
| Outsourced Cost | Shop or contractor invoice total |
| Outsourced Flag | Yes/No toggle for dynamic filtering |
| Status | Ordered, received, installed, returned |
| Invoice Link | PDF or cloud file URL |
Separate your parts subtotal from your labor subtotal in a summary row at the top. That single view tells you immediately whether the build is running over on parts, on labor, or both.
Budget like it is real: include a contingency on top of your estimated total. Apply it at the project level, not per line item, and review it at each milestone checkpoint.
Pro Tip: Add a “milestone” column so each line item maps to a project phase. When you hit a budget checkpoint, filter by milestone and see exactly where the money went before committing to the next phase.
For a deeper look at tracking mod costs across multiple vehicles, Carjourney’s cost tracker maps directly to these columns and supports CSV import.
Why does documentation make or break a long restoration?
Digital documentation prevents the “I’ll remember where that goes” trap. Centralize photos, part numbers, schematics, and torque specs in your Project Bible from the first day of teardown.
File naming convention: vehicleID_section_date_version — for example, 67mustang_frontSuspension_20260315_v1.jpg. Consistent naming means you can search by date or section without scrolling through hundreds of unnamed files.
What to photograph at disassembly:
- Every subassembly before the first bolt comes off (orientation and fastener locations).
- Wiring routing before any harness is disturbed.
- Torque marks on critical fasteners.
- Hardware in labeled bags next to a reference photo.
For hardware storage on long projects, sealed and labeled containers beat muffin tins. Cross-reference each container to the photographed assembly it belongs to inside your Project Bible.
| Document Type | Format | Storage Location |
|---|---|---|
| Receipts and invoices | PDF scan or photo | Cloud folder + budget link |
| Disassembly photos | JPG/HEIC | Cloud folder + Project Bible |
| Wiring schematics | Project Bible linked doc | |
| Torque specs | PDF or note | Project Bible linked doc |
| Part numbers | Text entry | Budget spreadsheet + app |
Backup strategy: local copy plus one cloud service (Google Drive, iCloud, or Dropbox). For builds longer than six months, enable versioning so you can recover an earlier file if something gets overwritten.
Pro Tip: Scan receipts the same day you get them. A week-old receipt in a pocket is a lost receipt. Carjourney’s OCR scanning does this in seconds from your phone.
For a full car build documentation guide, the Carjourney blog walks through naming conventions and backup checklists in detail.
What does a repeatable garage workflow look like?
Preparing the workspace and parts list before a session often doubles the productivity of each hour spent in the garage. Build that prep into a ritual.
Simple Kanban states: Backlog → Ready → In Progress → Blocked → Done. Size every task so it fits in one to two garage sessions. “Rebuild front suspension” is a project, not a task. “Remove, inspect, and measure front strut assembly” is a task.
Weekly ritual:
- 15-minute prep: pull the parts and tools for today’s task before you touch the car.
- Work the task.
- 10-minute end-of-session capture: photos, notes, parts placed in labeled storage.
- Update task status and flag any blocks.
- Weekly budget and milestone review (10 minutes, Sunday evening works well).
When a task is blocked, avoid forcing progress. Document the block, convert it to a discrete follow-up task (quote, order, or phone call), and move to the next highest-priority item.
Pro Tip: Apply a “progress over perfection” rule every week. If you moved one task from In Progress to Done, the session was a win. Momentum compounds.
Which templates and tools make organization painless?
The core template stack for any build:
- Project Bible one-pager: scope, milestones, acceptance criteria, stakeholder list.
- Parts cost tracker: the spreadsheet layout from the budgeting section above.
- Hardware lookup list: part numbers, vendors, and reorder links in one tab.
- Photo checklist: what to shoot at each disassembly stage.
- Receipt folder structure: one folder per phase, named to match your milestone list.
Spreadsheets handle bulk data entry and custom formulas well. Apps handle capture on the fly, reminders, and sharing. The practical split: keep your master budget in a spreadsheet, and use an app for receipt scanning, reminders, and build sharing.
“A Project Bible that centralizes disassembly photos, part numbers, wiring diagrams, torque specs, and reassembly notes is the single most effective tool for preventing reassembly delays on a multi-month restoration.” — Restomod Academy
Carjourney covers the app side of that equation: OCR document scanning, build profiles, service reminders, and a community where you can share your build and get real-world feedback. For a breakdown of what a modification log app should do, the feature checklist maps directly to the templates above.
If your build involves custom fabricated parts, suppliers like Flying Chip Factory handle CNC machining for one-off components that standard catalogs do not carry.
Pro Tip: Use CSV import to push your budget spreadsheet into Carjourney. Map the category, vendor, and invoice link columns and the data lands in the right fields without re-entry.
What does a realistic restoration timeline look like?
| Phase | Typical Duration | Budget Checkpoint | Key Review Task |
|---|---|---|---|
| Assessment | 1–2 weeks | Set baseline budget | Condition report, fitment checks |
| Teardown | 2–4 weeks | After teardown | Hardware stored, photos complete |
| Mechanical | 4 weeks | Before ordering parts | Bench tests, spec verification |
| Body and paint | 4 weeks | Before paint commitment | Panel gaps, surface prep sign-off |
| Reassembly | 3 weeks | Before reassembly | All parts received and checked |
| Systems check | 1–2 weeks | After systems check | Electrical, fluids, brake bleed |
| Final prep and road test | 1–2 weeks | Final budget reconciliation | 30-minute drive, no faults |
Run a budget review at every checkpoint before committing to the next phase. If the running total has exceeded the contingency band, that is the moment to decide whether to continue, pause, or scale back scope. Waiting until the car is in primer to discover you are significantly over budget is how projects stall permanently.
Pro Tip: Tie each phase gate to a go/no-go decision: if the acceptance criteria for the current phase are not met, do not start the next one. A missed fitment check at teardown costs ten times more to fix at reassembly.
What are the most common reasons car projects fail?
Scope creep, lost receipts, and stalled momentum account for the majority of unfinished builds. Each has a concrete fix.
Common failure modes:
- Scope creep: adding work that was not in the original Project Bible (“while I’m in there” syndrome).
- Domino tasks: one blocked task freezes everything else because the workflow was not designed with parallel paths.
- Lost hardware: fasteners mixed or unlabeled during teardown.
- Untracked outsourced work: shop invoices that never make it into the budget spreadsheet.
- Budget surprises: no contingency, so the first unexpected repair kills the project.
Recovery checklist (do this in one weekend):
- Stop and document current state: photograph everything as-is, list every open task.
- Re-baseline scope: cross out anything that is not required for the next milestone.
- Run a quick budget audit: total what you have spent, compare to your original estimate.
- Schedule one focused micro-phase: pick three tasks you can complete in the next two garage sessions and do only those.
For parts triage, prioritize safety-critical and long-lead items first. Cosmetic and convenience items can wait. If a receipt is gone, check your bank or credit card statement and note the amount and vendor in the budget spreadsheet as an estimate.
Pro Tip: If the project has been stalled for more than 30 days, treat it as a new project. Rebuild the Project Bible from the current state, not the original plan.
Key Takeaways
A car project succeeds when you define scope before you buy a single part, track every dollar against a milestone, and document as you go rather than trying to reconstruct it later.
| Point | Details |
|---|---|
| Project Bible first | Define scope, milestones, and acceptance criteria on one page before any work begins. |
| Separate budget columns | Split parts, DIY labor, and outsourced costs so you can see exactly where overruns happen. |
| Contingency of 15–25% | Build a budget cushion at the project level and review it at every phase checkpoint. |
| Document at teardown | Photograph every subassembly before disassembly; use sealed, labeled containers for hardware. |
| Carjourney as your hub | Use Carjourney to scan receipts, store build profiles, set reminders, and share your project. |
Why process beats perfection every time
The builders who finish are not the ones with the biggest budgets or the most garage time. They are the ones who show up with a plan, work the next task on the list, and capture what they did before they leave. That is it.
Marco Antonio Pulisci’s framework makes this explicit: the main reason projects fail is not money or skill, it is scope creep and lost momentum. The fix is not motivation, it is a repeatable system that makes the next right action obvious every time you walk into the garage.
The formal side of this is well-established. Automotive SPICE MAN.3 defines project management around scope, work breakdown, and regular status reviews. Those principles scale down perfectly to a single-car hobby build. You do not need enterprise software; you need a one-page scope document and a habit of reviewing it weekly.
One practical rule worth keeping: if it is not required for the next milestone, do not buy it yet. That single constraint eliminates most scope creep and most impulse purchases.
Carjourney brings the whole system together
Every component of this system, the Project Bible, the budget tracker, the documentation hub, and the task workflow, works better when it lives in one place instead of scattered across folders, spreadsheets, and text threads.
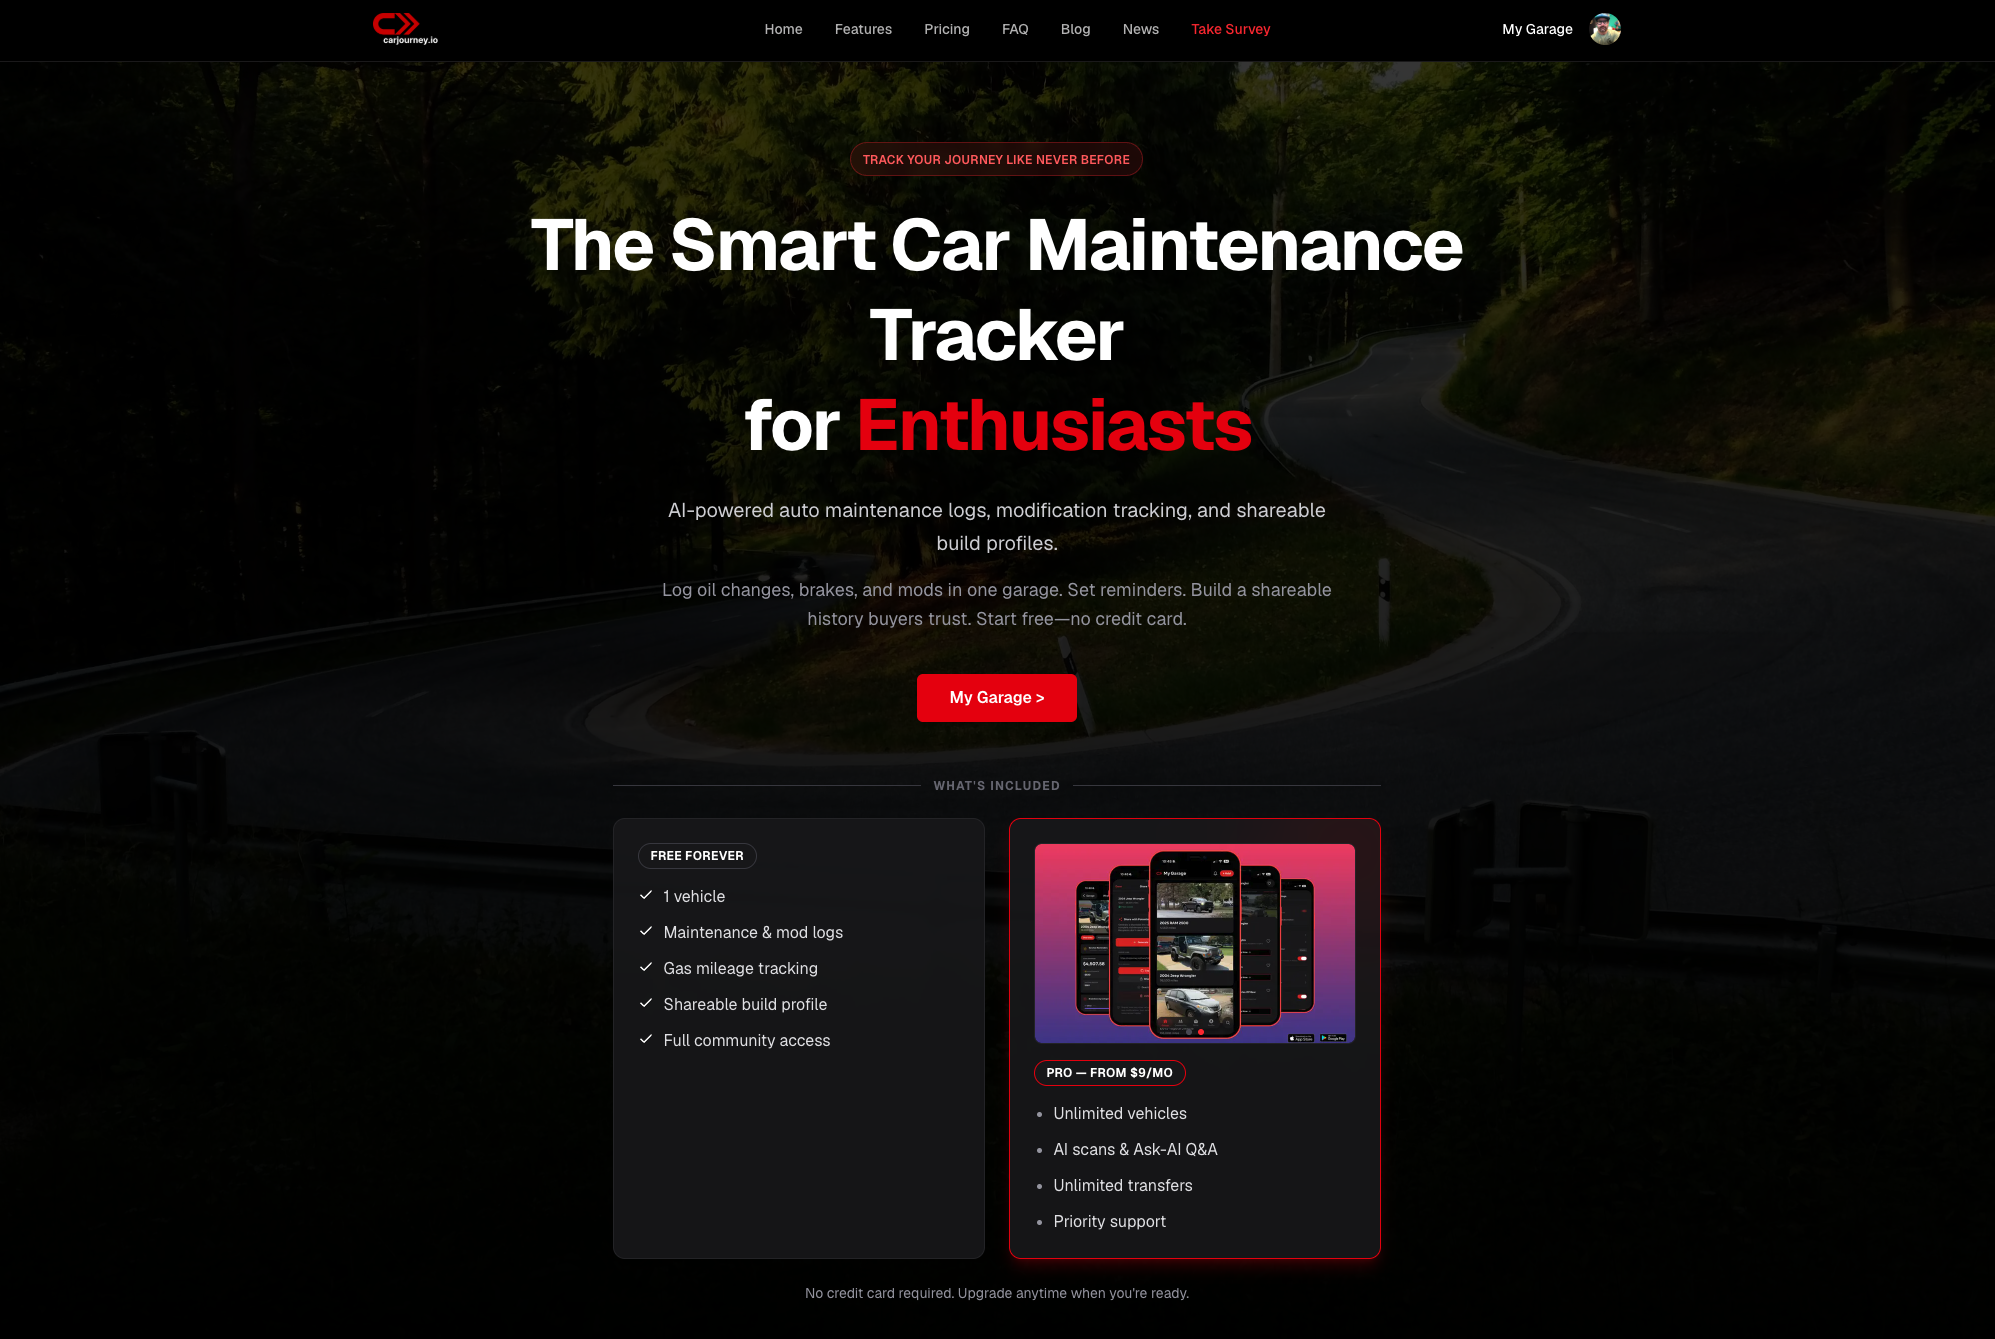
Carjourney was built for exactly this. Scan receipts with OCR from your phone and they land in your build record automatically. Create a build profile that tracks every modification, service record, and part number in one place. Set reminders so milestone reviews actually happen. Share your build with the community and get feedback from enthusiasts who have done the same work on the same platform.
The free plan gets you started. The Pro plan unlocks unlimited vehicles, AI-powered document scanning, and the full suite of build-sharing features. Start your first project and import what you already have. The system works from day one, even if all you have right now is a spreadsheet and a folder of photos.
Sources and further reading
- Project management: how to plan your car restoration — ClassicCars Journal
- From Dream to Driveway: Classic Car Project Planning Guide — Marco Antonio Pulisci
- Automotive SPICE MAN.3: Project Management Process — UL SIS
- Restomod project planning — Restomod Academy
- 4 Tips to Save Time on Your Project Car — Hagerty Media
- 5 Tips to Stay Organized in the Garage — Hagerty Media
- How to plan a successful custom vehicle project — WriteUpCafe
- Car Build Documentation Guide — Carjourney Blog
- Car Mod Cost Tracker — Carjourney Blog
- What a Car Modification Log App Should Do — Carjourney Blog