 carjourney
From the CarJourney journal
How to Document Suspension Upgrades Right
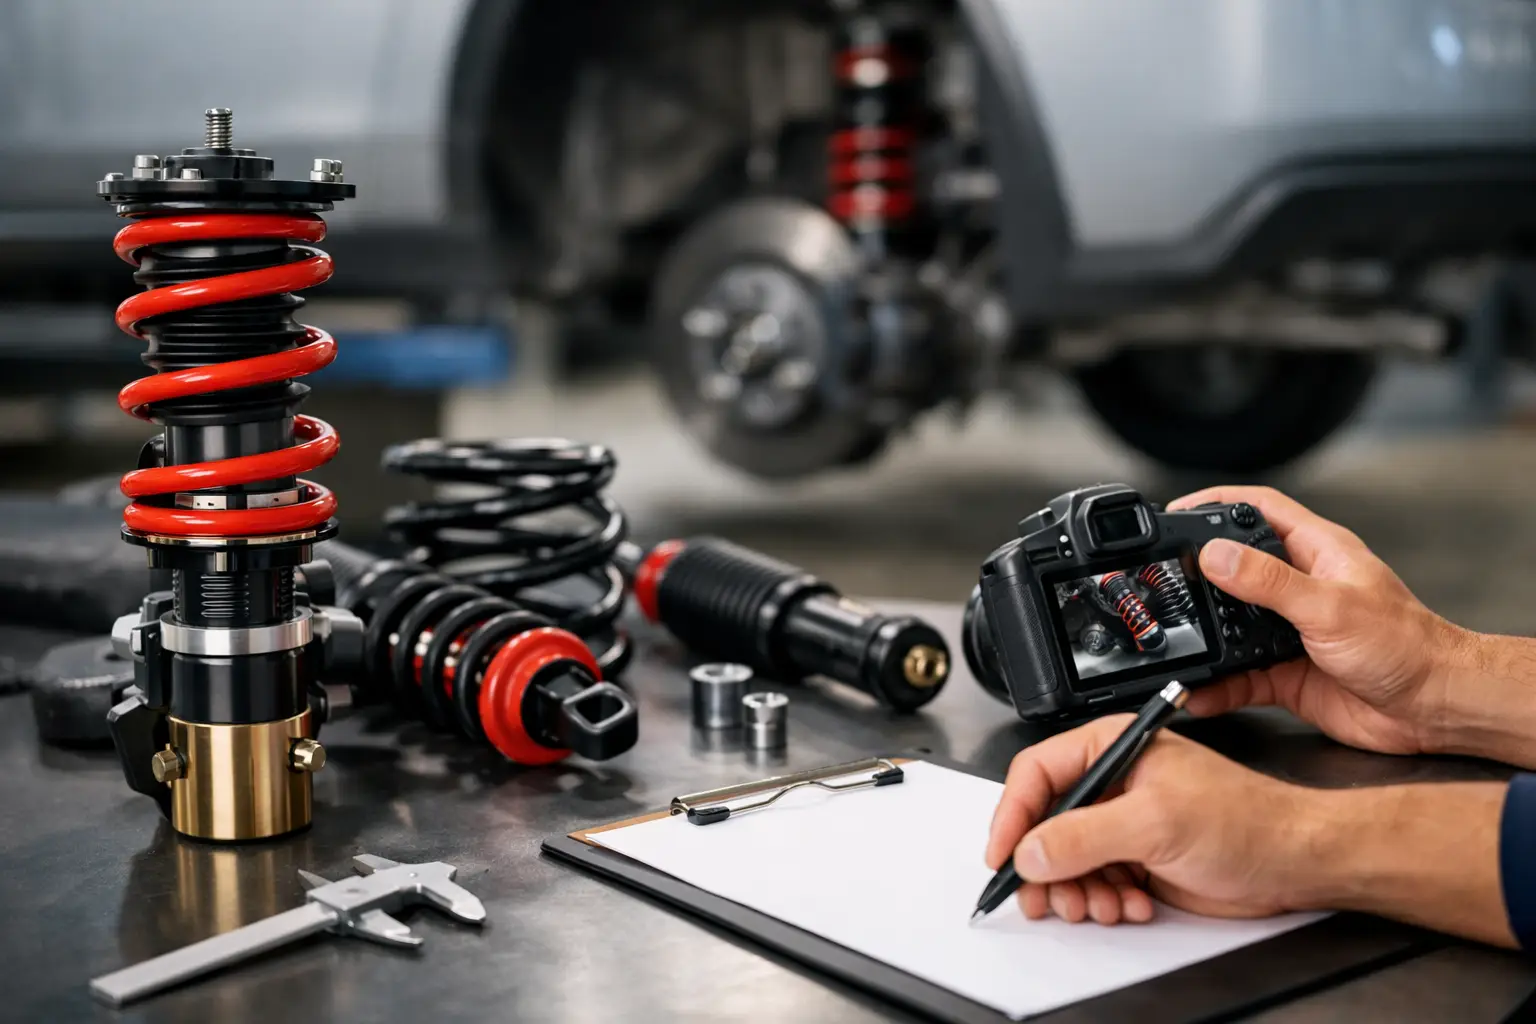
A suspension upgrade can transform how a car looks, turns, rides, and puts power down. But if the only record is a faded receipt in the glovebox and a few old install photos, much of that work disappears when it is time to diagnose a problem, maintain the setup, or sell the vehicle. Knowing how to document suspension upgrades gives your build a history that is useful to you now and credible to the next owner later.
This is not about creating paperwork for paperwork's sake. A complete suspension record helps you remember what is actually on the car, prove the quality of the work, track what you spent, and avoid guessing when a clunk, uneven tire wear, or alignment issue shows up.
Start a suspension upgrade record before installation
The best time to document a suspension upgrade is before the first bolt comes out. Create one dedicated modification entry for the project, even if the install will happen in stages. Start with the reason for the upgrade: replacing worn factory components, improving track performance, gaining clearance for larger tires, reducing body roll, or dialing in stance.
That context matters later. A buyer evaluating coilovers on a weekend canyon car will have different questions than someone looking at a lifted truck built for towing and trail use. It also keeps you honest about whether the parts delivered the result you wanted.
Record the vehicle's mileage and date at the start of the project. Include the vehicle identification details you normally keep with maintenance records, plus the suspension type if it is relevant. For example, note whether the vehicle has adaptive dampers, air suspension, electronically controlled shocks, leaf springs, torsion bars, or a conventional strut setup. Those details can affect part compatibility and future service options.
Record exact parts, not just brand names
“Lowered on BCs” or “has a lift kit” may work in a casual conversation, but it is not enough for a dependable build record. Add the manufacturer, full product name, part number, and version or generation of every major component.
That includes coilovers, springs, shocks, struts, lift spacers, control arms, sway bars, end links, bushings, camber plates, top hats, bump stops, steering correction parts, and any hardware or brackets required by the kit. If the project required replacement wheel bearings, ball joints, tie rods, or CV axles while everything was apart, log those separately too. They are service items, but they also help explain the scope and quality of the work.
Include purchase dates, vendor invoices, warranty information, and the price of each part. Shipping, tax, shop supplies, and labor should be tracked as well. The total is not just a number for resale. It gives you a real view of your investment and makes it easier to budget for the next stage of the build.
If parts were used, say so clearly. Document their condition, estimated mileage, source, and price. Used high-quality components can be a smart choice, but transparency prevents confusion later.
Capture setup specifications
Many suspension upgrades are adjustable, and those settings are part of the build. Record spring rates, shock settings, ride height measurements, preload, damping clicks, air pressure ranges, or leaf-pack configuration where applicable.
Measure ride height consistently. A common method is ground to fender, but center of wheel to fender is often more reliable because tire size and pressure can change the first measurement. Whichever method you use, write it down and measure all four corners on level ground.
For adjustable coilovers, note the setting convention. “Front: 10 clicks from full soft” is much more useful than “dampers set medium.” If you change settings for a track day, towing trip, winter, or road trip, update the record. You may eventually find the setup that gives you the best balance of comfort, grip, and tire life.
Take photos that prove the work
Photos should tell the story of the install, not just show a finished car parked at an angle. Take clear before photos of ride height, tire clearance, existing worn components, and any damage or corrosion discovered during disassembly.
During the install, photograph part labels and part numbers, the old and new components side by side, mounting points, and any notable fabrication or correction work. If a shop handles the job, ask for a few progress photos. Reputable shops are used to that request, especially on larger builds.
After installation, capture the vehicle from each side on level ground, plus close-ups of clearance around tires, springs, control arms, brake lines, and sway bar links. This is particularly valuable on lowered cars where rubbing or axle angle can become an issue, and on lifted trucks where steering, driveshaft, and brake-line angles need attention.
Do not use photos as a substitute for written specifications. A photo can show that a component exists. It cannot reliably tell you its part number, torque value, spring rate, or alignment target six months later.
Save installation and alignment evidence
Whether you install the parts yourself or pay a shop, retain the installation invoice and the work order. It should identify the shop, date, mileage, labor performed, and any recommendations made during the job. If the install involved cutting, welding, drilling, subframe removal, calibration, or an electronic suspension delete, make that explicit in your record.
Then save the alignment printout. This may be the most overlooked document after a suspension change. It shows before-and-after camber, caster, toe, thrust angle, and the manufacturer's target range. More importantly, it proves that the vehicle was aligned after the work was completed.
For a performance setup, write down the actual alignment targets and why you chose them. Extra negative camber may improve cornering feel, but it can accelerate inner-edge tire wear if toe is not managed. A lifted vehicle may need correction parts to return caster and steering feel to a usable range. There is no universal “best” alignment, because intended use matters.
Keep follow-up alignment records too. Suspension components settle, and new bushings can change position after initial use. A recheck after a few hundred miles is often cheap insurance, particularly after a major drop, lift, or control-arm upgrade.
Document maintenance after the upgrade
Suspension modifications create their own maintenance schedule. Coilover threads may need cleaning to stay adjustable. Spherical bearings and polyurethane bushings may need inspection or lubrication. Lifted vehicles can place added demand on CV joints, ball joints, and steering components. Even a straightforward spring-and-shock package deserves periodic checks for leaks, loose hardware, and uneven tire wear.
Log inspections, retorques, damper rebuilds, bushing replacements, and alignment checks with mileage and notes. If you notice a noise, vibration, rubbing condition, or change in handling, record when it started and what changed beforehand. That history can cut diagnostic time dramatically.
A digital garage such as CarJourney gives you one place to attach invoices, photos, alignment sheets, costs, and maintenance reminders to the same vehicle record. The point is not to make your build feel clinical. It is to keep the details available when you need them, on your phone or at the shop.
Build a record a buyer can trust
A suspension upgrade can add real appeal, but it can also make buyers cautious. They want to know whether the car was modified thoughtfully, installed correctly, and maintained afterward. A clean record answers those questions without forcing you to rely on memory.
When preparing to sell, organize the entry so someone can quickly see the parts installed, who performed the work, the mileage at installation, alignment documentation, maintenance performed, and receipts. Include honest notes about compromises. A low ride height may look right but reduce driveway clearance. Stiffer springs may sharpen response but make broken pavement less pleasant. The right buyer will appreciate clarity more than a vague claim that the car “handles great.”
Your suspension is one of the most meaningful systems you can change because it affects nearly every mile behind the wheel. Give the upgrade the same attention in your records that you gave it in the build. A well-documented setup protects your investment, makes future decisions easier, and lets the vehicle's history carry the pride of the work forward.