 carjourney
From the CarJourney journal
How to Log Aftermarket Parts the Right Way
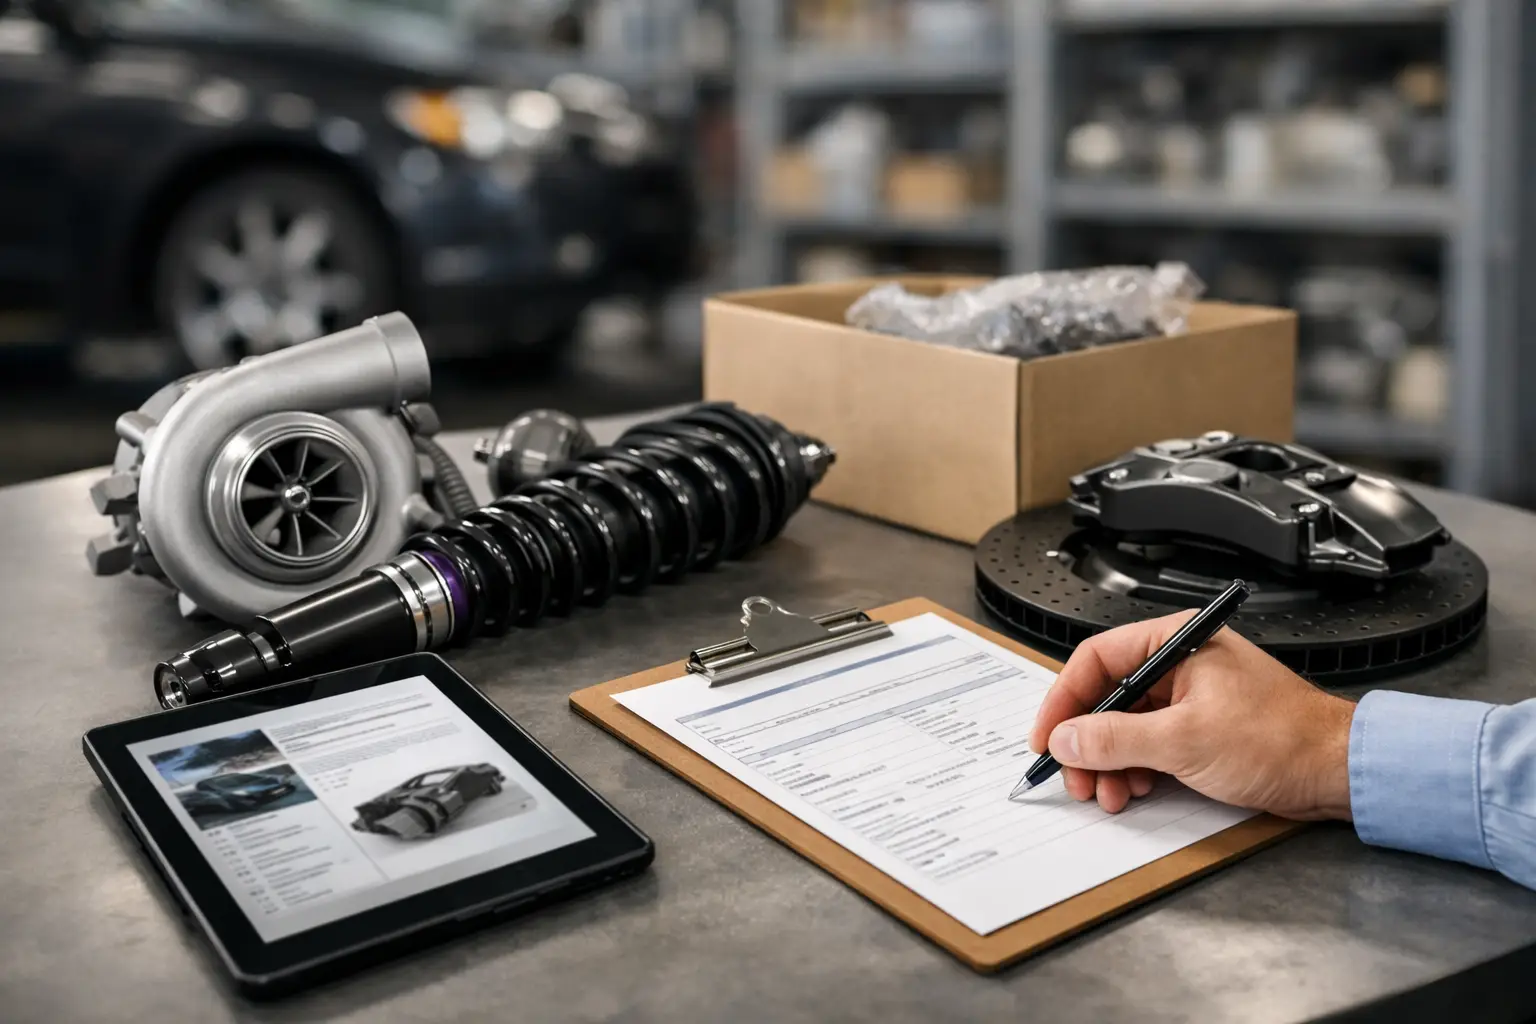
That intake, coilover kit, or wheel setup felt easy to buy. Keeping a clean record of it later is where most builds fall apart. If you want to know how to log aftermarket parts in a way that actually helps you later, the goal is simple: create a record that proves what was installed, when it went on, how much it cost, and why it matters.
A lot of owners think they will remember the details. Then six months later they are trying to recall part numbers, alignment specs, install mileage, or whether the warranty was tied to the original receipt. That is when messy notes, missing photos, and old emails start costing time and credibility. Good logging is not just admin work. It protects your investment, makes future maintenance easier, and builds a history buyers trust.
Why logging aftermarket parts matters
Aftermarket parts change more than the look or performance of a vehicle. They affect service intervals, troubleshooting, insurance conversations, emissions compliance in some states, and resale value. A car with tasteful, documented modifications usually tells a stronger story than a car with the same parts and no paper trail.
There is also a practical side. If you install upgraded brakes, suspension components, or engine hardware, those parts may have their own maintenance needs. Knowing the install date and mileage helps you stay ahead of inspections, re-torques, fluid changes, and wear checks. When something starts making noise or driving differently, a solid log gives you a timeline instead of a guessing game.
The trade-off is that detailed records take a little effort upfront. But that effort pays off every time you need to verify a warranty, sell the vehicle, transfer ownership history, or remember exactly what is on the car.
How to log aftermarket parts without making a mess
The best method is the one you will actually keep using. Some owners start with a spreadsheet, some keep screenshots in a photo album, and some save receipts in a glove box until the glove box becomes the archive. The problem is not that these methods never work. It is that they usually split the story across too many places.
A clean parts log should answer a few questions at a glance. What part was installed? Who made it? When was it installed? At what mileage? What did it cost? Was it new or used? Who installed it? Are there receipts, photos, warranty details, or notes tied to it?
If your system cannot answer those questions quickly, it is not really a log. It is just storage.
What every aftermarket part entry should include
When you log a modification, think like the future version of yourself. You are not just recording that you added an exhaust. You are recording the specific exhaust, the condition it was in, the supporting parts involved, and the context around the install.
Start with the basics: part name, brand, and part number. This sounds obvious, but it is where many logs get vague fast. “Cold air intake” is not enough. “Brand X intake kit, part number ABC-123” is useful.
Then add the install date and odometer reading. Mileage matters because many upgrade decisions and future service checks are tied to use, not just time. If the part was installed during a larger round of work, note that too. For example, if coilovers went on at the same time as camber arms and an alignment, keeping that grouped context helps later.
Cost should be broken out clearly. Include the purchase price, tax, shipping if you care about total build spend, and labor if someone else installed it. If you bought the part used, mark it as used. That small detail can matter for warranty expectations and resale conversations.
Finally, attach proof. Photos of the part before and after install, a receipt, warranty paperwork, and any installer invoice give the record real weight. A typed note is better than nothing. A typed note with documents behind it is far more credible.
Use categories so your build stays readable
One of the biggest mistakes people make when learning how to log aftermarket parts is treating every mod as a random one-off. That works when you have two upgrades. It gets ugly when you have twenty.
Categories keep your history usable. You might organize by engine, suspension, wheels and tires, brakes, exterior, interior, lighting, audio, and tuning. The exact labels depend on the vehicle and how deep the build goes, but the point is consistency.
This is especially helpful when a car changes over time. Maybe the first wheel setup was a budget placeholder and the second was the final spec. Maybe you swapped from lowering springs to full coilovers later. Categories make it easier to see the evolution of the car without digging through a flat list of old entries.
For project cars, this matters even more. Builds rarely move in a straight line. A good log shows what is current, what was removed, and what was part of an earlier phase.
Photos are not optional if you care about value
A photo does two jobs at once. It proves the part existed, and it shows condition, fitment, and install quality at that moment in time. That can help with warranty issues, insurance claims, and resale.
Take at least a few useful images for each major modification. Capture the part in packaging if it is new, the installed result, and any identifying label or part number if visible. For used parts, photos matter even more because they document the condition when you bought and installed them.
You do not need a full build shoot every time you add a small bracket or bulb. But for expensive, performance-related, or high-visibility parts, photos should be standard. They turn your record from “trust me” into “here it is.”
Log supporting details that most owners forget
The part itself is only part of the story. Supporting details are what make your record genuinely useful.
If the install required tuning, note the tuner, tune type, date, and revision if relevant. If suspension work was followed by an alignment, log the alignment specs or at least save the sheet. If a wheel and tire setup changed offset, tire size, or load rating, record it. If a big brake kit required a certain pad compound or rotor type, note that too.
This matters because aftermarket parts often create dependencies. One upgrade leads to another, and later troubleshooting depends on knowing that chain. A car with a turbo upgrade and fueling changes needs a cleaner record than a car with window visors and floor mats.
It depends on the kind of build, of course. Cosmetic mods usually need less technical detail than powertrain changes. But even simple appearance parts should still have cost, date, and proof of purchase logged if you want a complete ownership history.
Keep removed parts in the history
Do not delete old entries just because the car changed. If you replaced one exhaust with another or sold a set of wheels, mark the original parts as removed or inactive and keep them in the timeline.
That record is valuable for two reasons. First, it helps you understand the actual money and effort that went into the vehicle over time. Second, it gives future buyers a more honest story. Plenty of enthusiasts want to know how a build evolved, especially if the current setup is the result of trial and refinement.
This is one place where a dedicated tracking app makes a lot more sense than scattered notes. A platform like CarJourney keeps modifications, costs, photos, and records tied to the vehicle in one place, which is much easier to trust than trying to rebuild a parts history from old texts and inbox searches.
Common mistakes when logging aftermarket parts
The most common mistake is waiting too long. People install parts on a weekend, plan to document everything later, and then later becomes never. Log parts as close to install day as possible while receipts, mileage, and details are still fresh.
Another mistake is being too vague. “Suspension upgrade” or “new wheels” does not help much later. Specificity is what gives the record value.
Owners also tend to skip labor details. Even if you did the work yourself, mark it as DIY. If a shop handled it, record the shop name and invoice amount. That context matters for total build cost and for diagnosing future issues.
Last, do not separate your proof from your entry. A receipt in one app, photos in another, and notes somewhere else is how records disappear. Your log should connect the whole story.
Build a history your future self will thank you for
A well-documented mod list is not about being obsessive. It is about staying in control of your vehicle’s history. Whether you are protecting resale value, tracking money, planning future maintenance, or just keeping your build organized, clear records make ownership easier.
The best time to start is before the next part shows up at your door. The second-best time is right now, while you can still piece the story together with confidence.