 carjourney
From the CarJourney journal
Mod List Format: A Copy-Ready Template for Enthusiasts
The fastest way to document a modified vehicle is a single row format repeated for every part: Part Name | Manufacturer | Part Number | Install Date | Mileage at Install | Installer | Receipt/Warranty Link | Notes. Copy that row once per modification, whether you’re logging a cold air intake or a full coilover setup, and you have a build record that works for maintenance, insurance questions, and resale conversations alike.
Here’s what that looks like filled in:
- Part Name: Cat-back exhaust
- Manufacturer: Corsa Performance
- Part Number: 14520
- Install Date: 03/14/2025
- Mileage at Install: 42,100
- Installer: Self (home garage)
- Receipt/Warranty Link: [attach PDF or photo]
- Notes: No check engine light, retained factory hangers
This structure exports cleanly to a CSV file, drops into a spreadsheet as its own row, or maps directly into the fields of a build-tracking app like CarJourney’s Mod Log. The point of the mod list format isn’t novelty. It’s consistency, so every entry, no matter who reads it later, answers the same five questions: what, from whom, when, at what mileage, and can you prove it.
Key Takeaways
A receipts-first mod list, built from one repeatable row per modification, protects resale value and cuts buyer skepticism far more than a narrative description ever will.
| Point | Details |
|---|---|
| Use the one-row template | Copy Part Name, Manufacturer, Part Number, Install Date, Mileage, Installer, Receipt Link, Notes for every mod. |
| Gather receipts immediately | Scan or photograph proof at install time, since paperwork found later is often incomplete or unverifiable. |
| Organize by system | Split entries into Engine & Drivetrain, Suspension & Brakes, Interior & Electrical, and Body & Exterior sections. |
| Set expectations on recovery | Aftermarket parts typically recover about a quarter to half of their cost at resale, depending on brand and buyer demand. |
| Back it up in an app | Carjourney’s Mod Log attaches receipts to individual entries and exports the full list to CSV when you’re ready to sell. |
Table of Contents
- What Should You Record for Every Modification?
- How Do You Collect and Verify Proof for Each Mod?
- What Does a Complete Sample Build Sheet Look Like?
- How Much Value Do Mods Actually Add at Resale?
- Should You Sell the Whole Build or Part It Out?
- What Legal Paperwork Do You Need to Sell a Modified Car?
- How Do You Build This List Inside a Vehicle-Tracking App?
- Why a Receipts-First Mod List Actually Closes Sales
- How Carjourney Handles Your Mod List for You
- Sources
What Should You Record for Every Modification?
Every build log needs two layers: vehicle basics you record once, and per-mod fields you repeat for every part.
The vehicle basics block sits at the top of your sheet and never changes unless you sell the car: year, make, model, VIN, current mileage, and title status (clean, salvage, rebuilt). This context tells a buyer or a shop what they’re actually looking at before they scroll into the parts list.
Per-mod fields are where the real documentation work happens. Each entry needs the part name, manufacturer, part number, install date, mileage at install, and who installed it, according to the build sheet framework outlined by GarageFlip’s project car guide. Add two more fields most people skip: a link to the seller receipt or warranty document, and a flag noting whether that warranty transfers to a new owner. Round it out with a short notes field for fitment quirks, tune revisions, or alignment specs.
Precise part numbers matter more than most builders realize. A vague entry like “aftermarket coilovers” tells a buyer nothing. “KW Suspension V3, PN 35220089” tells them the exact product, lets them look up reviews, and lets a mechanic order the right replacement bushing without guessing.
Standardizing your abbreviations keeps the list readable as it grows past 20 or 30 entries. Pick a convention and stick with it:
- “Inst. mileage” for mileage at install
- “OEM PN” for the original manufacturer part number, “AM PN” for aftermarket
- “Tuned by [shop name]” for any ECU or software changes
- “N/A” rather than leaving a field blank, so readers know you checked
Pro Tip: Keep a one-line legend at the top of your spreadsheet or app notes defining your abbreviations. Six months later, you’ll forget what “inst.” meant just as fast as a stranger reading your list would.
How Do You Collect and Verify Proof for Each Mod?
Documentation is worthless if you can’t back it up. Here’s the workflow that actually gets it done without eating a whole weekend.
- Gather every receipt you can find — email order confirmations, garage invoices, credit card statements for anything you can’t locate the original paperwork for.
- Scan or photograph each document immediately rather than batching it for later; paper fades and phones get replaced.
- Label files consistently, something like
2025-03-14_corsa-exhaust-receipt.pdf, so a folder of forty files stays searchable. - Extract the part number and install date from each receipt and enter it into your mod list row.
- Note the installer and install mileage while the memory is fresh, even if you have to check your odometer log or maintenance app for the exact figure.
Original purchase receipts, part numbers, and install dates for every aftermarket part prove what you spent and show a buyer the component’s age, according to LegalClarity’s guide to selling a modified car. Receipts also establish provenance and install timing, and a transferable warranty, though rare, materially reduces the risk a buyer feels about taking on your build.
For storage, cloud folders beat a shoebox every time. Name your top-level folder by VIN or nickname, then create subfolders per mod category (Engine, Suspension, Interior, Body). Save receipts as PDF where possible and photos as JPEG to keep file sizes manageable. Back up quarterly at minimum, or let an app handle it automatically by attaching files directly to each mod entry.
If you’re posting parts of this list to a forum or a public listing, strip personal information like your home address or full VIN before sharing screenshots. Buyers need the part number and install date, not your street.
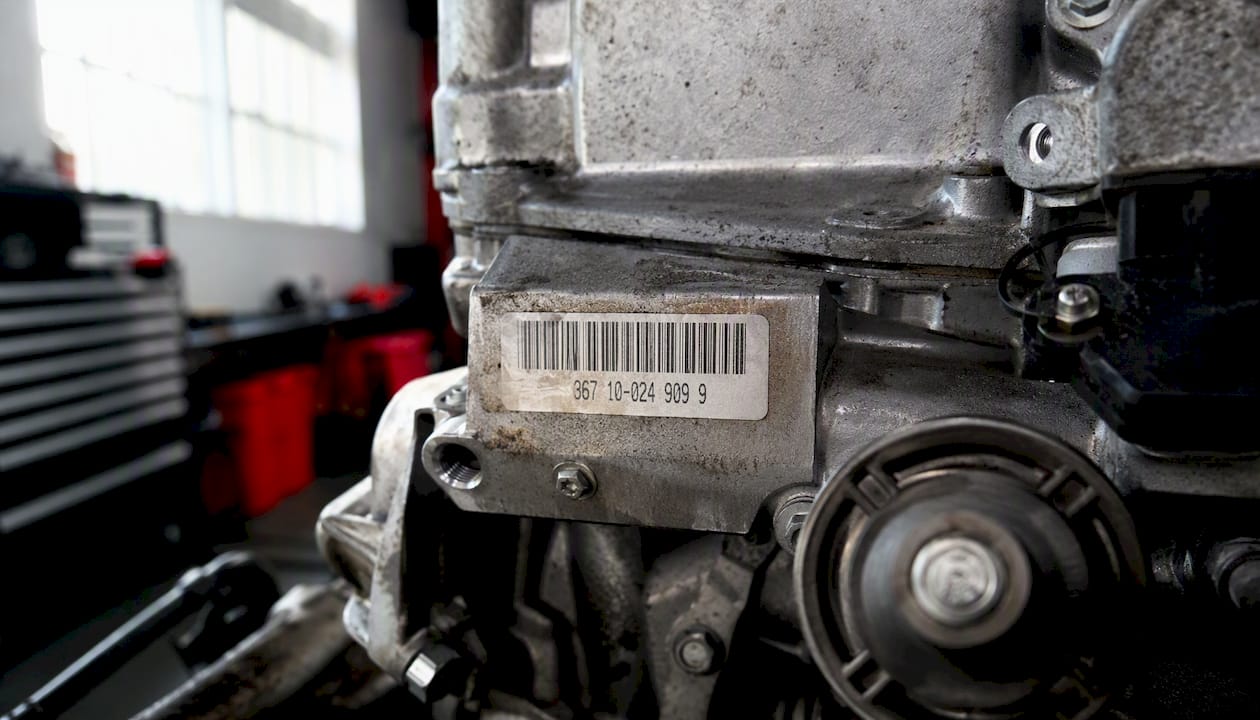
Pro Tip: Photograph the part number plate or sticker directly, not just the box. Boxes get thrown away; the sticker on the part is what a future owner or mechanic will actually reference.
What Does a Complete Sample Build Sheet Look Like?
A build sheet works best when it’s organized by system rather than dumped into one long list. The standard structure covers four categories: Engine & Drivetrain, Suspension & Brakes, Interior & Electrical, and Body & Exterior, matching the system-based format recommended in a guide to creating a car restoration part list. Splitting your spreadsheet into a tab per system, rather than one giant sheet, keeps a 50-plus mod build manageable and makes CSV exports far cleaner.
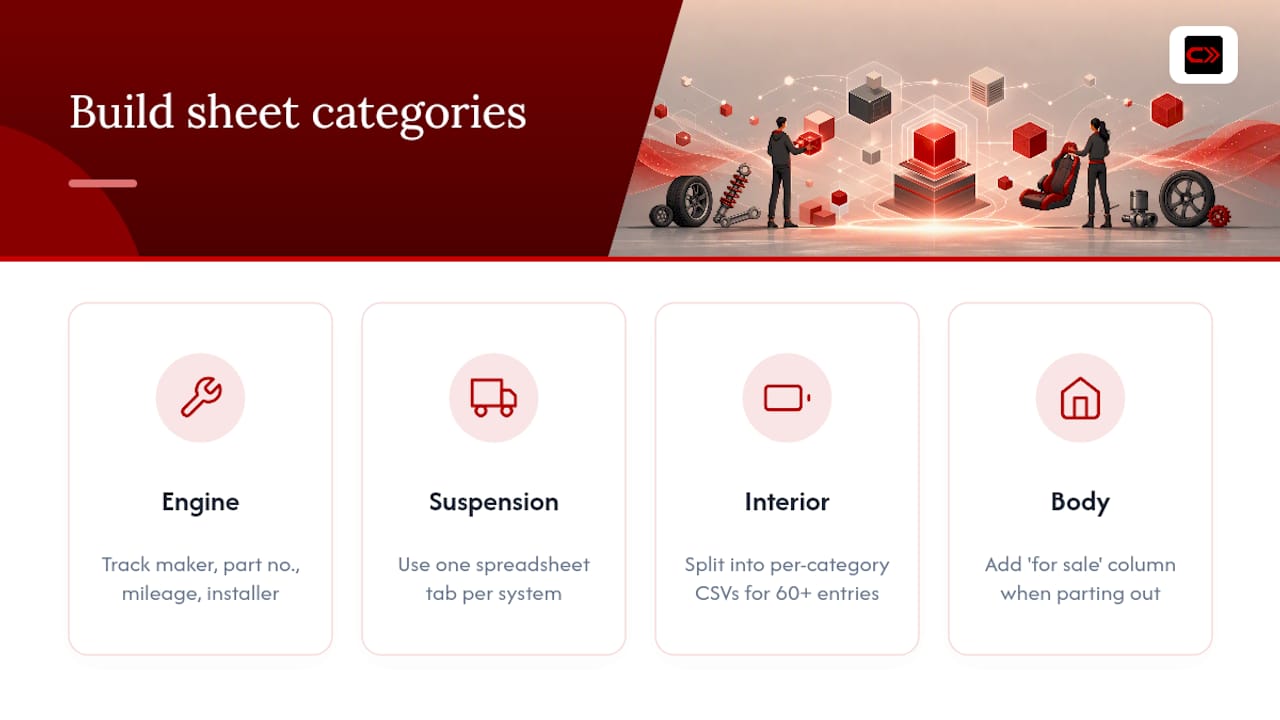
The most important section for buyer confidence is Engine & Drivetrain. Document every changed part there with manufacturer, part number, install mileage, and installer, since that’s where most resale questions concentrate.
For CSV export or app import, use these column headers: VehicleID, ModCategory, PartName, Manufacturer, PartNumber, InstallDate, InstallMileage, Installer, ReceiptURL, WarrantyTransferFlag, Notes. If your build has 60 or more entries, split it into one CSV per category rather than one massive file. Add a ForSaleFlag column if you’re planning to part out anything, so you can filter and export just the items you’re listing separately.
How Much Value Do Mods Actually Add at Resale?
Installed aftermarket parts typically recover somewhere between a quarter and half of what you paid for them, depending on brand recognition, installation quality, and how many buyers actually want that specific part, according to LegalClarity’s breakdown of selling a modified car. A $3,000 exhaust and tune package might add $800 to $1,500 to your asking price, not the full purchase amount.
That gap surprises a lot of first-time sellers, but it makes sense once you think about buyer pools. A stock buyer doesn’t want your mods at all. A performance buyer wants your mods but has their own opinions about which brands are worth paying extra for.
Finding real comparables means looking at recently completed sales, not active asking prices, on enthusiast auction platforms like Bring a Trailer or Cars & Bids, and in model-specific forums and groups, matching power level, suspension setup, and shop reputation where you can. A car tuned by a well-known regional shop commands more trust, and often more money, than the identical parts list installed in someone’s driveway.
For pricing, start from a base fair market value using KBB or NADA for your stock configuration, then layer on a conservative mod premium built from your comparable research rather than your total receipts. If you’re debating part-out versus bundle sale, run the math both ways before you commit to a listing strategy, a decision the next section walks through directly.
A rough example: a stock-value $18,000 car with $3,000 in exhaust, tune, and coilover work might list realistically at $19,500 to $20,500, not $21,000.
Pro Tip: For high-value, rare, or shop-built cars, a professional appraisal is worth the fee. It gives skeptical buyers a third-party number to point to, which speeds up negotiations considerably.
Should You Sell the Whole Build or Part It Out?
Run this decision through four filters before you list anything.
- Check part desirability first. Forged internals, a standalone ECU, or coilovers from a respected brand often sell individually for close to what you paid, while generic bolt-ons rarely do.
- Compare recovered part value against the bundled premium. If your parts would sell separately for more than the premium a buyer would pay for the whole car, parting out wins financially.
- Weigh the labor. Parting out means reinstalling factory components, which takes real shop time or your own weekends, plus photographing and listing each item separately.
- Consider your buyer pool and patience. Parting out means juggling multiple buyers, shipping logistics, and slower total turnaround, even when the math favors it.
Part-out can net more money for desirable components, but it demands reinstalling factory parts, photographing and listing each item, and coordinating several buyers and shipments instead of one, per LegalClarity’s guide. If your time is worth more than the spread between part-out revenue and bundled premium, sell it whole and move on.
Pro Tip: Before you decide, list your three or four most valuable mods on a forum “want to sell” thread with no obligation. The response tells you more about real demand than any pricing guide.
What Legal Paperwork Do You Need to Sell a Modified Car?
The transaction checklist is short, but missing one item can stall or kill a sale.
- Signed title with an accurate odometer reading matching your mod list’s current mileage entry.
- Bill of sale covering vehicle description, VIN, mileage, sale price, date, and both parties’ signatures.
- Release of liability filed with your state after the sale closes.
- Emissions or smog certificate where your state requires one.
Many states require a recent emissions certificate at time of sale; rules vary and fees commonly range within typical local amounts depending on the state, according to LegalClarity’s guide. A performance tune that fails emissions can kill a deal at the worst possible moment, so get tested before you list, not after you’ve found a buyer.
On the administrative side, cancel your insurance policy or remove the vehicle from your coverage the day the sale closes, and keep copies of every signed document for your own records.
One rule matters more than any form: disclose title status and known modifications honestly, in writing, before the sale closes. Undisclosed issues create liability that follows you well past the handshake.
How Do You Build This List Inside a Vehicle-Tracking App?
Mapping your mod list into an app is mostly a matter of matching your spreadsheet columns to the app’s fields, then building a habit around updating it.
- Map your fields first.
VehicleID,Category,PartName,Manufacturer,PartNumber,InstallDate,InstallMileage,Installer,ReceiptURL, andWarrantyFlagshould each correspond to a specific input field in your app, not a catch-all notes box. - Attach files at the entry level, not the vehicle level. A receipt attached to the exhaust entry is useful; a receipt buried in a general vehicle folder is not.
- Add the mod the day you install it. Waiting a month means you’ll forget the exact mileage or misplace the receipt.
- Update status after any related maintenance, like noting a re-tune date under the same entry rather than creating a duplicate row.
- Export or back up monthly. A quick CSV export protects your record even if the app itself has an outage.
Use tags and categories to filter your list for different audiences: a “for sale” tag for parts you’re parting out, a “warranty active” tag for items still covered, and category tags matching your four build sections. When you’re ready to share with a forum or a buyer, export just the tagged subset instead of dumping your entire history.
Pro Tip: Name your photo files with the mod entry ID first, like 042-coilover-install-2.jpg, so app search and manual folder browsing stay in sync.
Why a Receipts-First Mod List Actually Closes Sales
The single biggest gap between a build that sells fast and one that sits for months isn’t the parts list. It’s whether the receipts back it up. Buyers have gotten burned before by sellers who claim a “full built” engine with nothing to show for it, and skepticism is now the default assumption, not the exception.
A concise, categorized build sheet with install mileage, receipts, and installer names attached earns trust faster than a wall of narrative description ever will, and that trust translates directly into fewer lowball offers and shorter negotiation cycles. Buyers who see a part number can look it up in thirty seconds. Buyers who see “upgraded suspension” have to take your word for it, and plenty won’t.
The consistency argument matters just as much as the receipts argument. A mod list that uses the same field order and the same abbreviations for every entry is one you can actually search, export, and hand off, whether that’s to a buyer, a shop doing an alignment, or your own future self trying to remember what you changed three years ago.
Start with the single-row template from the top of this piece. Fill it in for one mod today, then make it a monthly habit rather than a scramble the week you decide to sell.
How Carjourney Handles Your Mod List for You
Carjourney is built around exactly this receipts-first structure, so you’re not rebuilding a spreadsheet from scratch every time you add a part. The Mod Log feature attaches receipts, photos, and warranty documents directly to each modification entry, keeps an install timeline you can scroll through by date or mileage, and exports the whole thing to CSV whenever you need it for a listing or a backup.
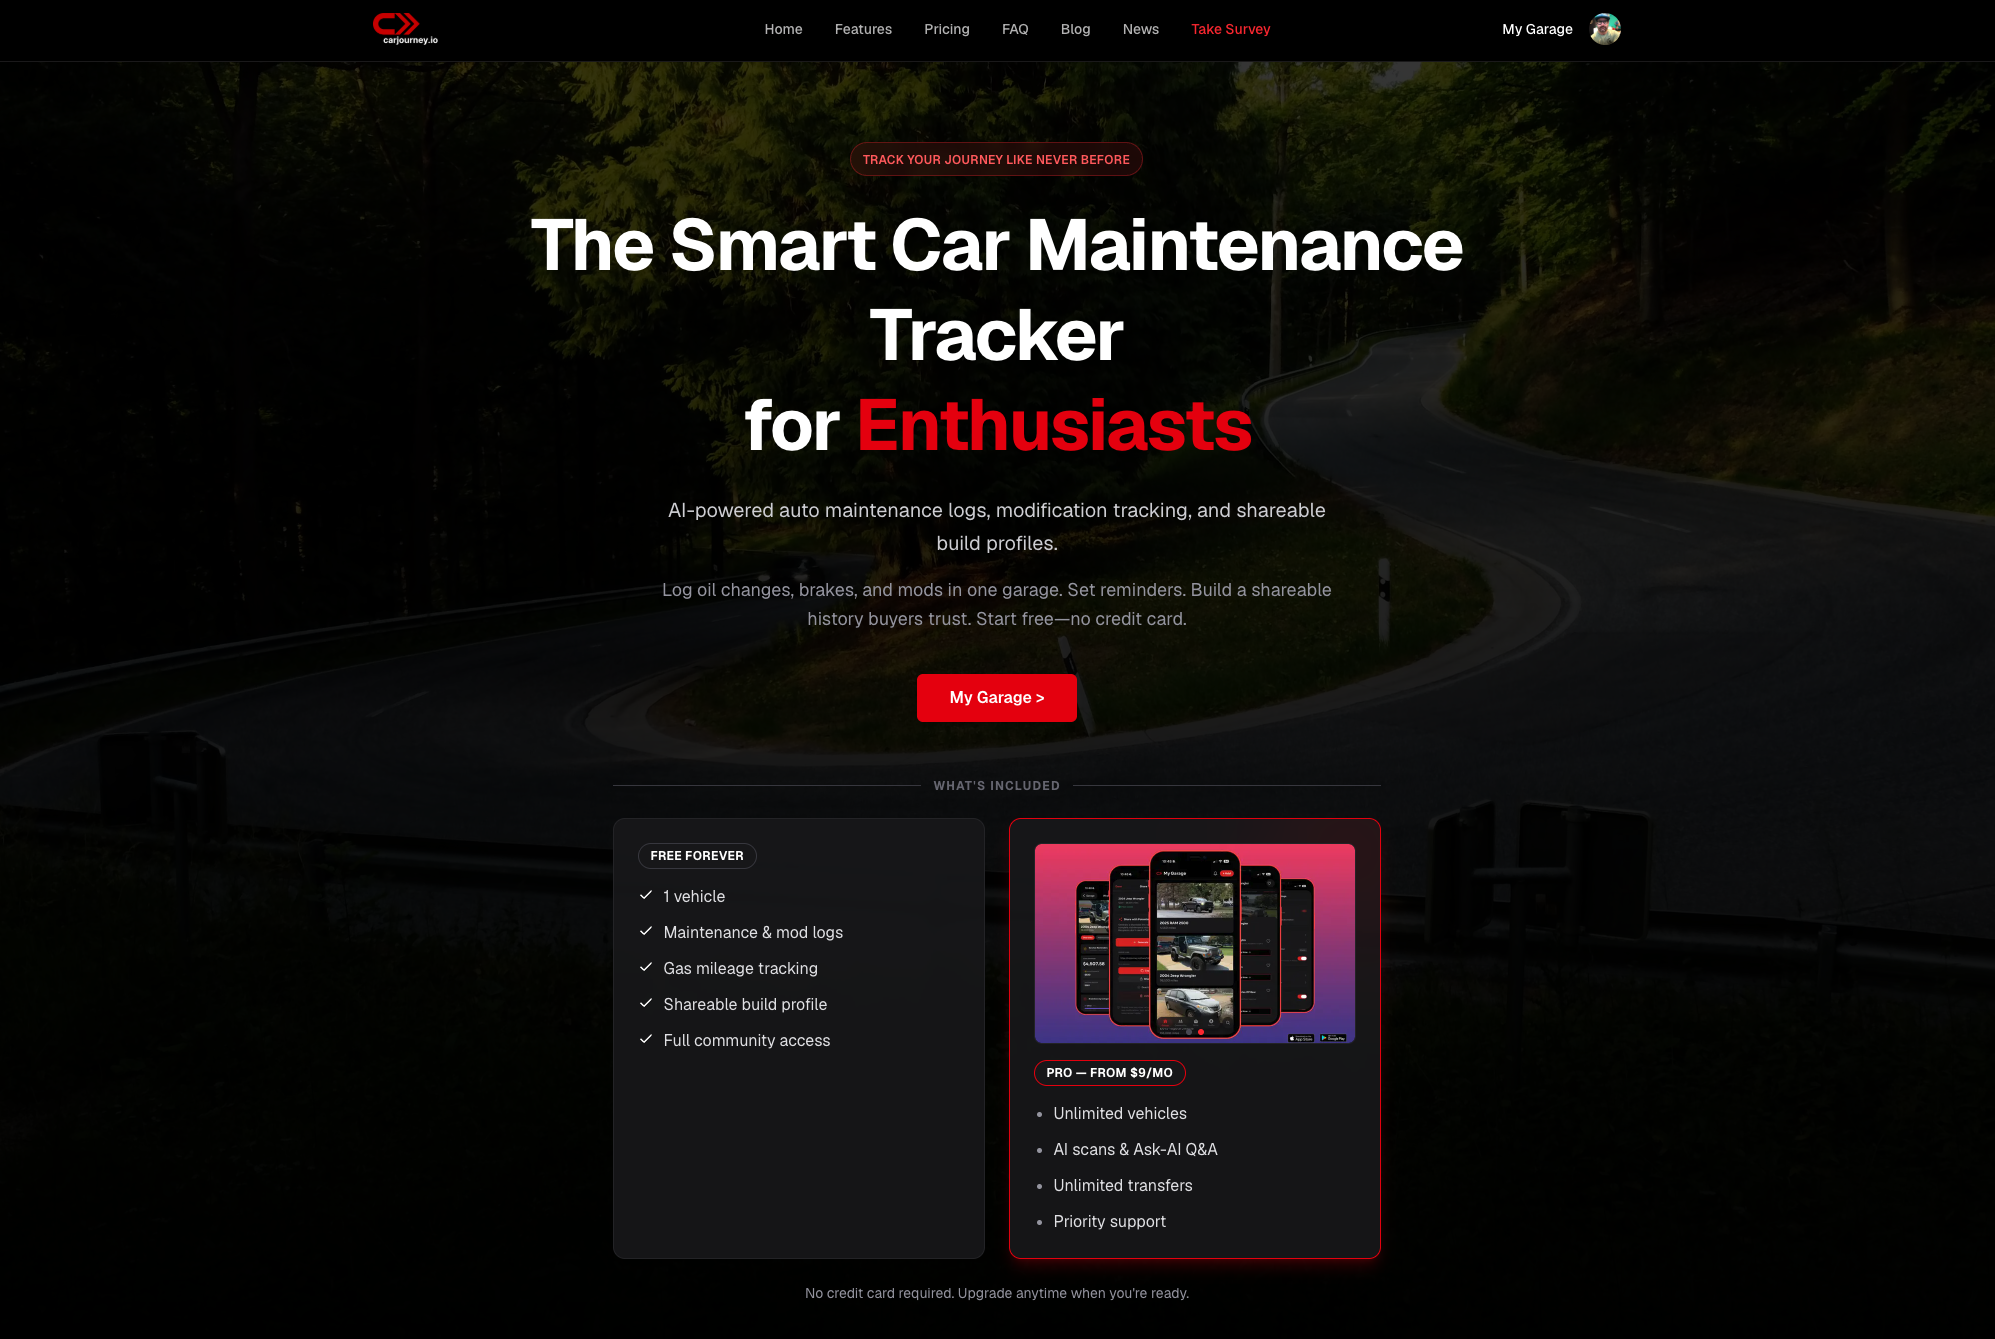
Every field from the template in this piece, part name, manufacturer, part number, install date, mileage, installer, and receipt link, maps to a searchable field inside the app, and you can tag entries by category or sale status to filter what you share with a buyer versus what stays private. If you’ve been tracking builds across a phone folder, a forum thread, and a half-finished spreadsheet, that’s the exact scatter the car modification documentation guide walks through fixing. Free accounts cover the core Mod Log for one vehicle, and Pro unlocks unlimited vehicles plus AI document scanning for receipts you’ve already got sitting in a shoebox. Start your Mod Log at Carjourney and log your next install before the receipt disappears into your inbox.
Sources
For deeper detail on the paperwork, valuation math, and emissions rules covered here, these sources are worth reading directly:
- The Complete Project Car Build Sheet Guide — GarageFlip
- A Guide to Creating a Car Restoration Part List
State emissions requirements, title transfer rules, and odometer disclosure laws vary by jurisdiction, so confirm current requirements with your local DMV or equivalent motor vehicle authority before finalizing any sale.