
How to Modify Vehicles Safely and Legally in the US

You can modify vehicles for performance, handling, aesthetics, or utility — legally and safely — as long as you plan the build, verify federal and state rules, and document every change. That’s the whole framework. Everything else is execution.
Before you touch a wrench, run through this checklist:
- Define your goal. Daily driver, weekend track car, off-road rig, show build, or resale prep — each demands a different priority order.
- Verify the rules. Check EPA and NHTSA federal standards, then your state DMV and CARB (if you’re in California or a CARB-compliant state) for emissions, noise, lighting, and height limits.
- Document from day one. Log every part number, receipt, installer, and photo before the first bolt goes in.
Table of Contents
- What kinds of vehicle modifications can you do?
- How to plan a modification project from goal to execution
- What are the legal and safety rules for modifying vehicles in the US?
- Should you DIY or hire a shop?
- What mistakes do most people make when modifying their vehicles?
- How do you maintain a modified vehicle and protect resale value?
- How a build log workflow actually works in practice
- Key Takeaways
- The part most builders skip — and why it costs them
- Keep your build documented with Carjourney
- Useful sources and further reading
What kinds of vehicle modifications can you do?
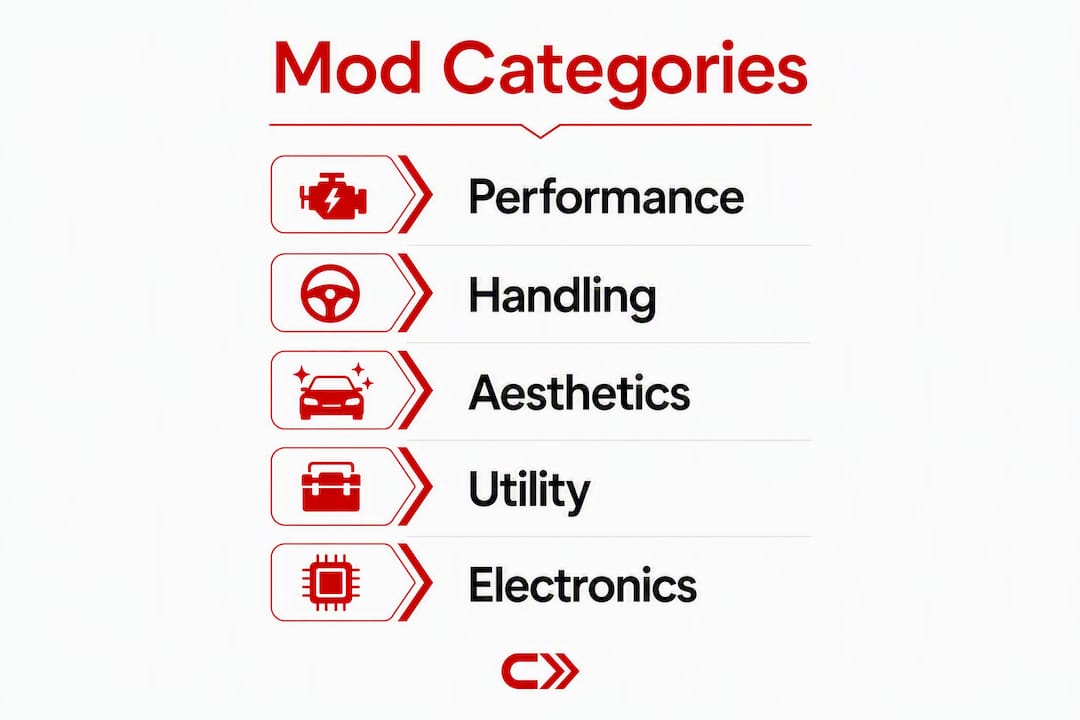
Vehicle customization falls into five broad categories. Knowing which bucket your plan fits into sets realistic expectations for cost, time, and legal exposure.
Performance covers anything that changes how the engine or drivetrain produces or delivers power: cold-air intakes, cat-back exhausts, turbocharger or supercharger kits, and ECU tuning. These mods carry the highest legal risk because emissions tampering is a federal offense under EPA rules.
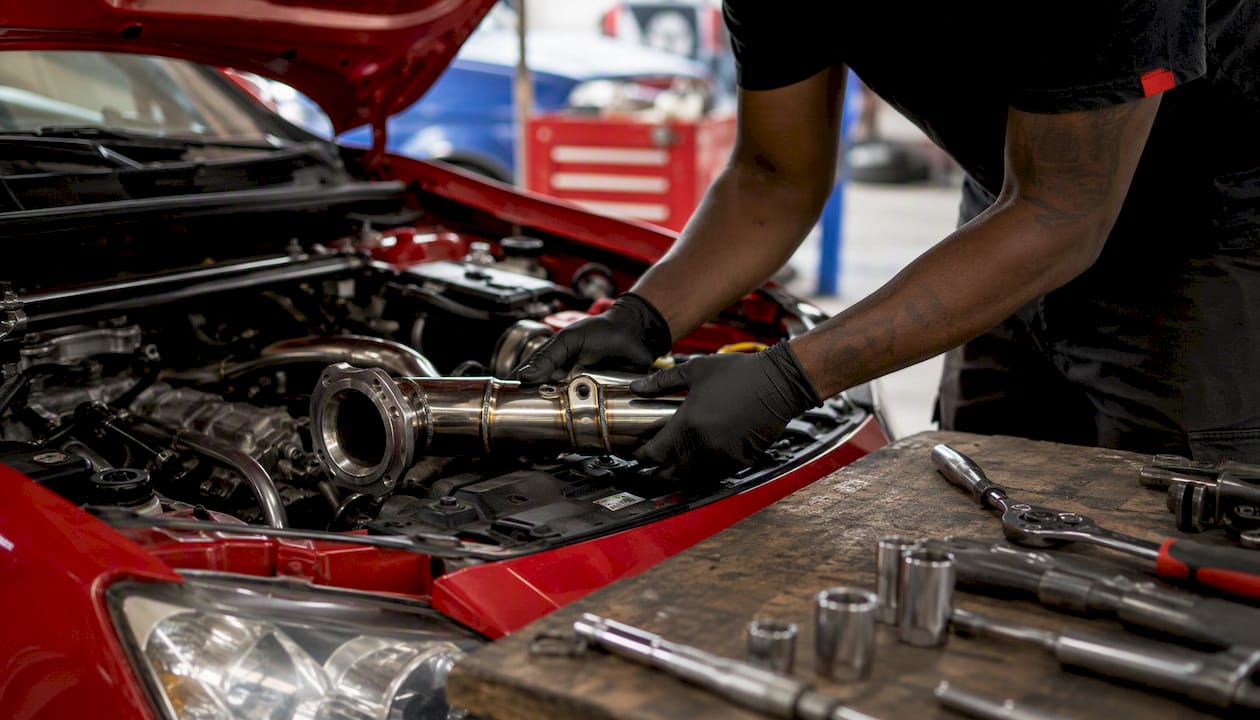
Handling includes coilovers, lowering springs, sway bars, upgraded brake pads and rotors, and alignment adjustments. A balanced approach that prioritizes brakes and tires before adding power produces builds that actually work in the real world.
Aesthetics ranges from vinyl wraps, paint protection film (PPF), and ceramic coatings to custom wheels, window tint, and body kits. AI-based visualizer apps let you preview paint and wheels on a photo of your own car before spending a dollar on parts or fabrication.
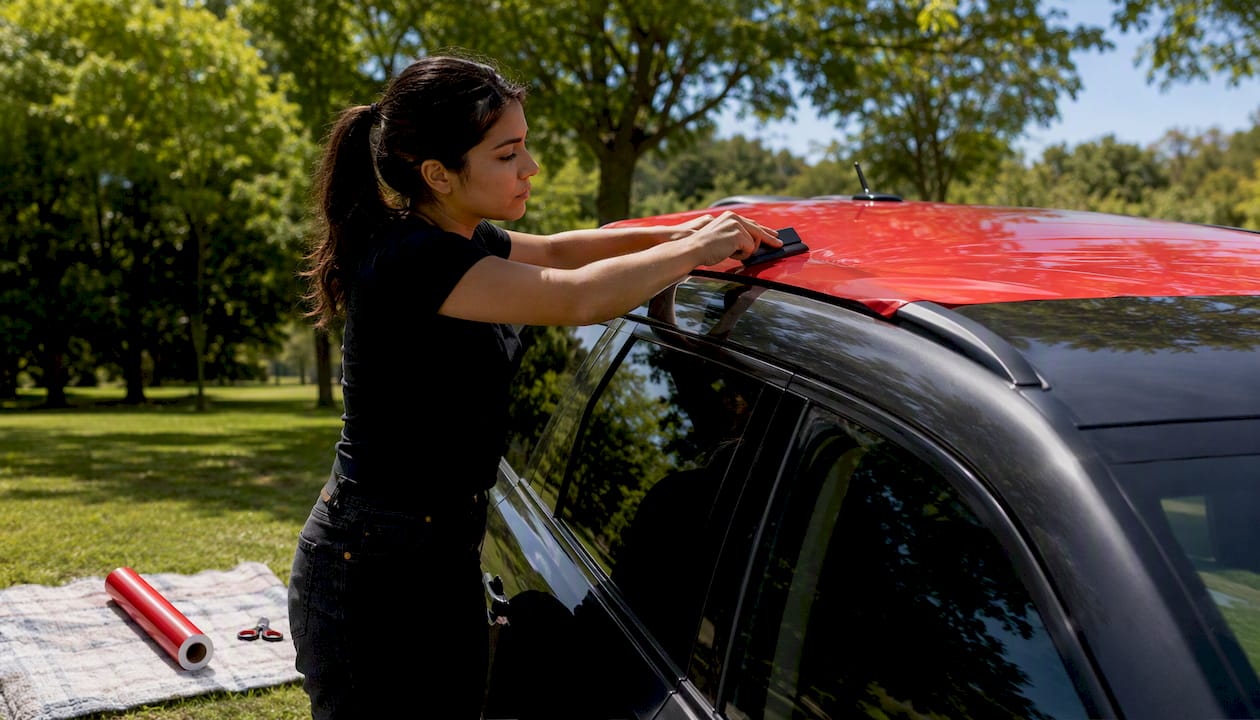
Utility mods are common on trucks and SUVs: bedliners, roof racks, tow hitches, lift kits, skid plates, and auxiliary lighting. Modify trucks for off-road use and you’ll also be dealing with lift-height and tire-width laws that vary by state.
Electronics covers infotainment upgrades, remote start, dashcams, backup cameras, and heated seats. OEM-compatible harnesses and software interfaces reduce the risk of electrical conflicts and help preserve factory electronics.
| Category | Typical mods | Cost band | Typical turnaround |
|---|---|---|---|
| Performance | Intake, exhaust, tune | Typically $2,000 or more | Hours to days |
| Handling | Coilovers, brakes, sway bars | — | 1–2 days |
| Aesthetics | Wrap, tint, wheels, PPF | — | 24–72 hours |
| Utility | Bedliner, hitch, lift kit | — | Hours to 2 days |
| Electronics | Infotainment, remote start | — | Hours to 1 day |
Window tinting and ceramic coating installs are frequently completed in 24–72 hours at a professional shop, while a full suspension overhaul or engine build can stretch to days or weeks.
How to plan a modification project from goal to execution
A build without a plan is how you end up with a $3,000 turbo kit on a car that still has stock brake pads. Work through these steps in order.
- Set a single primary goal. Pick one: more power, better handling, off-road capability, show aesthetics, or resale value. Every other decision flows from this. Mixing goals without a clear priority order is how builds stall.
- Audit the baseline first. Check fluids, brakes, suspension bushings, and engine health before any modification goes on. Modifying a neglected vehicle accelerates wear and compounds existing problems — a pre-mod inspection is not optional.
- Build a realistic budget. Simple bolt-ons like an air filter or LED bulbs can cost less than $100; major upgrades such as an engine, transmission, or full suspension system typically cost several thousand dollars. It’s wise to add a buffer for unexpected expenses like hardware, fluids, or alignment.
- Create a parts list with installation order. Safety-critical items go first: brakes, tires, and suspension before any power upgrades. List each part with its part number, vendor, and estimated cost.
- Map a timeline. Assign hours or days to each stage. Account for parts lead times, shop availability, and any required dyno or alignment appointments after the install.
- Plan your documentation. Before anything is installed, set up a log that captures: VIN, part name and number, vendor, purchase date, cost, installer name and contact, warranty info, and before/after photos.
Pro Tip: Order parts from a single reputable vendor per category when possible. Mixing sourcing across five discount sites makes returns and warranty claims a nightmare if something fails.
What are the legal and safety rules for modifying vehicles in the US?
Vehicle modifications are generally legal in the US if they comply with federal and state regulations. The four areas that generate the most citations, fines, and failed inspections are emissions, noise, lighting, and ride height.
What to check before you modify:
- Emissions: The EPA prohibits tampering with or removing emissions controls, including catalytic converters, on any street-driven vehicle. California and CARB-compliant states add a second layer: look up the CARB Executive Order (EO) number for any aftermarket exhaust or intake before buying. Parts without a valid EO# are illegal for street use in those states.
- Noise: Most states set maximum decibel limits for exhaust systems. Check your state DMV or municipal code — some cities enforce stricter limits than the state baseline.
- Lighting: Headlamp output, color, and aim are regulated by NHTSA’s Federal Motor Vehicle Safety Standards (FMVSS). Aftermarket HID or LED conversions in non-projector housings often fail compliance. Window tint limits vary by state and window position; local tint regulations can differ even from county to county.
- Ride height and tire width: Lift kit and tire laws vary significantly by state. Many states cap front bumper height and require fender coverage of the tire. Check your state DMV code before ordering a lift kit.
Insurance and warranty implications:
The Magnuson-Moss Warranty Act does not prevent a dealer from denying a warranty claim if it can prove a modification caused the failure. SEMA guidance outlines consumer rights in these disputes, but the burden of proof matters. Disclose modifications to your insurer when required — failing to do so can void a claim. Keep installer documentation and before/after photos to defend legitimate warranty claims.
Pro Tip: Get a written statement from the installer describing the work performed, the parts used, and the part numbers. That document is your first line of defense in any warranty or insurance dispute.
Should you DIY or hire a shop?
The honest answer: it depends on the mod, not your confidence level.
DIY-friendly mods are bolt-on, reversible, and don’t require calibration: air filters, cabin filters, LED bulb swaps, floor mats, shift knobs, and most cosmetic pieces. If the job needs only basic hand tools and a torque spec from a Haynes manual, you can likely do it yourself.
Hire a shop for:
- Suspension work (coilovers, control arms, alignment)
- Brake system changes beyond pad and rotor swaps
- Engine or transmission work, including ECU tuning
- Any welding or fabrication
- Electrical upgrades involving the factory harness or BCM
A shop with the right equipment will also handle post-install alignment and dyno tuning, which are not optional after suspension or power changes.
Questions to ask any shop before you commit:
- Do you have experience with my specific make and model?
- What warranty do you offer on parts and labor?
- Do you have an alignment rack and dyno on-site, or do you subcontract?
- Are you licensed and insured?
- Can you provide references or examples of similar builds?
Red flags to walk away from:
- No liability insurance or unwillingness to show proof
- Pressure to skip a post-install alignment or tune
- Vague answers about part sourcing or brand
- No written estimate before work begins
- Cheap or knock-off parts presented as equivalent to quality alternatives
What mistakes do most people make when modifying their vehicles?
Over-modification and incompatible parts cause the majority of build failures. The pattern is almost always the same: someone adds power without upgrading the systems that manage it.
The most common mistakes:
- Adding a turbo or supercharger without upgrading brakes, tires, and cooling
- Stacking power mods without a supporting tune, which can damage the engine
- Buying the cheapest suspension components and discovering the handling is worse than stock
- Lifting a truck without recalculating alignment geometry, which causes rapid tire wear and vague steering
- Modifying a vehicle that hasn’t had a baseline inspection, so existing problems get worse faster
Two scenarios that illustrate the pattern: A driver installs a 100-horsepower power adder on a daily driver with stock brakes. The car is faster in a straight line but takes significantly longer to stop — a dangerous mismatch. Separately, a truck owner installs a 4-inch lift without an alignment correction. Within 10,000 miles, the front tires are worn to the cords on the inside edge and the steering feels loose.
How to avoid these failures:
- Upgrade tires, brakes, and suspension before adding power — always.
- Stage upgrades: install one major change, test it thoroughly, then move to the next.
- Get a professional alignment after any suspension change, including a simple spring swap.
- Get a dyno tune after any modification that changes airflow or fueling.
- Verify that your center of gravity and suspension geometry are still within safe limits after ride-height changes.
How do you maintain a modified vehicle and protect resale value?
Modified cars need more frequent and specialized maintenance than stock vehicles. Plan for it, budget for it, and log every service.
Maintenance checklist for modified vehicles:
- Check brake fluid and pad thickness more frequently if you’ve upgraded to larger rotors or track-use pads.
- Inspect turbo or supercharger plumbing and intercooler connections every oil change.
- Check suspension bushings and end links every 15,000–20,000 miles or after any track day.
- Verify wheel torque after the first 50–100 miles following any wheel or suspension change.
- Follow recommended maintenance intervals for your specific build, not the generic factory schedule, since modified drivetrains often demand shorter service windows.
For resale, a documented build is worth more than an undocumented one. Buyers want to know what was done, by whom, and when. A clean mod log that shows value can meaningfully increase buyer confidence, especially for reversible mods with receipts attached.
Sample mod log template:
| Field | Example entry |
|---|---|
| Part name | coilover kit |
| Vendor | Summit Racing |
| Installer | ABC Performance, Richmond VA |
| Warranty | 2 years / manufacturer |
| Photos | Before/after, alignment printout |
Disclose modifications to your insurer in writing. Some policies require notification within 30 days of a significant change; others require a specialty policy for heavily modified vehicles. Keep the insurer’s written acknowledgment with your build log.
How a build log workflow actually works in practice
Track every mod and service entry from day one. The documentation habit reduces warranty friction, speeds up insurance claims, and makes your vehicle easier to sell.
A practical workflow looks like this:
- Capture the receipt at the point of purchase, digital or paper.
- Add part details: part name, part number, vendor, cost, and purchase date.
- Photograph before and after the install, including any alignment or dyno printouts.
- Tag the installer with their name, shop, and contact info.
- Note warranty terms for both the part and the labor.
- Set a service reminder for the next inspection interval specific to that part (e.g., recheck torque at 100 miles, inspect bushings at 15,000 miles).
- Export a build book when you’re ready to sell, so a buyer can verify the full history at a glance.
Fields to capture in every log entry: VIN, odometer reading, part name and number, vendor, cost, installer contact, warranty details, and before/after photos. Carjourney’s mod tracking workflow covers this in detail, including how to organize entries so they’re exportable for a buyer or an insurance adjuster.
AI-powered document scanning, like what Carjourney offers, can pull part numbers and service details directly from a photo of a receipt, which cuts the manual entry step significantly. That’s the kind of friction reduction that makes the habit stick.
Key Takeaways
A safe, legal build comes down to five things: a clear goal, verified rules, safety-first priorities, a budget that includes support systems, and a complete paper trail from day one.
| Point | Details |
|---|---|
| Define your goal first | Every part choice and priority order flows from whether you’re building a track car, daily driver, or off-road rig. |
| Verify federal and state rules | Check EPA, NHTSA, and your state DMV before buying any emissions, lighting, or height-related parts. |
| Upgrade safety systems before power | Brakes, tires, and suspension must match your power level — adding output without them creates a dangerous mismatch. |
| Budget for support systems | Major upgrades like suspension or engine work commonly reach $2,000–$10,000+; add a 15–20% contingency for alignment, tuning, and fluids. |
| Carjourney for build documentation | Carjourney logs receipts, part numbers, photos, and service reminders in one place, giving you a complete build book for warranty, insurance, and resale. |
The part most builders skip — and why it costs them
There’s a tendency in the enthusiast community to treat documentation as the boring part of a build. The fun is in the parts, the installs, the dyno numbers. The paperwork feels like homework.
That framing is exactly backwards. The documentation is the build, in any situation that matters. When a dealer denies a warranty claim, the builder who has installer receipts, part numbers, and before/after photos has a defensible case under Magnuson-Moss. The builder who doesn’t has nothing but a verbal argument. When an insurer questions a claim after an accident, a complete mod log is the difference between a covered repair and a dispute that drags on for months.
Resale is the same story. A buyer looking at two otherwise identical modified vehicles will pay more for the one with a documented history. Not because they’re being sentimental about paperwork, but because documentation is evidence that the builder knew what they were doing and cared about the result.
The safety-first framing in this guide isn’t just about avoiding tickets or failed inspections. It’s about building something you can stand behind — mechanically, legally, and financially. Plan the build, verify the rules, upgrade safety systems before power, and log everything. That’s the whole job.
Keep your build documented with Carjourney
Scattered receipts and forgotten service dates are how modified vehicles lose value and create headaches at the worst moments.
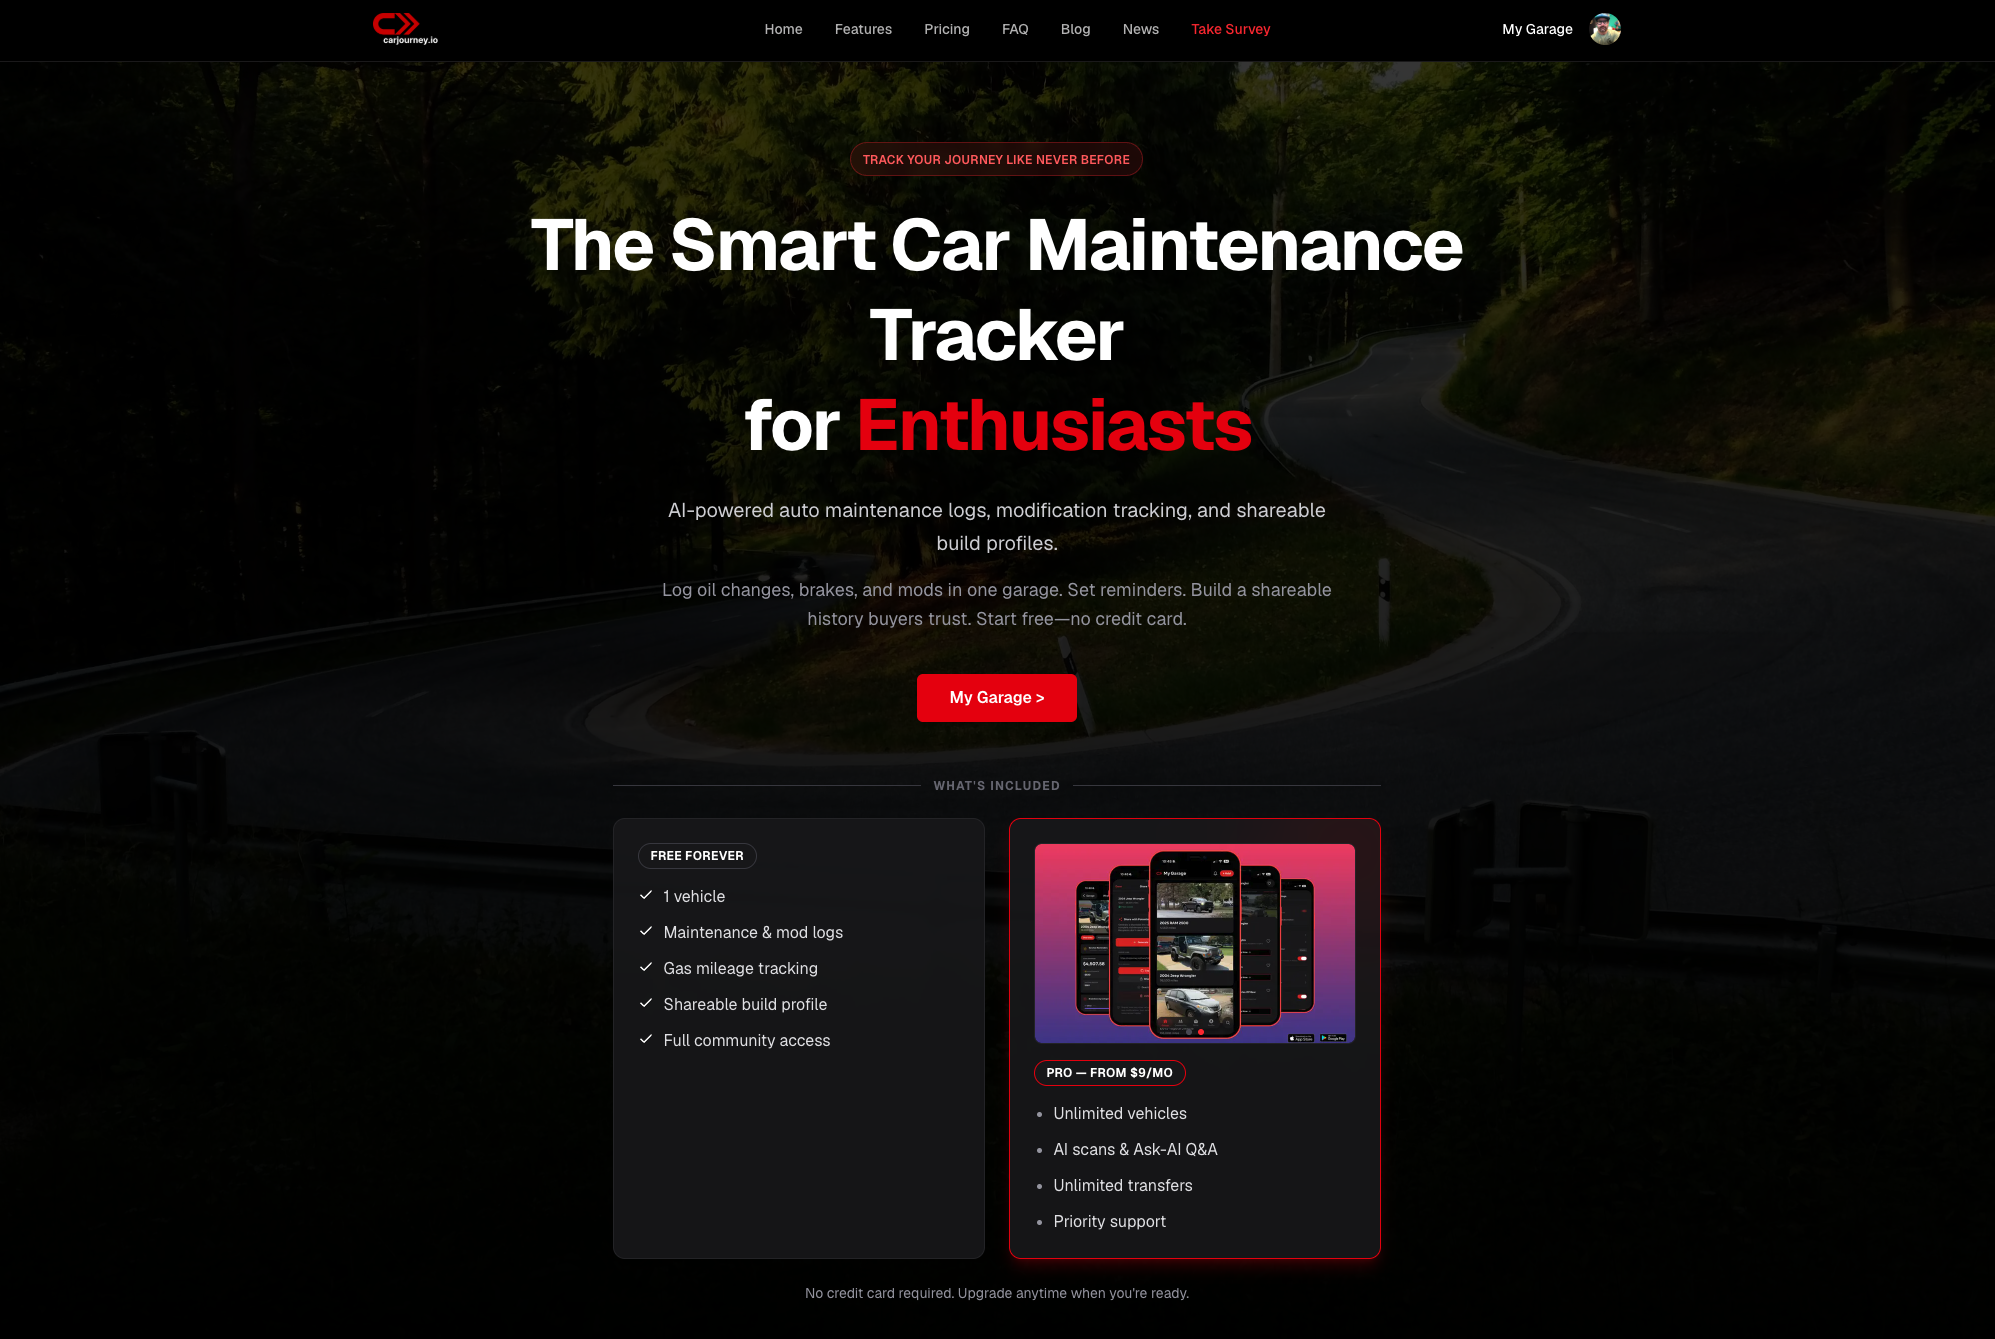
Carjourney is a vehicle maintenance and build-tracking app built specifically for enthusiasts. You can scan service receipts with AI to pull part details automatically, log modifications with photos and installer info, set custom service reminders for modified drivetrains, and export a complete build book when it’s time to sell. Whether you’re tracking a heavily modified daily driver or building a dedicated weekend car, Carjourney keeps every receipt, part number, and service interval in one place. Start your build log and see how much easier the documentation side of a build can be.
Useful sources and further reading
Federal agencies and primary legal sources are the only reliable place to verify rules that change by state or model year. Check these before buying any regulated part:
- EPA (Environmental Protection Agency): epa.gov — emissions tampering rules, catalytic converter regulations, and the Clean Air Act provisions that apply to aftermarket parts.
- NHTSA (National Highway Traffic Safety Administration): nhtsa.gov — Federal Motor Vehicle Safety Standards (FMVSS) covering lighting, glazing (tint), and structural requirements.
- CARB (California Air Resources Board): arb.ca.gov — Executive Order (EO) number lookup for emissions-legal aftermarket parts; applies in California and all CARB-compliant states.
- Your state DMV: Search “[your state] DMV vehicle modification laws” for lift height, tire width, bumper height, noise limits, and inspection requirements. Rules vary significantly — never assume another state’s limits apply to yours.
- Municipal ordinances: Noise and lighting limits sometimes differ at the city or county level. Check local code if your state rules seem permissive.
- SEMA (Specialty Equipment Market Association): sema.org — consumer warranty guidance, Magnuson-Moss resources, and state-by-state legislative tracking for enthusiast-friendly laws.
- FindLaw — vehicle modification laws: findlaw.com — plain-language overview of state-level modification laws and enforcement examples.
- Haynes Manuals: us.haynes.com — vehicle-specific repair and upgrade guides, torque specs, and DIY tutorials for hundreds of makes and models.
- Carjourney blog: carjourney.io/blog — practical guides on documenting modifications, protecting your build with maintenance, and upgrade ideas organized by goal and budget.
This article is general information, not legal or mechanical advice. Verify current rules with your state DMV, the EPA, NHTSA, or a qualified professional before making any modification to your vehicle.