
 carjourney
Car Photo Shoot Tips That Get Professional Results
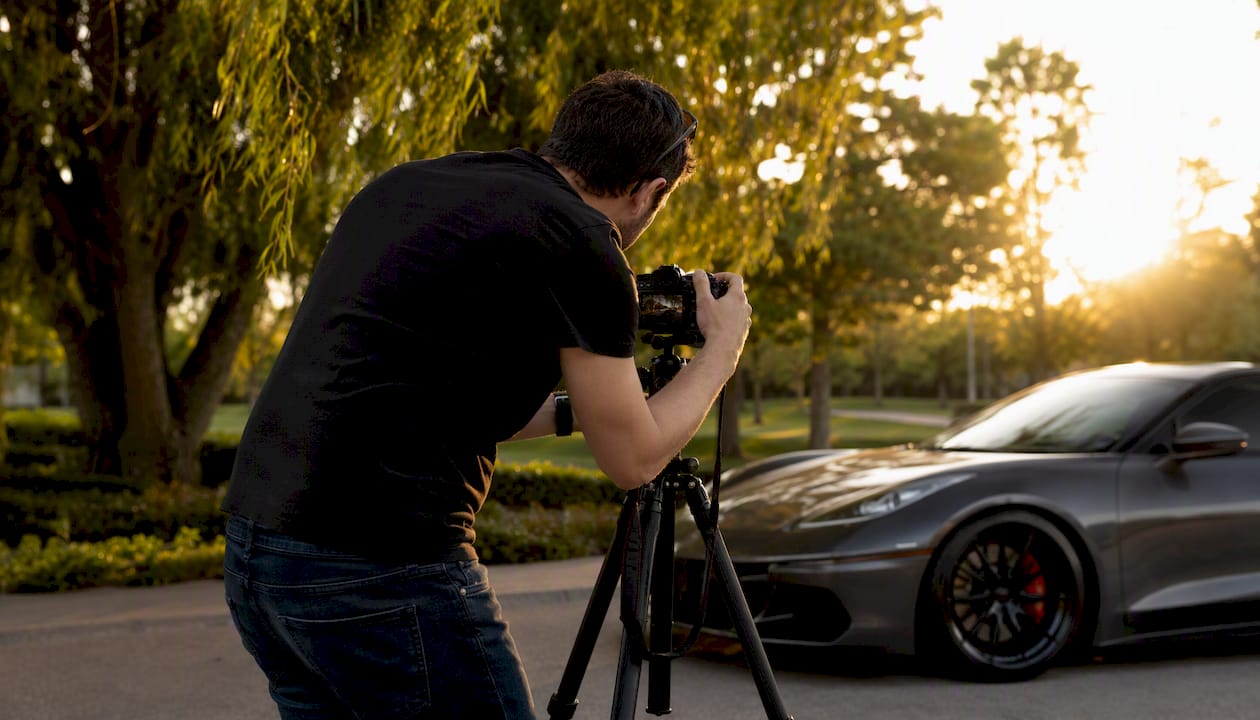
Ten practical photo shoot tips for cars will immediately sharpen your results: shoot at golden hour, clean the car obsessively, nail the four core angles, control reflections with a circular polarizer, use a tripod for static shots, bracket exposures, pace your shutter for motion, scout your location in advance, vary your shot list, and confirm permissions before you set up anywhere.
Here’s the quick-settings cheat sheet to pocket before your next shoot:
Safety and legal note: Always get written permission before shooting on private property, and never stop on a highway shoulder or block traffic for a shot. Public parks and streets may require permits depending on your city.
Key Takeaways
The most effective car photo shoot combines golden-hour timing, a clean and prepped car, the four core angles, and deliberate focal-length choices to produce professional-looking results from any camera.
| Point | Details |
|---|---|
| Shoot at golden hour | Soft, warm, low light minimizes glare and flatters paint on every car type. |
| Prep the car first | A full wash, glass cleaning, and clutter removal has an outsized effect on perceived image quality. |
| Nail the four core angles | Front three-quarter, rear three-quarter, side profile, and straight-on front cover every essential view. |
| Use f/8–f/11 for static shots | Moderate apertures deliver full-car sharpness; reserve wide apertures for detail and macro work. |
| Step back and use 85–135mm | Longer focal lengths from greater distance preserve accurate proportions and avoid wide-angle distortion. |
Table of Contents
- What gear actually matters for car photography?
- Camera settings for static, detail, and rolling shots
- How does time of day change your car photos?
- Which angles should you shoot first?
- How do you prep the car and control reflections?
- How do you capture convincing motion in car photos?
- What’s the best approach for interior and detail shots?
- How do you scout and choose a location?
- What does a solid RAW post-processing workflow look like?
- Your shot list and checklist for every car shoot
- How focal length changes the way a car looks
- What actually matters most on every car shoot
- Keep your build documented with Carjourney
- Sources
What gear actually matters for car photography?
Focal length and shooting distance matter more than brand or megapixel count. A mid-range mirrorless body paired with the right glass will consistently outperform an expensive camera used at the wrong distance.
Focal length ranges for common car shots:
- 24–35mm: Environmental context shots, tight urban scenes, or dramatic low-angle foreground work. Use carefully — too close and you’ll distort the car’s proportions.
- 50–70mm: The “natural eye” range. Good for lifestyle shots where the car sits in its environment without compression or stretch.
- 85–135mm: The sweet spot for most static car photography. Flatters proportions, compresses background slightly, and keeps you far enough back to avoid distortion.
- 200–400mm: Telephoto compression for dramatic rolling shots or isolating a car against a distant background.
A 70–200mm f/2.8 or f/4 zoom covers the majority of car photography scenarios in a single lens. That said, a 50mm or 85mm prime still earns its place for detail shots where you want maximum sharpness and a clean background separation.
Must-have accessories:
- Circular polarizer (CPL): Cuts glare on paint and glass. Rotate it slowly while looking through the viewfinder — the difference is immediate.
- Tripod: Non-negotiable for static shots, long exposures, and HDR stacking.
- ND filters (3-stop and 6-stop): Essential for daytime rolling shots where you need a slow shutter without blowing out the sky.
- Remote shutter release: Eliminates camera shake on long exposures.
- Reflector (5-in-1): Fills shadows on the shaded side of the car without adding a second light source.
- Microfiber cloths and detailing spray: You will use these on location, guaranteed.
Budget alternatives: Rent lenses before buying. LensRentals and BorrowLenses both ship nationwide. A used 70–200mm f/4 from Canon or Nikon runs well under $500 and handles most of what you need. Prioritize a CPL and a tripod over a faster lens — they improve more shots per dollar.
Pro Tip: If you’re buying one filter, buy the CPL first. A good B+W or Hoya CPL on an 85mm lens will do more for your car photos than any lens upgrade at the same price point.
Camera settings for static, detail, and rolling shots
Professional automotive photographers tend to keep it simple: shoot at moderate apertures like f/8–f/11 for sharpness across the full vehicle, and rely on planning and location scouting rather than chasing exotic settings.
Static and staged shots
Start at f/8–f/11, ISO 100–200, and let the tripod do the work. Use your camera’s base ISO for the cleanest files. Metering mode: evaluative/matrix for most scenes, spot metering when the sky is dramatically brighter than the car. Shoot RAW — always. JPEG locks in white balance and tone decisions you’ll want to revisit in post.
Detail and interior shots
Open up to f/4–f/5.6 to separate a badge or wheel spoke from the background. Macro lenses (100mm f/2.8) are ideal for stitching, gauges, and trim details. For interiors, f/5.6–f/8 keeps the dashboard and seats in focus simultaneously. Use a remote release or self-timer to avoid any shake on close-up shots.
Motion and rolling shots
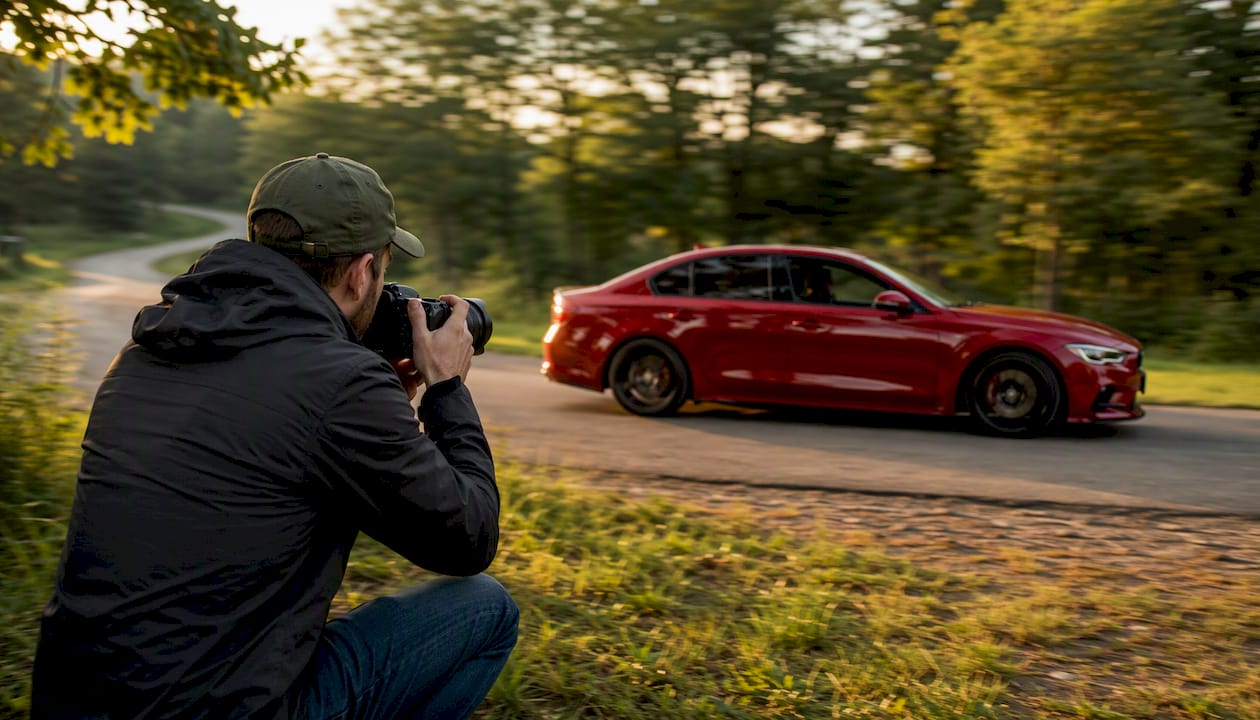
This is where settings get interesting. Start at 1/60s–1/125s for panning at moderate road speeds. The goal is a sharp car body with a blurred background — that blur is what sells the sense of speed. Use continuous autofocus (AF-C or AI Servo), and activate burst mode to maximize keeper rates. Shoot 5–10 frames per pan and expect to keep one or two.
For high-dynamic-range scenes (bright sky, dark car), bracket three exposures at ±1 stop and merge them in post using a tripod-locked sequence. This approach recovers highlight detail in the sky while preserving shadow detail in the wheel arches.
Pro Tip: Switch to back-button autofocus for rolling shots. It separates focus from the shutter button so you can lock onto the car, hold focus through the pan, and fire without accidentally triggering a refocus mid-burst.
How does time of day change your car photos?
Golden hour — the short window just after sunrise and before sunset — produces soft, warm light that wraps around body panels and minimizes the harsh glare that midday sun creates. That low angle means long shadows and warm gradients across paint, which is why nearly every automotive editorial you’ve admired was shot at dawn or dusk.
Shooting at golden hour:
- Arrive 30 minutes before sunrise or 45 minutes before sunset to set up while light is still neutral.
- Position the car so the sun hits the front three-quarter panel for the most flattering gradient.
- Plan with apps like PhotoPills or The Photographer’s Ephemeris to know exact sun direction and altitude at your location. Golden hour lasts for a short duration depending on the season and latitude — bracket exposures as the light shifts.
- Use backlighting deliberately: position the car between you and the low sun for rim-lit silhouettes or dramatic halos on chrome trim.
Overcast days act like a giant softbox. Clouds diffuse the light evenly, which simplifies reflection control on shiny paint and eliminates the hot spots that plague midday shoots. Overcast is often the preferred condition for clean, even reflections on dark-colored cars. The tradeoff is flat, less dramatic light — compensate with stronger composition and more interesting backgrounds.
Night shoots open up a different creative range. Long exposures (2–30 seconds) let you capture light trails from passing traffic, use a flashlight or LED panel to “paint” specific panels, or shoot under artificial lighting for a moody, editorial feel. Lock the camera on a tripod, set ISO 100–400, and experiment with shutter speeds between 5 and 20 seconds.
Pro Tip: Use a reflector or a large white foam board on the shaded side of the car during golden hour. It bounces warm light back into the shadow areas and gives you a cleaner, more balanced image without adding a second light source.
Which angles should you shoot first?
Start with the four foundational angles before you get creative: front three-quarter, rear three-quarter, straight side profile, and straight-on front. These document the car accurately and are the shots buyers, builders, and enthusiasts actually want to see.
The four core angles:
- Front three-quarter (driver’s side): The most universally flattering angle. Position yourself at roughly 45 degrees off the front corner, slightly below hood height. This angle shows the face, the roofline, and one full side panel simultaneously.
- Rear three-quarter (passenger’s side): Mirrors the front shot and completes the pair. Essential for resale listings and build documentation.
- Side profile: Get low — below door-handle height — and shoot perfectly perpendicular to the car. This angle shows the full silhouette, stance, and wheel fitment clearly.
- Straight-on front: Works best for aggressive, wide-bodied cars. Keep the camera centered and level with the hood line.
Making shots more compelling:
- Low angles (camera at bumper height or below) exaggerate the car’s mass and presence. Pair with a wide foreground element — a painted road line, a puddle, a curb — to add depth.
- Leading lines pull the viewer’s eye toward the car. A road, a wall, a row of lights — anything that converges toward the subject adds energy.
- Apply the rule of thirds: place the car slightly off-center rather than dead in the frame’s middle. A centered car in an empty frame reads as a DMV photo, not a hero shot.
- Negative space (a clear sky, an open road) can be as powerful as a busy environment, especially for minimalist or performance-focused cars.
For storytelling compositions, think about what the car does. A lifted truck belongs on a dirt road with dust in the air. A sports car belongs on a sweeping corner. A classic belongs in front of a building that shares its era. Browse real-world galleries for composition inspiration and notice how the environment always reinforces the car’s character.
How do you prep the car and control reflections?
A clean car photographs dramatically better than a dirty one. Basic prep — a full wash, glass cleaning, and removing small visual distractions — is one of the highest-return investments you can make before a shoot.
Pre-shoot prep checklist:
- Full hand wash and dry (no water spots).
- Clay bar or quick detailer on paint for a smooth, streak-free surface.
- Clean all glass thoroughly — streaks and smears show up brutally in photos, especially on interior shots.
- Apply tire dressing for uniform, dark sidewalls.
- Remove floor mats, air fresheners, parking passes, and any clutter visible through windows.
- Wipe down wheels and wheel wells.
- Adjust mirrors, door handles, and any trim to their intended position.
- Check for bird droppings, tree sap, or water spots that survived the wash.
Managing reflections:
Reflections on paint are unavoidable — the goal is to control them, not eliminate them. Circular polarizing filters reduce unwanted reflections on paint and glass and work best when the sun is roughly 90 degrees to the subject. Rotate the CPL slowly while looking through the viewfinder until the reflection softens.
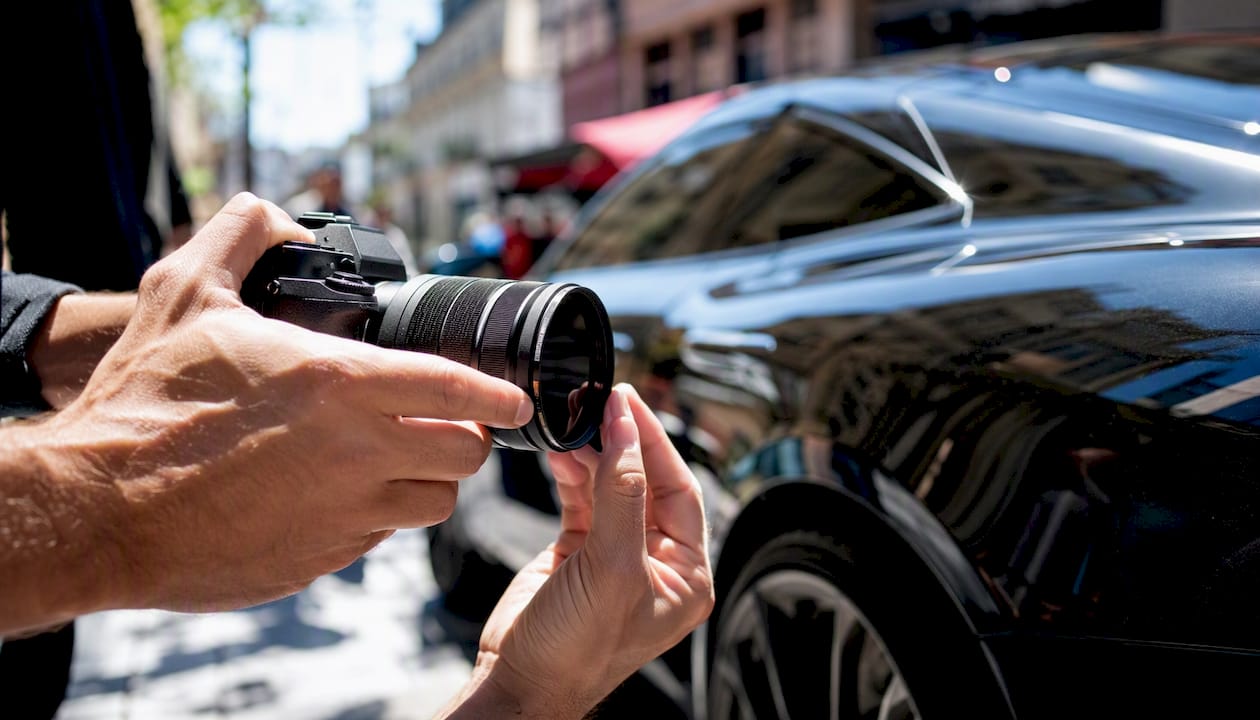
Beyond the CPL, repositioning solves most problems. Move the camera angle a few degrees, change your distance, or reposition the car relative to the light source. For stubborn highlights on curved panels, a black foam board or a photography flag placed just out of frame blocks the offending reflection at its source.
Some reflections are worth keeping. A car reflecting a dramatic sky or a neon-lit street adds atmosphere. The question is whether the reflection adds to the image or distracts from it.
Pro Tip: Shoot a test frame, zoom into the paint on your LCD, and identify the exact source of any distracting reflection before moving the whole setup. Nine times out of ten, a small repositioning of the camera — not the car — fixes it.
How do you capture convincing motion in car photos?
Panning is the core technique: you track the moving car with your camera during a slow shutter exposure, keeping the car sharp while the background streaks into motion blur. The result reads as speed even at low actual velocities.
Panning basics:
- Use 1/60s–1/125s for cars moving at 30–50 mph. Slower shutters (1/30s) create more blur but are harder to keep sharp on the subject.
- Plant your feet, pivot from the hips, and follow the car smoothly before, during, and after the shot. The follow-through matters as much as the moment of exposure.
- Use continuous autofocus (AF-C) locked onto the car’s front grille or headlight. Activate your camera’s subject-tracking mode if available.
- Burst mode at 5–10 fps gives you multiple frames per pan — expect a keeper rate of 10–20% until the technique becomes muscle memory.
Rolling shots (vehicle-to-vehicle):
Match your vehicle’s speed to the subject car, minimize your own vibration, and use a neutral density filter to allow long shutter speeds in daylight. A 3-stop ND at f/8 in bright sun lets you drop to 1/60s without overexposing. A rough rule of thumb: halve the shutter speed relative to the car’s speed in mph (30 mph → try 1/60s as a starting point).
Safety and legal checklist for motion shots:
- Never shoot from a moving vehicle on a public road without a dedicated driver and a secured shooting position.
- Use a spotter or radio communication between vehicles.
- Confirm the road is legal for the shoot and that local authorities are aware if you’re closing lanes.
- Keep speeds low and predictable. Most compelling panning shots happen at 25–40 mph, not highway speeds.
Pro Tip: Brief the driver before every rolling shot. Agree on speed, distance, and a hand signal for “stop.” A clear communication system prevents dangerous surprises and lets you focus on the shot instead of the logistics.
What’s the best approach for interior and detail shots?
Interior shots are where most enthusiasts leave the most value on the table. A beautifully modified cabin, a set of carbon-fiber trim pieces, or a custom gauge cluster deserves the same attention as the exterior.
Lighting interiors:
Harsh direct flash creates flat, unflattering light with hard shadows. Instead, bounce a small speedlight off the headliner or a white card to create soft, even fill. A continuous LED panel (Godox or Neewer make affordable options) gives you a live preview of the light before you shoot. For tight spaces, a small reflector positioned in the passenger seat can bounce window light into the driver’s side.
Best angles for interior elements:
- Dashboard: Shoot from the passenger seat at a slight downward angle. Include the steering wheel in the foreground for depth.
- Seats: Shoot from the rear seat looking forward, or from outside the open door at seat level. Show the bolstering and stitching clearly.
- Badges and emblems: Get close, open up to f/2.8–f/4, and let the background go soft. A 100mm macro lens is ideal here.
- Wheels: Shoot at wheel-center height, slightly forward of the wheel, to show the full face of the rim and the brake caliper behind it.
Interior shot checklist for build documentation or resale:
- Full dashboard view (driver’s POV)
- Steering wheel and gauge cluster
- Center console and shifter
- Front seats (both sides)
- Rear seats
- Door panels and sill plates
- Any custom or modified components (audio, roll cage, harness, etc.)
- Trunk or cargo area
For documenting a build or preparing a resale listing, these interior shots carry real weight with buyers and enthusiasts who want to verify condition and modifications.
How do you scout and choose a location?
The background either supports the car or competes with it. A cluttered parking lot behind a beautiful car is a wasted shot. Location scouting is where most of the creative work actually happens, and it costs nothing but time.
Basic location rules:
- Choose backgrounds with complementary color. A red car pops against a gray concrete wall or a green field. It disappears against a red brick building.
- Simple textures beat busy ones. Smooth asphalt, weathered concrete, and open fields keep the eye on the car.
- Match the location to the car’s character. A sports car belongs on a sweeping road or a clean industrial backdrop. An off-road build belongs on dirt, gravel, or a trail. A classic belongs somewhere with age and texture.
Environment as story:
- Urban neon at night: works for JDM builds, lowriders, and anything with a street-culture identity.
- Open highway or desert road: suits muscle cars, sports cars, and anything built for distance.
- Beach or coastal: flattering light at golden hour, works for lifestyle-oriented shots.
- Garage or workshop: honest, authentic, and great for build-in-progress documentation.
- Industrial or abandoned: strong contrast and texture, suits modified or aggressive builds.
Location scouting checklist:
- Confirm access and permissions (private property, park permits, film permits).
- Visit at the same time of day as your planned shoot to check light direction.
- Check the surface — gravel and loose dirt kick up debris and can scratch paint.
- Note traffic patterns and pedestrian flow that might interrupt shots.
- Identify parking for support vehicles and gear.
- Check cell coverage for communication with the driver during rolling shots.
For a quick, inexpensive option, a permissioned private parking lot (a dealership, a warehouse, a business contact) often beats a public location for control and flexibility. Car staging basics can help you think through positioning and environment before you arrive.
What does a solid RAW post-processing workflow look like?
Shoot RAW, edit with intention, and stop before you’ve gone too far. Over-processed car photos — crushed blacks, oversaturated paint, HDR halos — are immediately recognizable and undermine the work you did on location.
A practical edit sequence in Lightroom:
- Exposure: Bring up shadows slightly, pull down highlights to recover sky and paint detail.
- White balance: Set it to match the light source. Golden hour shots often benefit from a slightly cooler correction to prevent the warm cast from going orange.
- Clarity and texture: Add clarity at 10–20 to sharpen panel lines and trim details. Avoid pushing past 30 — it creates an artificial, crunchy look.
- Vibrance vs. saturation: Use vibrance (not saturation) to lift muted colors without blowing out already-saturated ones.
- Local adjustments: Use a radial or linear gradient to darken the background slightly and draw the eye toward the car.
- Sharpening: Apply 40–60 sharpening with a masking value of 60–80 to protect smooth paint from grain.
- Noise reduction: Keep luminance noise reduction conservative (20–40) to preserve detail.
When to use layer blending:
Many professional car photographers light different parts of a vehicle separately and blend multiple exposures in post to create clean gradients across panels and control reflections precisely. In Photoshop, this means shooting two or three frames with different lighting setups, then masking them together on separate layers. It’s the standard approach for studio-grade results.
For field work, a tripod-locked HDR stack solves dynamic-range problems: shoot three frames at ±1 stop, merge in Lightroom’s HDR merge tool, and you recover both sky and shadow detail in a single file.
Your shot list and checklist for every car shoot
Prioritize the fundamentals first. If the light disappears or the session runs short, you want the essential shots already in the bag before you start experimenting.
Priority shot order:
- Front three-quarter (driver’s side, low angle)
- Rear three-quarter (passenger’s side, low angle)
- Side profile (perpendicular, below door height)
- Straight-on front
- Wheels (all four, or at minimum the most distinctive set)
- Interior overview (dashboard, seats)
- Key detail shots (badge, engine bay, custom trim)
- Creative or environmental variants (motion, lifestyle, silhouette)
Full shoot checklist:
Gear:
- Camera body + charged batteries (bring two)
- Primary lens + backup
- CPL filter, ND filters
- Tripod + remote release
- Reflector or foam board
- Microfiber cloths and detailing spray
Prep:
- Car washed, dried, and detailed
- Glass cleaned inside and out
- Tires dressed, wheels wiped
- Interior cleared of clutter
- Permissions confirmed in writing
On location:
- Arrive early, walk the location before the car arrives
- Check light direction and background
- Set camera to RAW + correct white balance preset
- Shoot the four core angles before any creative work
- Review frames on LCD after each setup change
Timing guidelines by session length:
- 15 minutes: Four core angles only. No time for creative variants — nail the fundamentals.
- 45 minutes: Four core angles + wheels + two interior shots + one creative variant.
- 90 minutes: Full shot list above, including motion shots and golden-hour creative work.
How focal length changes the way a car looks
This is the technical decision that separates snapshots from intentional photographs. Shooting with a longer focal length from a greater distance preserves accurate proportions and avoids the distortion that makes cars look toy-like or stretched.
Compression vs. distortion:
- Wide-angle (24–35mm, close distance): Exaggerates the size of near elements (the front bumper, the hood) relative to far ones (the rear wheels, the trunk). The car looks longer and the nose appears to loom toward the viewer. Used deliberately, this creates drama. Used carelessly, it makes a car look like a caricature.
- Standard (50–70mm, moderate distance): Closest to how the human eye perceives a car in space. Proportions read as natural. Good for documentation and lifestyle shots.
- Short telephoto (85–135mm, stepped back): Slight compression that flatters most cars. The wheelbase looks proportional, the body panels appear to have more mass, and the background compresses slightly to feel closer.
- Long telephoto (200mm+, far distance): Strong compression. The car appears flatter and more dominant against the background. Works well for rolling shots where you want the car to fill the frame against a compressed road or landscape.
Practical rules:
- For a realistic, accurate look at a full car, step back to at least 30–40 feet and use 85–135mm.
- To emphasize the front end or create an aggressive, confrontational feel, use 35–50mm from 10–15 feet.
- To show a car in its environment with strong background compression, use 200mm+ from 50–100 feet.
Pro Tip: Before you move the camera, ask what story you’re telling. A wide, close shot says “this car is aggressive and in your face.” A long, compressed shot says “this car belongs in this landscape.” The focal length is a storytelling choice, not just a technical one.
What actually matters most on every car shoot
Most photographers spend too much time thinking about gear and not enough time thinking about light and story. The camera is the least interesting part of a great car photo.
The shots that hold up over time share one quality: they were planned. The photographer knew where the sun would be, chose a background that said something about the car, and arrived early enough to work the location before the light peaked. The technical settings — aperture, shutter, ISO — were secondary decisions made in service of a visual idea that already existed.
Document your builds consistently. Every modification, every detail shot, every before-and-after frame adds up to a record that has real value, whether you’re sharing with a community, building a shareable profile for a future buyer, or just tracking your own progress. The best time to photograph a build is every time something changes, not just when it’s finished.
Experiment freely, but always get the fundamentals first. The four core angles, a clean car, and good light will produce a better gallery than any creative technique applied to a dirty car in harsh midday sun.
Keep your build documented with Carjourney
Every great car shoot produces images worth keeping alongside your build records. Carjourney lets you store photos, log modifications, scan service documents with AI, and build a shareable profile that shows buyers and enthusiasts exactly what your car is and what’s been done to it. Whether you’re documenting a full build or tracking a single modification, Carjourney keeps everything in one place — no more scattered receipts or buried forum threads.
Sources
The following resources were used to build this guide. Each covers a distinct aspect of automotive photography and is worth bookmarking for reference.
- Car photography guidance | Adobe Creative Cloud
- Car Photography: Tips for Better Photographs | Digital Photography School
- A guide to automotive photography | Sony Scene
- Golden hour car photoshoot tips and feedback | ProEdu
- A Guide to Car Photography | Adorama Learning Center
- How I Shoot | Automotive Photography | Sony Alpha