 carjourney
The most effective car customizations match your driving goals first and your aesthetic preferences second. Start with wheels and tires, suspension and brakes, and lighting before anything else. Then layer in performance upgrades, interior comfort, and protection based on how you actually use the car.
Here’s a fast breakdown by driver type:
- Daily driver: LED headlight upgrade, quality all-season tires, sound deadening, dashcam. Low cost, high return on daily usability.
- Weekend track car: Performance tires, coilovers, big brake kit, ECU tune. Foundation mods before power, always.
- Show car: Full vinyl wrap or custom paint, body kit, ambient interior lighting, forged wheels. Aesthetics lead, but fitment and finish quality matter.
- EV owner: Lightweight aftermarket wheels (range impact is real), coilovers tuned for EV weight distribution, upgraded infotainment connectivity.
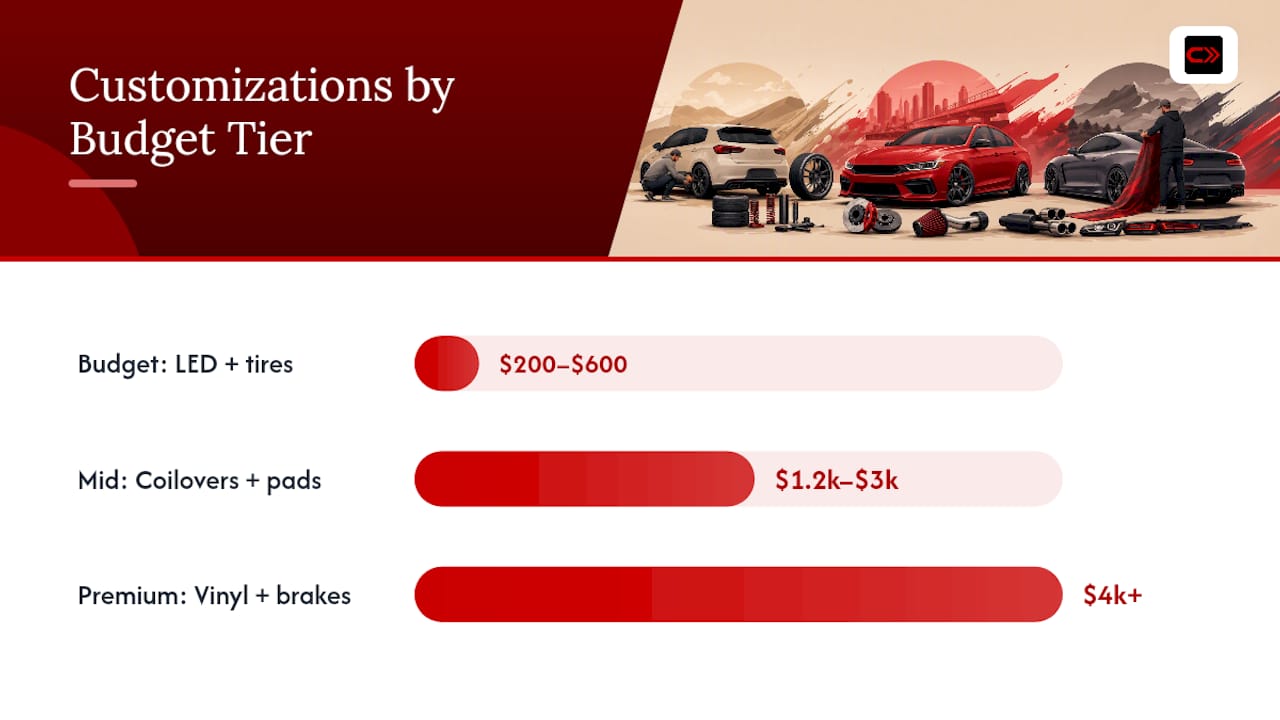
Quick picks by budget:
| Tier | Best starting mod | Estimated range |
|---|---|---|
| Budget | LED headlight conversion + all-season tires | $200–$600 |
| Mid | Coilovers + performance brake pads + head unit | $1,200–$3,000 |
| Premium | Full vinyl wrap + big brake kit + ECU tune | $4,000+ |
Your next step: plan the build in phases, then log every mod and receipt. NHTSA and the EPA set the federal floor for safety and emissions compliance; state rules layer on top.
Pro Tip: *Before spending a dollar, write down your primary use case. A mod that’s perfect for a track car can make a daily driver miserable — and vice versa.
Table of Contents
- 1. Wheels and tires change handling, look, and value more than almost anything else
- 2. Paint, wraps, and vinyl: choosing color, protection, and reversibility
- 4. Lighting upgrades that actually improve safety and style
- 5. Audio and infotainment upgrades: what to prioritize first
- 6. Performance mods: ECU tunes, intake, exhaust, and the trade-offs
- 7. Suspension and brakes: the foundation of better handling and safety
- 10. Ceramic coatings, PPF, and detailing: protecting what you’ve built
- 11. How to choose which customizations to do: budget, legality, and timing
- 12. Build philosophy: additive vs. subtractive and why documentation matters
- Key Takeaways
- What most build guides get wrong about customization
- Carjourney makes it easy to track your build from the first mod to the last receipt
- Useful sources for going deeper on US car customization
1. Wheels and tires change handling, look, and value more than almost anything else
Tires are the single most impactful performance modification you can make. Every ounce of power, braking force, and steering input passes through four contact patches the size of your palm. Wheels are the biggest visual statement on the car. Get both right and everything else builds on a solid foundation.
Fitment basics to know before you buy:
- Bolt pattern: Must match your hub exactly. Common US patterns include 5x114.3 (Toyota, Honda, Nissan) and 5x120 (BMW, GM).
- Offset and backspacing: Determines how far the wheel sits in or out of the fender. Wrong offset causes rubbing or unsafe handling.
- Diameter and width: Upsizing diameter (plus-sizing) improves cornering but can hurt ride quality and speedometer accuracy.
- Load and speed ratings: Never go below OEM ratings for a street car.
Tire types and trade-offs:
- All-season: Best for daily drivers in mixed climates. Balanced grip, economy, and longevity.
- Summer/performance: Dramatically better dry and wet grip. Not safe below 45°F.
- All-terrain: Trucks and SUVs. Better off-road traction, louder on highway, slightly lower fuel economy.
- Track/semi-slick: Maximum grip on circuit. Wears fast, illegal on some public roads.
Estimated costs: Budget wheel and tire sets start around $400–$800 for economy options. Mid-range forged or flow-formed wheels with performance tires run $1,200–$2,500. Premium forged sets with sticky summer rubber can exceed $4,000.
Pro Tip: Upgrade your brake pads and rotors at the same time you switch to performance tires. Stickier tires generate more stopping force than stock brakes are designed to handle — pairing brakes and tires is a safety requirement, not a preference.
2. Paint, wraps, and vinyl: choosing color, protection, and reversibility
A vinyl wrap gives you a dramatic visual change without touching the factory paint, and it peels off cleanly when you’re ready to sell or change direction. Custom paint is permanent, often raises resale value when done by a reputable shop, and looks better up close than most wraps. Those are the two facts that should drive your decision.
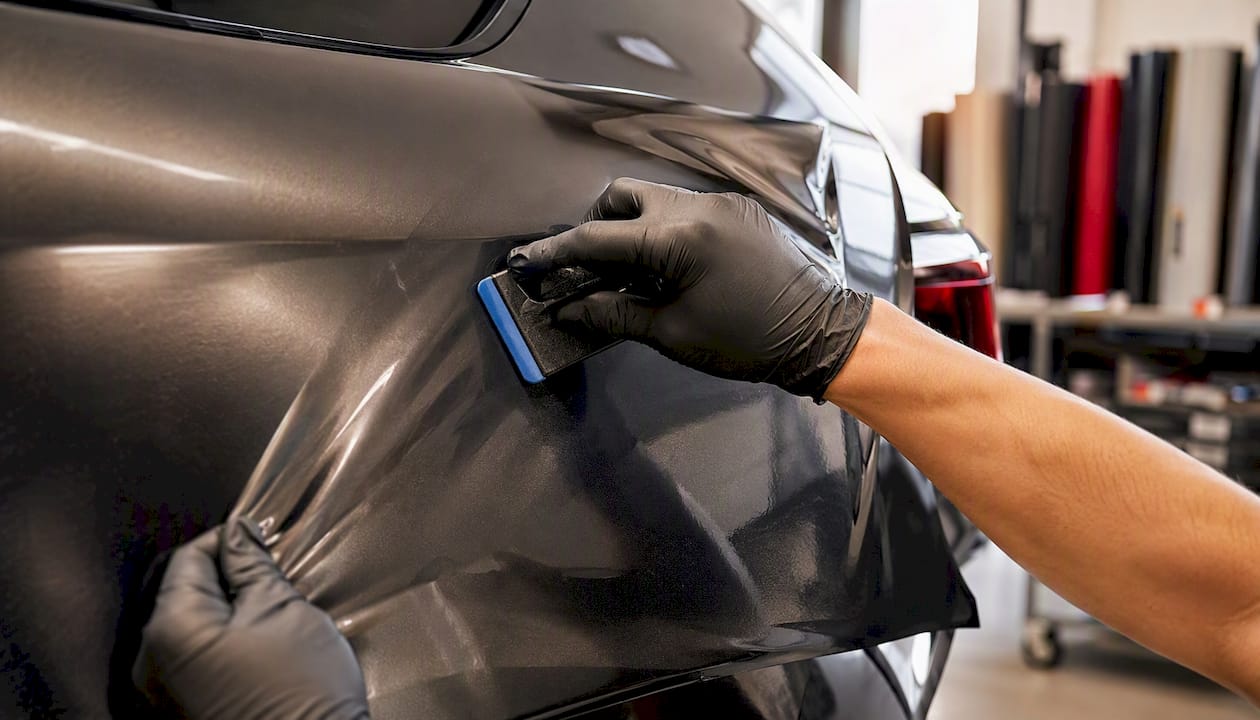
Scenario comparison:
| Goal | Best option | Notes |
|---|---|---|
| Temporary color change | Full vinyl wrap | Reversible, protects paint underneath |
| Long-term value increase | Professional respray | Permanent; quality shop matters |
| Paint protection only | PPF or ceramic coating | Clear; preserves original color |
| Partial accent/trim | Partial wrap or vinyl accents | Low cost, easy DIY on flat panels |
Finish options: Matte, gloss, satin, color-shift (chameleon), chrome, and brushed metal are all available in vinyl. Paint can achieve most of these too, but at significantly higher cost and with no reversibility.
Cost ranges: A quality full vinyl wrap from a professional shop typically costs several thousand dollars depending on vehicle size and finish complexity. A full respray at a reputable body shop can be considerably more expensive for show-quality work. DIY partial wraps on flat panels are available at a relatively low cost.
Legal note: Avoid colors that mimic emergency vehicles (red and white patterns, blue and red combinations). Some states and municipalities restrict highly reflective or obtrusive finishes on public roads. Check your state’s DMV rules before committing to anything unusual.
Maintenance: Wraps need hand washing only — no automated brushes. Avoid high-pressure spray directly at seams. Ceramic-coated wraps clean even easier.
Pro Tip: Ask any wrap shop for their brand of vinyl before booking. 3M and Avery Dennison are the industry benchmarks for durability and color consistency. Shops using off-brand film often charge similar prices but deliver noticeably shorter lifespans.
4. Lighting upgrades that actually improve safety and style
LED and projector headlight upgrades typically improve visibility and style when installed correctly. The key phrase is “installed correctly.” A cheap LED bulb dropped into a reflector housing designed for halogen creates dangerous glare for oncoming drivers without meaningfully improving your own visibility.
Headlight options:
- LED retrofit kits: Best results in projector housings. Brands like Morimoto and Diode Dynamics produce plug-and-play kits engineered for specific housings. Cost: $150–$500.
- HID/projector conversions: High-intensity discharge bulbs in projector housings deliver excellent beam quality. Requires ballast and proper housing. Cost: $200–$600 installed.
- OEM+ replacements: Factory-style LED assemblies from the OEM or Tier 1 suppliers. Plug-and-play, no beam pattern issues. Cost: $300–$1,200 per assembly.
- Fog and auxiliary lights: Useful for off-road and rural driving. Baja Designs and KC HiLiTES are well-regarded US brands.
- Interior ambient kits: RGB LED strips for footwells and door panels. Mostly plug-and-play. Cost: $30–$400.
Legal note: Red and blue exterior lighting is restricted or prohibited in most US states because it mimics emergency vehicles. Underbody neon lighting is illegal or heavily regulated in many states. White and amber are the safest choices for auxiliary lighting. Check your state’s vehicle code before installing any colored exterior lights.
Pro Tip: After any headlight upgrade, have the beam pattern aimed by a shop with a headlight aiming screen. Brightness without correct aim means you’re blinding other drivers and still not seeing the road well yourself.
Cost summary: Budget lighting upgrades (LED bulb swaps, interior strips) run $50–$200. Mid-range projector retrofits or OEM+ assemblies cost $300–$800. Full custom headlight builds with custom housings can exceed $1,500.
5. Audio and infotainment upgrades: what to prioritize first
Start with connectivity, then sound quality. Apple CarPlay and Android Auto integration transforms daily usability more than any speaker upgrade. Once you have a solid head unit, speakers and amplifiers make a meaningful difference. Subwoofers and DSP processors are the final layer for enthusiasts who want reference-quality sound.
Three tiers of audio upgrades:
- Basic ($150–$500): Aftermarket head unit with Bluetooth, Apple CarPlay, and Android Auto. Brands like Pioneer, Kenwood, and Sony offer solid double-DIN options. Retains factory speaker locations. Biggest usability gain for the money.
- Mid ($500–$1,500): Better component speakers (front stage) plus a 4-channel amplifier. Brands like Focal, JL Audio, and Hertz produce well-regarded component sets. Noticeably cleaner sound at volume.
- Premium ($1,500–$5,000+): DSP (digital signal processor) for time alignment and EQ, subwoofer with dedicated amplifier, full deadening of door panels. This is where sound quality becomes genuinely impressive.
Compatibility notes:
- Many modern vehicles use factory amplifiers and signal processing. Bypassing them incorrectly causes distortion. Use a line output converter (LOC) or an integration harness from PAC Audio or Metra to preserve factory controls.
- Steering wheel audio controls can be retained with an SWC adapter. Check compatibility before buying a head unit.
- Wiring runs for amplifiers should be fused within 18 inches of the battery. Never run power wire through the same conduit as signal wire.
Installation note: Head unit swaps are DIY-friendly with the right dash kit and wiring harness. Amplifier installs require running power from the battery, which means routing wire through the firewall. If you’re not comfortable with automotive electrical work, a professional install protects both the car and the equipment.
6. Performance mods: ECU tunes, intake, exhaust, and the trade-offs
ECU mapping, cold-air intakes, and cat-back exhausts are the most accessible routes to measurable power gains. They work best as a system, not in isolation, and they only make sense after your tires, brakes, and suspension are sorted. More power through an underbraked, undergripped car is a liability, not an upgrade.
Common performance modifications:
- ECU remap/tune: Adjusts fuel maps, ignition timing, and boost pressure (on turbocharged engines). Staged tuning tools like Cobb Accessport, HP Tuners, and Hondata are platform-specific and widely used. Power gains vary by platform; turbocharged engines respond most dramatically.
Legal and emissions callout: Removing or modifying catalytic converters violates the federal Clean Air Act and is illegal under US emissions law. Many states run annual smog checks. Use CARB-compliant or 50-state-legal parts if you drive in California or a state that follows California emissions standards.
Pro Tip: Upgrade your brakes and tires before any significant power modification. Foundation mods first is not a suggestion — it’s the difference between a car that’s fast and one that’s fast and controllable.
Estimated costs: Budget performance mods (intake + tune) run $500–$1,200. Mid-range (cat-back + tune + brake upgrade) costs $1,500–$3,500. Full forced induction builds start at $5,000 and climb quickly.
7. Suspension and brakes: the foundation of better handling and safety
Upgrade tires first, then suspension, then brakes. That sequence keeps the car balanced at every stage. Skipping ahead to coilovers before you’ve sorted tires means you’re tuning a chassis that still can’t put power down or stop efficiently.
Suspension options:
- Coilovers: Adjustable ride height and damping. The most flexible option for street and occasional track use. Damping, spring rate, and anti-roll bar choices directly affect roll stiffness, weight transfer, and under/oversteer balance. Cost: $600–$3,000+ depending on brand and adjustability.
Brake upgrades:
| Upgrade | Best for | Cost range |
|---|---|---|
| Performance pads | Daily driver with occasional spirited driving | $100–$250 |
| Slotted/drilled rotors | Better heat dissipation, improved wet performance | $150–$500 |
| Big brake kit (BBK) | Track use, heavy vehicles, significant power upgrades | $800–$3,000+ |
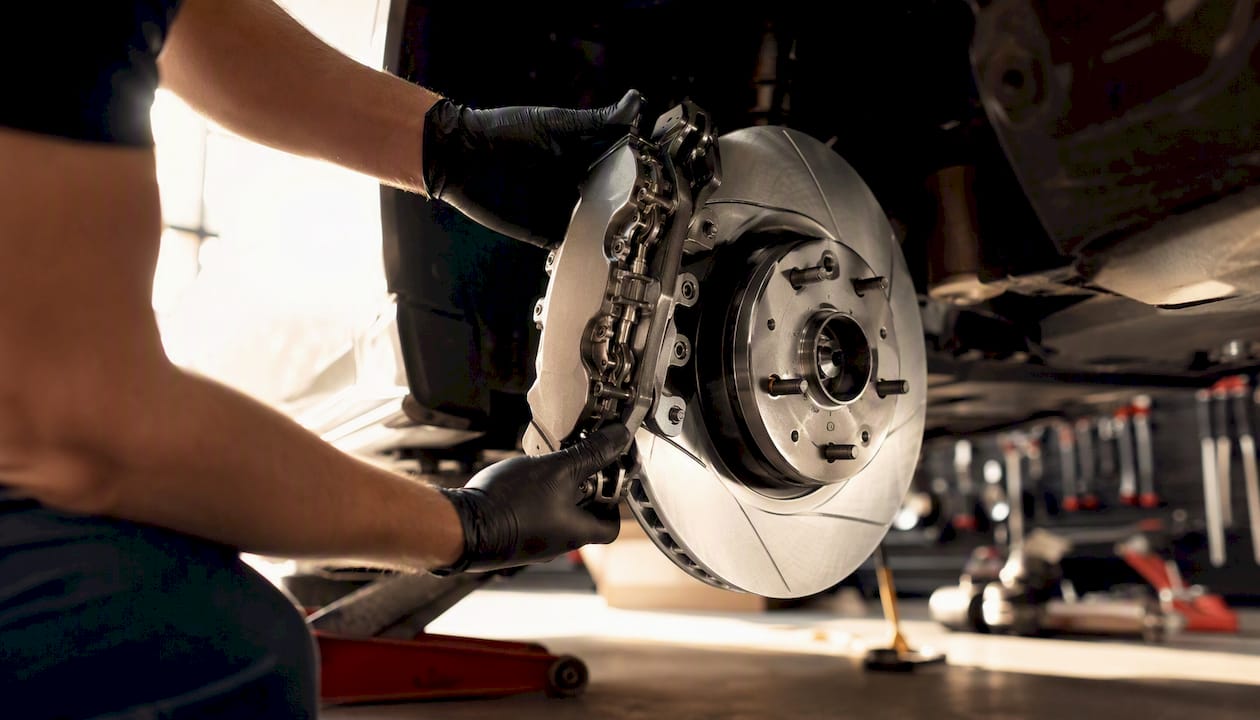
Safety checklist after any brake work: Bleed the system to remove air, bed in new pads and rotors with a proper heat cycle, and get a four-wheel alignment after any suspension change. Never skip the alignment — it affects tire wear, handling balance, and safety.
Installation difficulty: Lowering springs and brake pads are DIY-accessible with basic tools. Coilover installation requires a spring compressor and alignment afterward. Air ride and lift kits are best handled by a shop with alignment equipment.
10. Ceramic coatings, PPF, and detailing: protecting what you’ve built
Paint protection film guards against rock chips and road debris. Ceramic coatings make the surface hydrophobic, easier to clean, and noticeably glossier. They solve different problems, and the best builds often use both.
Protection comparison:
| Option | Best for | Durability | Reversible | Cost range |
|---|---|---|---|---|
| PPF (clear film) | Rock chip and scratch protection | 5–10 years | Yes (professional removal) | $1,500 full car |
| Ceramic coating | Gloss, hydrophobicity, easy cleaning | 2–5 years | No (wears off) | $500–$2,500 professional |
| Carnauba wax | Short-term gloss and basic protection | 1–3 months | Yes | $50–$100 DIY |
| Synthetic sealant | Better durability than wax, easier application | 6–12 months | Yes | $30–$150 DIY |
Maintenance tips:
- Wash ceramic-coated cars with a pH-neutral shampoo. Avoid automatic car washes with brushes — they introduce micro-scratches that degrade the coating.
- PPF can be cleaned normally but avoid high-pressure spray directly at film edges.
- Never apply wax or sealant over a ceramic coating — it fills the hydrophobic pores and reduces performance.
- Inspect PPF edges annually. Lifting edges trap moisture and can cause paint damage underneath.
Pro Tip: If you’re wrapping the car, apply PPF to high-impact areas (front bumper, hood leading edge, rocker panels) before the wrap goes on. The PPF protects the paint if the wrap is ever removed, and the wrap protects the PPF from UV degradation.
Resale impact: Documented PPF and ceramic coating history gives buyers confidence that the paint is in original condition. A clean Carfax combined with a build log showing professional protection work can meaningfully support asking price.
11. How to choose which customizations to do: budget, legality, and timing
Prioritize safety and foundation mods first, then personal aesthetics. Plan in phases by budget band, and check legality before you buy anything.
Step-by-step planning checklist:
- Define your primary use case. Daily commuter, weekend track, show car, off-road, or a mix. Every mod decision flows from this.
- Research model-specific compatibility. Not every mod fits every car. Check forums, owner communities, and fitment databases before ordering.
- Set a phased budget. Phase 1: foundation (tires, brakes, suspension). Phase 2: aesthetics and comfort. Phase 3: performance.
- Choose your installers. DIY is fine for bolt-on items. Suspension, electrical, and bodywork often need a shop with alignment or fabrication equipment.
- Schedule downtime. A coilover install plus alignment takes a full day. Plan around your calendar, not around enthusiasm.
- Verify legality before purchasing. Window tint limits, emissions rules, and lighting color restrictions vary by state.
Cost bands by phase:
| Phase | Mods included | Budget | Mid | Premium |
|---|---|---|---|---|
| Foundation | Tires, brake pads, alignment | $400–$800 | $800–$2,000 | $2,000–$5,000 |
| Aesthetics | Wrap/paint, wheels, interior | $500–$2,000 | $2,000–$4,000 | $4,000+ |
| Performance | Tune, intake, exhaust, suspension | $500–$1,500 | $1,500–$4,000 | $4,000+ |
Legal checklist:
- Window tint: state laws vary significantly — check your state’s VLT (visible light transmission) minimums for front, rear, and windshield.
- Emissions: Never remove catalytic converters or O2 sensors. Use CARB-compliant parts in California-emissions states.
- Lighting: Avoid red and blue exterior lighting. Check state code for underbody and auxiliary light rules.
- Ride height: Some states have minimum ground clearance requirements. Extreme lowering can fail inspection.
DIY vs. pro guidance: Bolt-on accessories, floor mats, dashcams, and LED bulb swaps are straightforward DIY. Suspension, brake hydraulics, electrical wiring, and bodywork require either specific tools (spring compressor, alignment rack, welder) or professional skills. Hidden costs to budget for: alignment after suspension work, dyno time after a tune, and professional paint correction before ceramic coating.
12. Build philosophy: additive vs. subtractive and why documentation matters
A purposeful build matches every modification to how the owner actually uses the car. That’s the principle that separates builds that work from builds that look good in photos and feel terrible to drive.
Two design theories guide most custom builds, as documented in custom car culture:
- Additive: Add elements — spoilers, scoops, lighting, wider fenders — to create a more aggressive or expressive look. Works best when each addition serves a clear visual or functional purpose.
- Subtractive: Remove trim, handles, and badges for a cleaner, more minimal appearance. Popular in the JDM and Euro scenes. Requires careful execution to avoid looking unfinished.
Neither approach is inherently better. The choice depends on the car’s lines, the owner’s taste, and the intended use. A show car might go fully additive with a wide-body kit and custom lighting. A subtle daily driver might go subtractive with a de-badged trunk and flush wheel fitment.
The bespoke build philosophy takes this further: every modification should be deliberate, documented, and traceable. Builders who keep detailed records of parts, installers, dates, and tuning maps have a significant advantage when troubleshooting problems or selling the car.
Example phase plan for a daily-driver performance refresh:
- Phase 1: All-season performance tires, performance brake pads, four-wheel alignment.
- Phase 2: Coilovers, sound deadening, new head unit with CarPlay.
- Phase 3: Cat-back exhaust, ECU tune, cold-air intake.
Example phase plan for a show car:
- Phase 1: Wheels and tires (fitment-focused), lowering springs, alignment.
- Phase 2: Full vinyl wrap, body kit, ambient interior lighting.
- Phase 3: Audio system, custom upholstery, paint protection.
Principles for a balanced, reliable build:
- Foundation before power.
- Compatibility before aesthetics.
- Documentation at every step.
- Legal compliance before installation, not after.
Pro Tip: Log every mod with the part number, installer, date, and cost. Tracking your modifications this way makes troubleshooting faster, resale smoother, and your build history genuinely useful to the next owner.
Key Takeaways
The most effective car customizations follow a foundation-first sequence: tires and brakes before power, legality checks before purchase, and documentation at every step.
| Point | Details |
|---|---|
| Foundation mods first | Upgrade tires, suspension, and brakes before adding power or extreme aesthetics. |
| Check legality before buying | Tint, emissions, and lighting rules vary by state; verify before you purchase or install. |
| Match mods to your use case | A daily commuter and a track car share almost no priorities; define your goal first. |
| Document every modification | Log parts, dates, costs, and installers to simplify troubleshooting and support resale value. |
| Carjourney for build tracking | Carjourney’s AI-powered platform lets you log mods, scan service documents, and set maintenance reminders in one place. |
What most build guides get wrong about customization
Most articles treat car customization as a shopping list. Pick the coolest-sounding mods, buy them, install them, repeat. That approach produces cars that look busy, drive poorly, and cost more to maintain than they should.
The builds that actually work start with a question: what do I want this car to do better? The answer shapes every decision that follows. A car that’s genuinely better at one thing — handling, comfort, sound quality, visual presence — is more satisfying than one that’s mediocre at everything.
There’s also a persistent myth that more modifications equal more value. For resale, the opposite is often true. Heavily modified cars sell to a narrower pool of buyers. The exception is documented, reversible, or OEM-style modifications that improve the car without alienating buyers who want something close to stock. A professional ceramic coating, a quality set of wheels, and a clean interior refresh can support resale. A full wide-body kit and a stripped interior usually hurt it.
The documentation point deserves more emphasis than it gets. Builders who keep detailed records — part numbers, installer receipts, tuning maps, alignment specs — have a real advantage. They can troubleshoot problems faster, prove the car’s history to buyers, and hand off a coherent build to the next owner. It’s the difference between a modified car and a well-built car.
Carjourney makes it easy to track your build from the first mod to the last receipt
Most builders start with good intentions about keeping records. Six months and a dozen mods later, receipts are scattered across email threads, glove boxes, and phone photos. Carjourney fixes that problem before it starts.
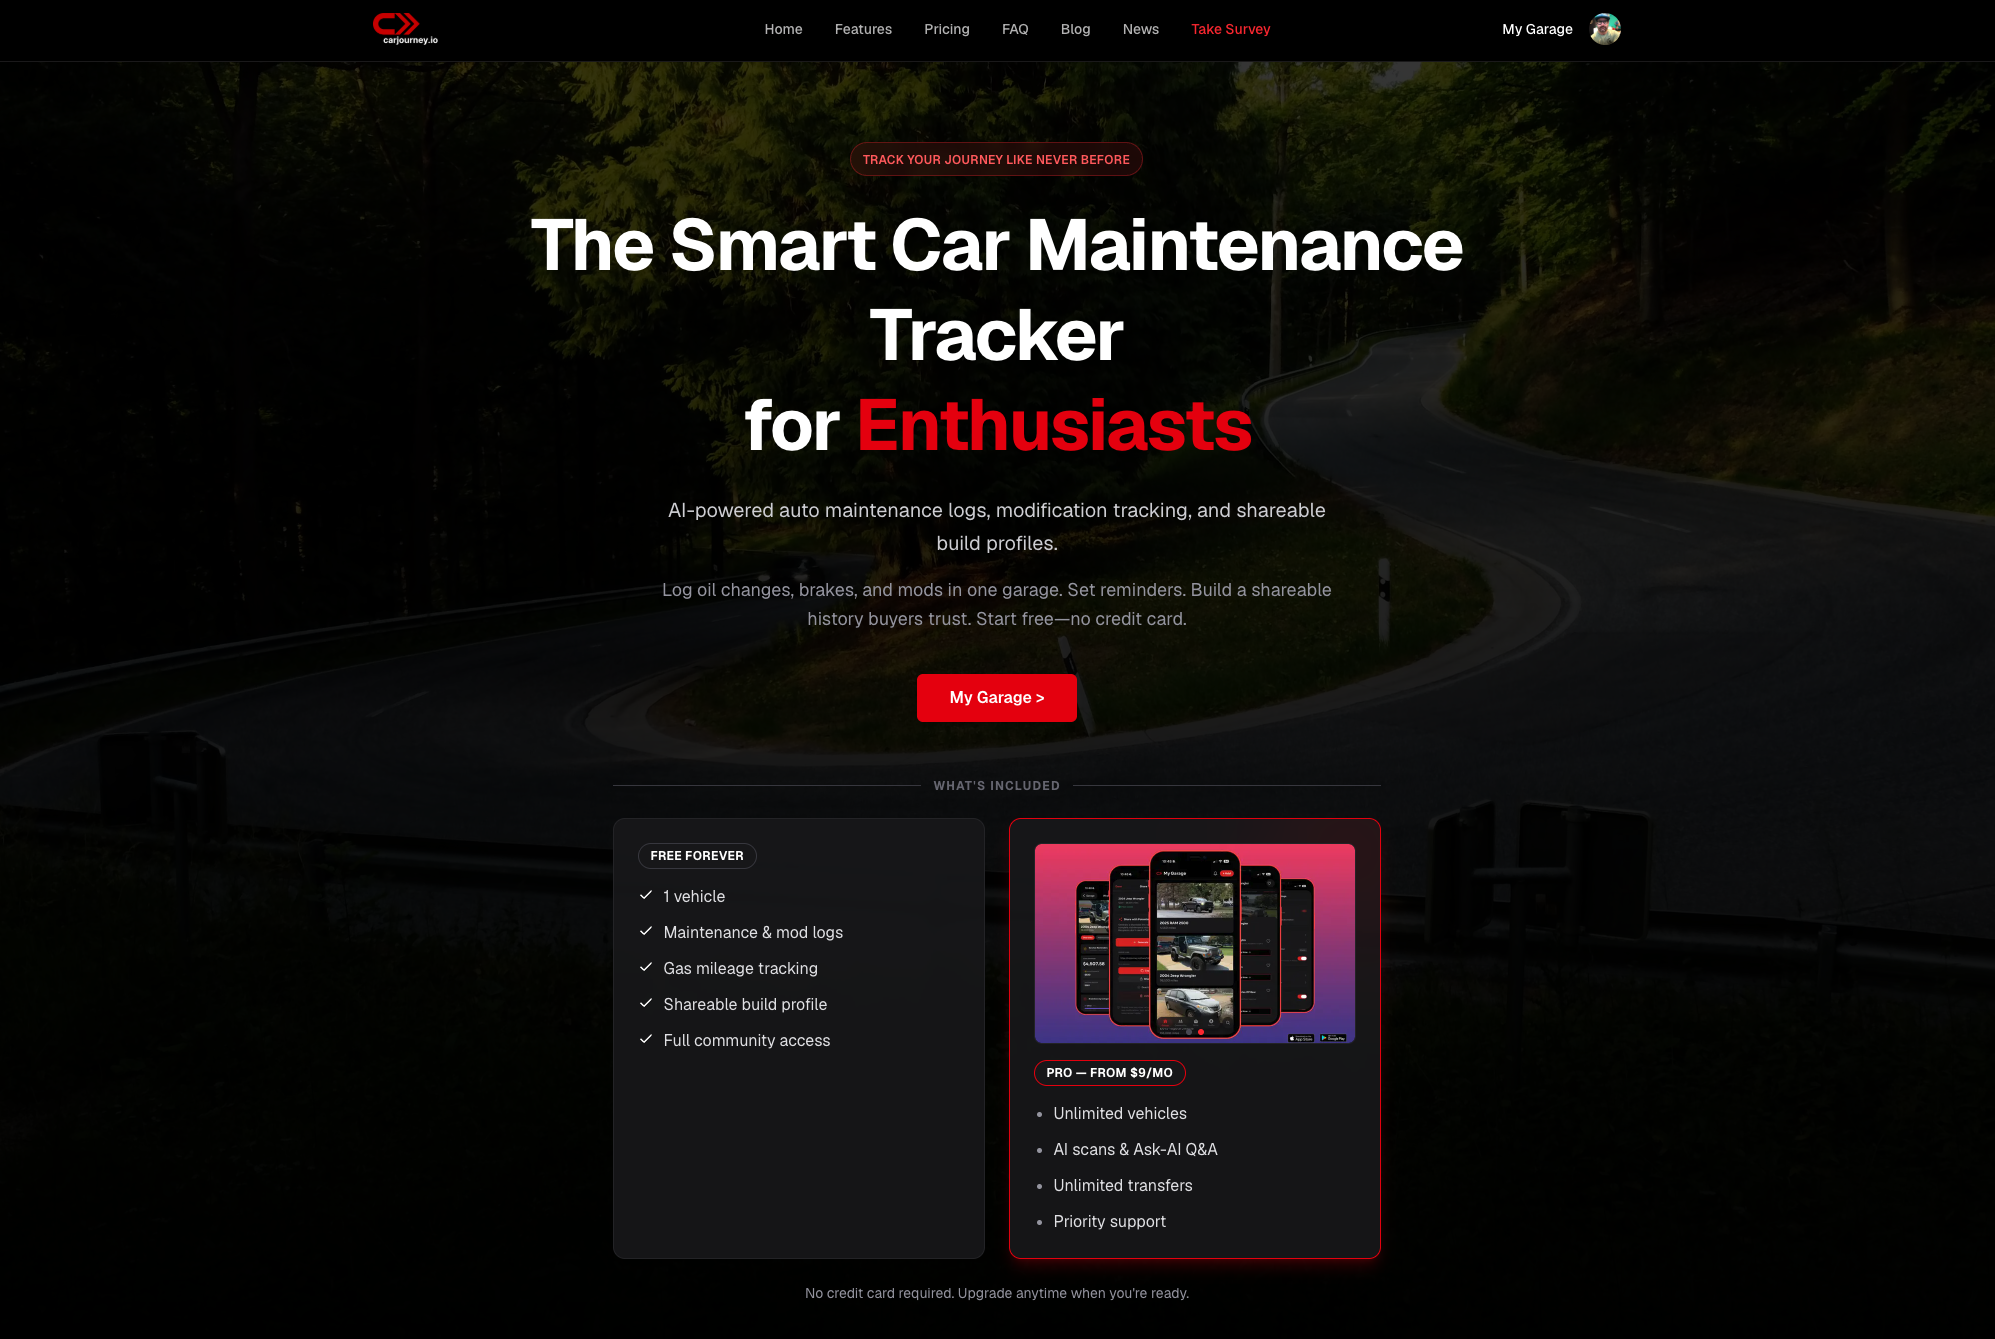
Carjourney is a vehicle tracking and build-logging platform built specifically for enthusiasts who take their cars seriously. You get AI-powered service document scanning, maintenance reminders tied to your specific vehicle, and a build profile you can share with buyers or your mechanic. The community layer means you’re not researching mods in isolation — you’re drawing on real-world data from owners running the same platform.
The free plan covers the basics. The Pro subscription unlocks unlimited vehicles, full AI features, and advanced build documentation tools. For anyone planning a multi-phase build, the cost of a Pro subscription is trivial compared to the money saved by tracking what’s been done and what’s due next.
Start logging your build at carjourney.io before your next mod goes in.
Useful sources for going deeper on US car customization
These are the primary sources used to build this article, plus additional resources worth bookmarking for technical details and state-specific rules.
- Best Car Mods: A Beginner’s Guide To Personalizing Your …
- Car tuning
- 10 popular car modifications (HowStuffWorks)
- The Complete Car Modification Guide (2026)
- Bespoke Cars Built to Specification - DC Customs
- Customs: A Look at Custom Car Techniques, Modifications | Fuel Curve
- Suspension Tuning Checklist for Experienced Builders – Underground Dynamics
A note on state-specific rules: Federal law (NHTSA, EPA Clean Air Act) sets the floor. State laws on window tint, ride height, lighting colors, and emissions testing add requirements on top. Always verify with your state’s DMV or consult your state’s vehicle code before finalizing any modification that touches these areas. What’s legal in Texas may fail inspection in California.