
15 Real Examples of Vehicle Upgrades That Pay Off

Practical vehicle upgrades fall into five goal-driven groups: performance, handling/brakes/tires, tech and comfort, appearance and protection, and truck/SUV accessories. The single best rule for choosing one is to start with the least-invasive, reversible upgrade that solves your actual problem first.
Before you spend anything, here is a quick look at what each category actually delivers:
- Performance: cold-air intake, cat-back exhaust, ECU tune
- Handling/brakes/tires: coilovers, performance pads, summer tires
- Tech and comfort: Apple CarPlay head unit, dashcam, heated seats
- Appearance and protection: ceramic coating, paint protection film, window tint
- Truck/SUV accessories: tonneau cover, spray-in bedliner, running boards
Two things cut across every category: reversibility protects resale value, and documentation protects you legally. Carjourney is built specifically to handle both.
Table of Contents
- 1. Cold-air intake and cat-back exhaust: the entry-level performance pair
- 2. ECU tuning: the highest-gain performance upgrade per dollar
- 3. Coilovers, sway bars, and bushings: handling upgrades that change how the car feels
- 4. Infotainment and comfort upgrades that improve daily usability
- 5. Appearance and protection: paint, coatings, tint, and reversible styling
- 6. Truck- and SUV-specific practical upgrades
- 7. Safety and reliability upgrades worth doing first
- 8. How to prioritize upgrades: a practical sequence
- 9. Why documenting your upgrades is as important as doing them
- Key Takeaways
- The upgrade that actually paid off
- Carjourney tracks every upgrade so nothing gets lost
- Useful sources for further reading
1. Cold-air intake and cat-back exhaust: the entry-level performance pair
A cold-air intake pulls denser air into the engine, and a cat-back exhaust reduces backpressure from the catalytic converter. Together they are the most common first step in popular vehicle upgrades for good reason: both are bolt-on, both are reversible, and neither requires touching the engine internals.
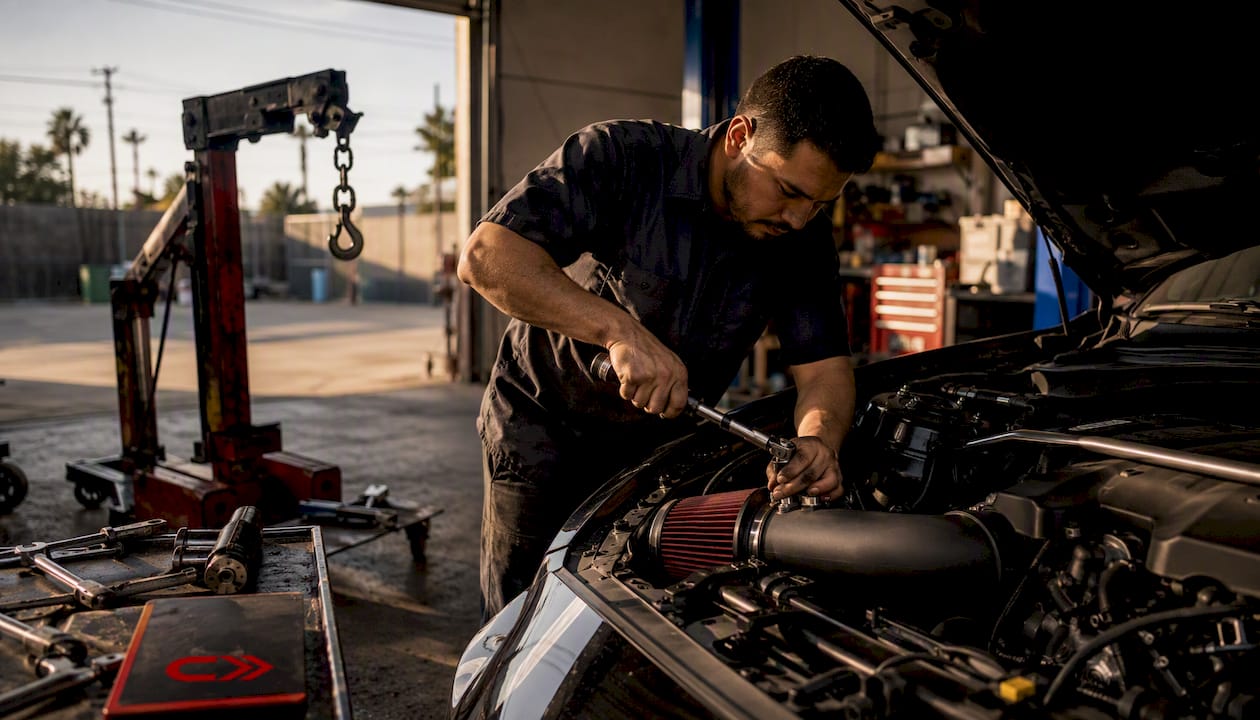
Expect modest real-world gains, typically 5–15 horsepower on a naturally aspirated engine, with a more noticeable improvement in throttle response and sound. Cost runs roughly $150–$400 for a quality intake and $400–$1,200 for a cat-back system. A competent DIYer can install either in an afternoon.
The legal note matters here. Any modification that removes or bypasses emissions equipment violates the Clean Air Act, and many states run OBD-II smog checks that will catch a non-compliant tune or deleted catalytic converter. Stick to CARB-exempt or 50-state-legal parts if you live in California or a state that follows California emissions standards.
Pro Tip: Save the factory airbox and all stock exhaust hardware. If you ever sell the car or need to pass a strict emissions test, reinstalling OEM parts takes an hour and costs nothing.
2. ECU tuning: the highest-gain performance upgrade per dollar
An ECU (engine control unit) tune, sometimes called a remap, rewrites the factory fuel and ignition maps to extract more from what the engine already has. On a turbocharged car, a stage-one tune alone can add 40–80 horsepower without any other hardware changes. On a naturally aspirated engine the gains are smaller, but throttle response and rev behavior improve noticeably.
Modern tuning has shifted toward staged approaches: a stage-one tune works on a stock car, stage two assumes intake and exhaust mods, and stage three typically requires upgraded fueling and cooling. ECU tuning and coilovers are among the most-discussed upgrades in current modification guides, partly because the software-only nature of a tune makes it easy to reverse.
The resale catch: aggressive tunes that push boost or timing beyond safe margins accelerate wear. A conservative, well-documented tune from a reputable shop is far easier to disclose to a buyer than an unknown flash from a forum file.
| Upgrade | Typical Cost | DIY or Pro | Install Time |
|---|---|---|---|
| Cold-air intake | $150–$400 | DIY | 1–2 hours |
| Cat-back exhaust | $400–$1,200 | DIY/Pro | 2–4 hours |
| ECU tune (stage 1) | $400–$800 | Pro only | 2–4 hours |
| High-perf. spark plugs | $30–$120 | DIY | 30–60 min |
3. Coilovers, sway bars, and bushings: handling upgrades that change how the car feels
Tires are the first grip upgrade, full stop. No suspension change delivers as much improvement per dollar as moving from all-season tires to a performance compound matched to your driving. Once tires are sorted, suspension work makes sense.
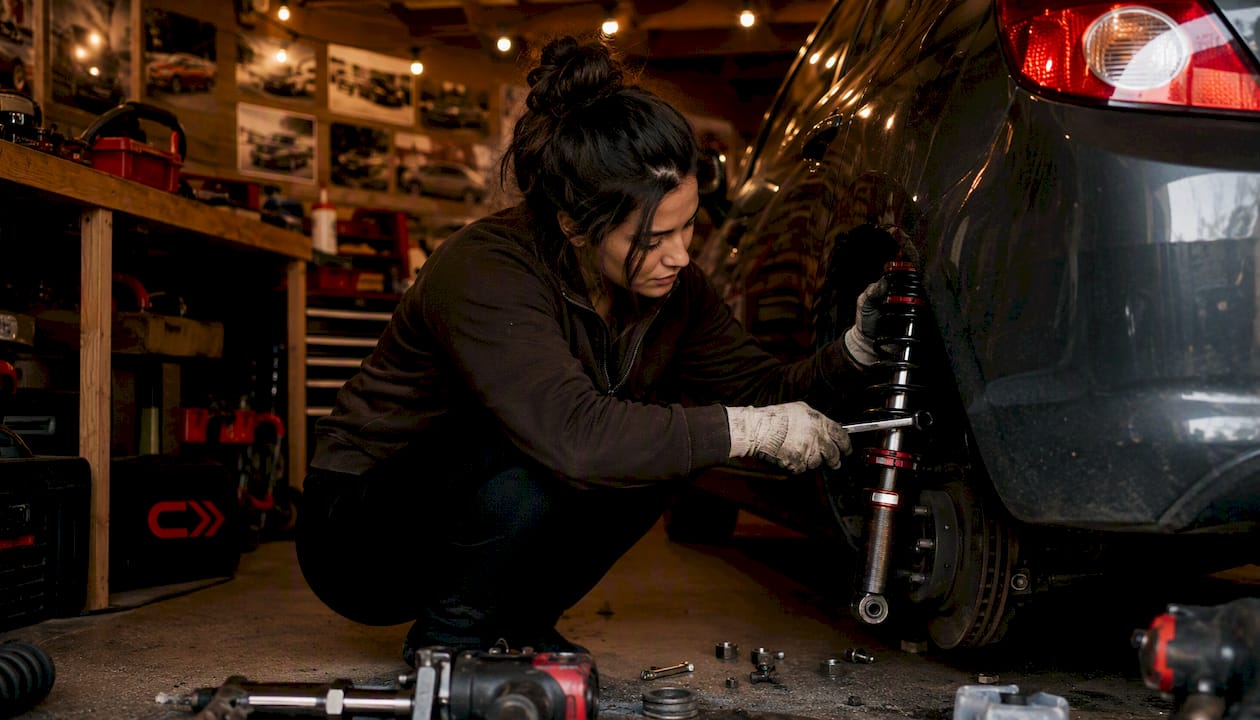
Coilovers replace the factory spring-and-shock assembly with a single adjustable unit. You can dial in ride height and, on higher-end units, damping. Entry-level coilovers from brands like Megan Racing run $400–$800 installed; mid-tier options from KW or BC Racing run $1,000–$2,500. A shop alignment is mandatory after any ride-height change, adding $80–$150.
Sway bars and polyurethane bushings are cheaper and often overlooked. A thicker rear sway bar reduces body roll without stiffening the ride, and upgraded bushings tighten the feel of a suspension that has gone soft with age. Both are bolt-on and reversible.
- Performance brake pads: $60–$200 per axle; DIY in 1–2 hours; reduces fade under hard braking
- Slotted or drilled rotors: $80–$300 per axle; improves heat dissipation; best paired with upgraded pads
- Braided steel brake lines: $80–$200 installed; eliminates the spongy pedal feel of rubber lines expanding under pressure
- Strut tower brace: $80–$250; bolt-on; stiffens the front chassis for sharper turn-in
Documenting suspension upgrades with part numbers and alignment specs is worth doing before you forget the details.
Pro Tip: Match your tire compound to your actual use. A sticky summer tire like the Michelin Pilot Sport 4S is transformative on a canyon road and genuinely dangerous in snow. If you drive year-round in a cold climate, a dedicated winter set on steel wheels beats any all-season.
4. Infotainment and comfort upgrades that improve daily usability
These are the upgrades most owners notice every single day, and many of them cost less than a single track day. Quality aftermarket speakers are available at budget-friendly prices (often less than $100 per pair), and a double-DIN head unit with Apple CarPlay and Android Auto typically runs $150–$400 before installation.
- Head unit with CarPlay/Android Auto: $150–$400 plus $100–$200 labor; plug-and-play harness adapters exist for most vehicles; adds wireless navigation, Spotify, and hands-free calling
- Upgraded speakers: often less than $100 per pair; most front-door swaps are DIY; a noticeable improvement over factory paper-cone drivers
- Dashcam: $80–$300; hardwired to the fuse box for always-on parking mode; provides liability protection and documents incidents
- Backup camera (if not factory): $50–$200 plus installation; the NHTSA has required rearview cameras on all new US vehicles since 2018, but millions of older cars still lack one
- Remote start: $150–$400 installed; particularly valuable in cold climates; some systems integrate with factory key fobs
- Heated seat pads: $30–$80 per seat for aftermarket pads; plug-in versions require no wiring; OEM-style wired kits cost more but feel factory
Tech upgrades like CarPlay and backup cameras tend to increase buyer appeal broadly. Niche audio builds with custom subwoofer enclosures are a different story: they appeal to a narrower pool of buyers and can complicate trunk space.
5. Appearance and protection: paint, coatings, tint, and reversible styling
These upgrades protect the vehicle and change how it looks without touching anything mechanical. Most are reversible, which matters for resale.
- Ceramic coating: $500–$2,000 professionally applied; bonds to clear coat and repels water, UV, and light scratches; lasts 2–5 years; not reversible but not harmful to paint
- Paint protection film (PPF): $500–$3,000 depending on coverage area; clear urethane film that absorbs rock chips; fully removable without paint damage
- Vinyl wrap: $1,500–$5,000 full vehicle; changes color without permanent paint alteration; removable; popular for leased vehicles
- Window tint: $150–$600 professionally installed; reduces heat and UV; tint laws vary by state — legal VLT (visible light transmission) percentages differ for front, rear, and windshield, so check your state’s DMV rules before booking
- Aftermarket wheels: $400–$2,000+ for a set; lighter wheels reduce unsprung weight; check offset and load rating carefully before ordering
- Seat covers and all-weather floor mats: $30–$200; among the easiest bolt-on mods with zero installation skill required; protect resale value of interior surfaces
Exterior lighting changes carry their own legal layer. LED headlight conversions are legal when the assembly is DOT-approved; projector retrofits done improperly can blind oncoming drivers and fail inspection. Colored accent lighting (underglow) is restricted or banned in several states.
6. Truck- and SUV-specific practical upgrades
Trucks and SUVs have a category of upgrades that cars simply do not: bed and cargo management. Hard tri-fold tonneau covers and bolt-on running boards are two of the most popular because they are fully reversible and add immediate utility.
- Hard tri-fold tonneau cover: $400–$1,200; no drilling required on most trucks; keeps cargo dry and can reduce aerodynamic drag on highway runs, which modestly improves fuel economy
- Spray-in bedliner: $400–$600 professionally applied; permanent but protective; prevents rust and cargo damage; Line-X and Rhino Linings are the two dominant US brands
- Running boards / nerf bars: $200–$600; bolt-on; improve cab entry for taller trucks and protect rocker panels
- Under-seat storage: $80–$250; maximizes cab space without any permanent modification
- Hitch and towing upgrades: $200–$800 installed; a weight-distribution hitch or upgraded receiver improves towing stability significantly
- Lift kits: $300–$5,000+ depending on type (leveling kit vs. full suspension lift); improves ground clearance and allows larger tires; note that significant lifts can affect GVWR ratings and may require disclosure to your insurer
7. Safety and reliability upgrades worth doing first
Safety upgrades are the one category where the benefits are immediate and the resale impact is almost universally positive. Buyers see a well-maintained, safety-equipped vehicle as lower risk.
- LED headlight conversion: $50–$300 for a DOT-approved LED bulb swap; improves nighttime visibility substantially over aging halogen bulbs; verify the replacement is street-legal for your state
- Aftermarket blind-spot monitors: $100–$400 installed; radar-based systems that clip to the rear bumper; effective, though they do not integrate with factory warning chimes on most vehicles
- Parking sensors: $80–$250 installed; ultrasonic sensors added to the rear bumper; useful on trucks and SUVs where rear visibility is limited
- Quality battery replacement: $100–$250; an aging battery is the single most common cause of a no-start; AGM batteries offer better performance in extreme temperatures
- Upgraded wiper blades: $20–$60; beam-style blades like Bosch ICON or Rain-X Latitude outperform traditional framed wipers in ice and heavy rain
- High-performance spark plugs: $30–$120 for a full set of iridium or platinum plugs; restores misfires and fuel economy on high-mileage engines
One important note on ADAS add-ons: aftermarket blind-spot systems and parking sensors work independently of factory safety systems. They do not recalibrate or interfere with OEM lane-departure warning or automatic emergency braking, but they also do not integrate with those systems. Significant modifications to factory safety systems, particularly airbag components, require professional installation and should always be disclosed to your insurer.
8. How to prioritize upgrades: a practical sequence
Most owners waste money by upgrading in the wrong order. Here is a sequence that holds up across nearly every build goal:
- Tires and brakes first. These directly affect safety and are the foundation every other upgrade builds on.
- Safety and visibility second. Lighting, wipers, and a fresh battery cost little and pay off immediately.
- Comfort and tech third. Daily-use upgrades with broad resale appeal and low installation risk.
- Handling fourth. Suspension work makes sense after tires are sorted; alignment is mandatory after any ride-height change.
- Performance last. Engine and drivetrain mods carry the most legal, warranty, and resale risk.
Budget rule of thumb: keep total modification spend below 10–20% of the vehicle’s current market value if resale matters to you. A $3,000 suspension build on a $12,000 car rarely returns dollar-for-dollar at sale time.
Before any upgrade, ask yourself:
- Does this void my powertrain warranty?
- Will my state’s emissions or safety inspection flag this?
- Have I disclosed this to my insurer? (Significant modifications to engine output or safety systems can result in claim denials if undisclosed.)
- Is this reversible, and do I have a plan to store the OEM parts?
- Does this upgrade make sense before the next one in the sequence?
Aggressive, non-reversible modifications like custom body kits and major engine swaps commonly lower broad-market resale value. Buyers pay more for clean, reversible builds where the owner kept the original parts.
9. Why documenting your upgrades is as important as doing them
A build with receipts, part numbers, and photos is worth more than the same build without them. A documented history tells a buyer exactly what was done, by whom, and with what parts, which reduces their perceived risk and supports a higher asking price. It also protects you if an insurer or inspector asks questions.
The practical steps are straightforward:
- Capture the receipt and part number for every component at the time of purchase
- Photograph the before state, the installation in progress, and the finished result
- Record the odometer reading at install and the installer’s name if it was a shop
- Note whether each mod is reversible and whether you kept the OEM part
- Store everything in one place so it is findable when you sell
Carjourney handles all of this in one app. Its AI scans and logs service documents and receipts, you can build a shareable build profile that travels with the vehicle, and the community feature lets you see what real owners of the same make and model have done. Logging aftermarket parts with serial numbers takes two minutes per item and pays off when a buyer asks for provenance.
Pro Tip: Tag each mod in Carjourney as “reversible” or “permanent” at the time you log it. When it comes time to sell, you will know instantly which OEM parts to reinstall and which upgrades to highlight as value-adds.
Modern tuning blends lifestyle personalization with practical performance, and documented build profiles are increasingly part of how serious enthusiasts approach modifications — not just for resale, but for their own reference when diagnosing issues or planning the next step.
Key Takeaways
The smartest vehicle upgrades are reversible, sequenced correctly, and documented from day one — tires and brakes before anything else, then safety, then comfort, then performance.
| Point | Details |
|---|---|
| Start with tires and brakes | Safety-critical upgrades deliver the most immediate benefit and support every other mod. |
| Prefer reversible bolt-ons | Keeping OEM parts and choosing removable upgrades protects resale value. |
| Budget carefully | Aim to keep total mod spend below 10–20% of vehicle value if resale matters. |
| Check local laws | Window tint, emissions mods, and lighting rules vary by state; verify before installing. |
| Document with Carjourney | Logging receipts, part numbers, and photos in Carjourney creates a shareable build history that supports resale and insurer disclosure. |
The upgrade that actually paid off
The conventional wisdom in enthusiast circles is that power mods are where the money goes. In practice, the upgrades that delivered the most tangible improvement per dollar were the boring ones: a set of performance summer tires, braided brake lines, and a head unit with CarPlay. The car felt faster without touching the engine, because it actually stopped and turned better.
The power mods came later, and they were fine. But the lesson that stuck was about documentation. When it came time to sell, having a complete log of every part, every receipt, and every installer made the conversation with the buyer straightforward. No guessing about what had been done or whether the tune was aggressive. The buyer paid more because the uncertainty was gone.
That is the tradeoff most people underestimate: a $500 tune with no paperwork is a liability at resale. The same tune with a documented dyno sheet, installer notes, and a reversibility plan is a selling point. The modification itself is almost secondary to the record of it.
Carjourney tracks every upgrade so nothing gets lost
Most enthusiasts spend real money on upgrades and then lose track of half of them by the time they sell. Carjourney fixes that specific problem: it gives you one place to scan receipts, log part numbers, record installer details, and build a shareable profile that travels with the vehicle.
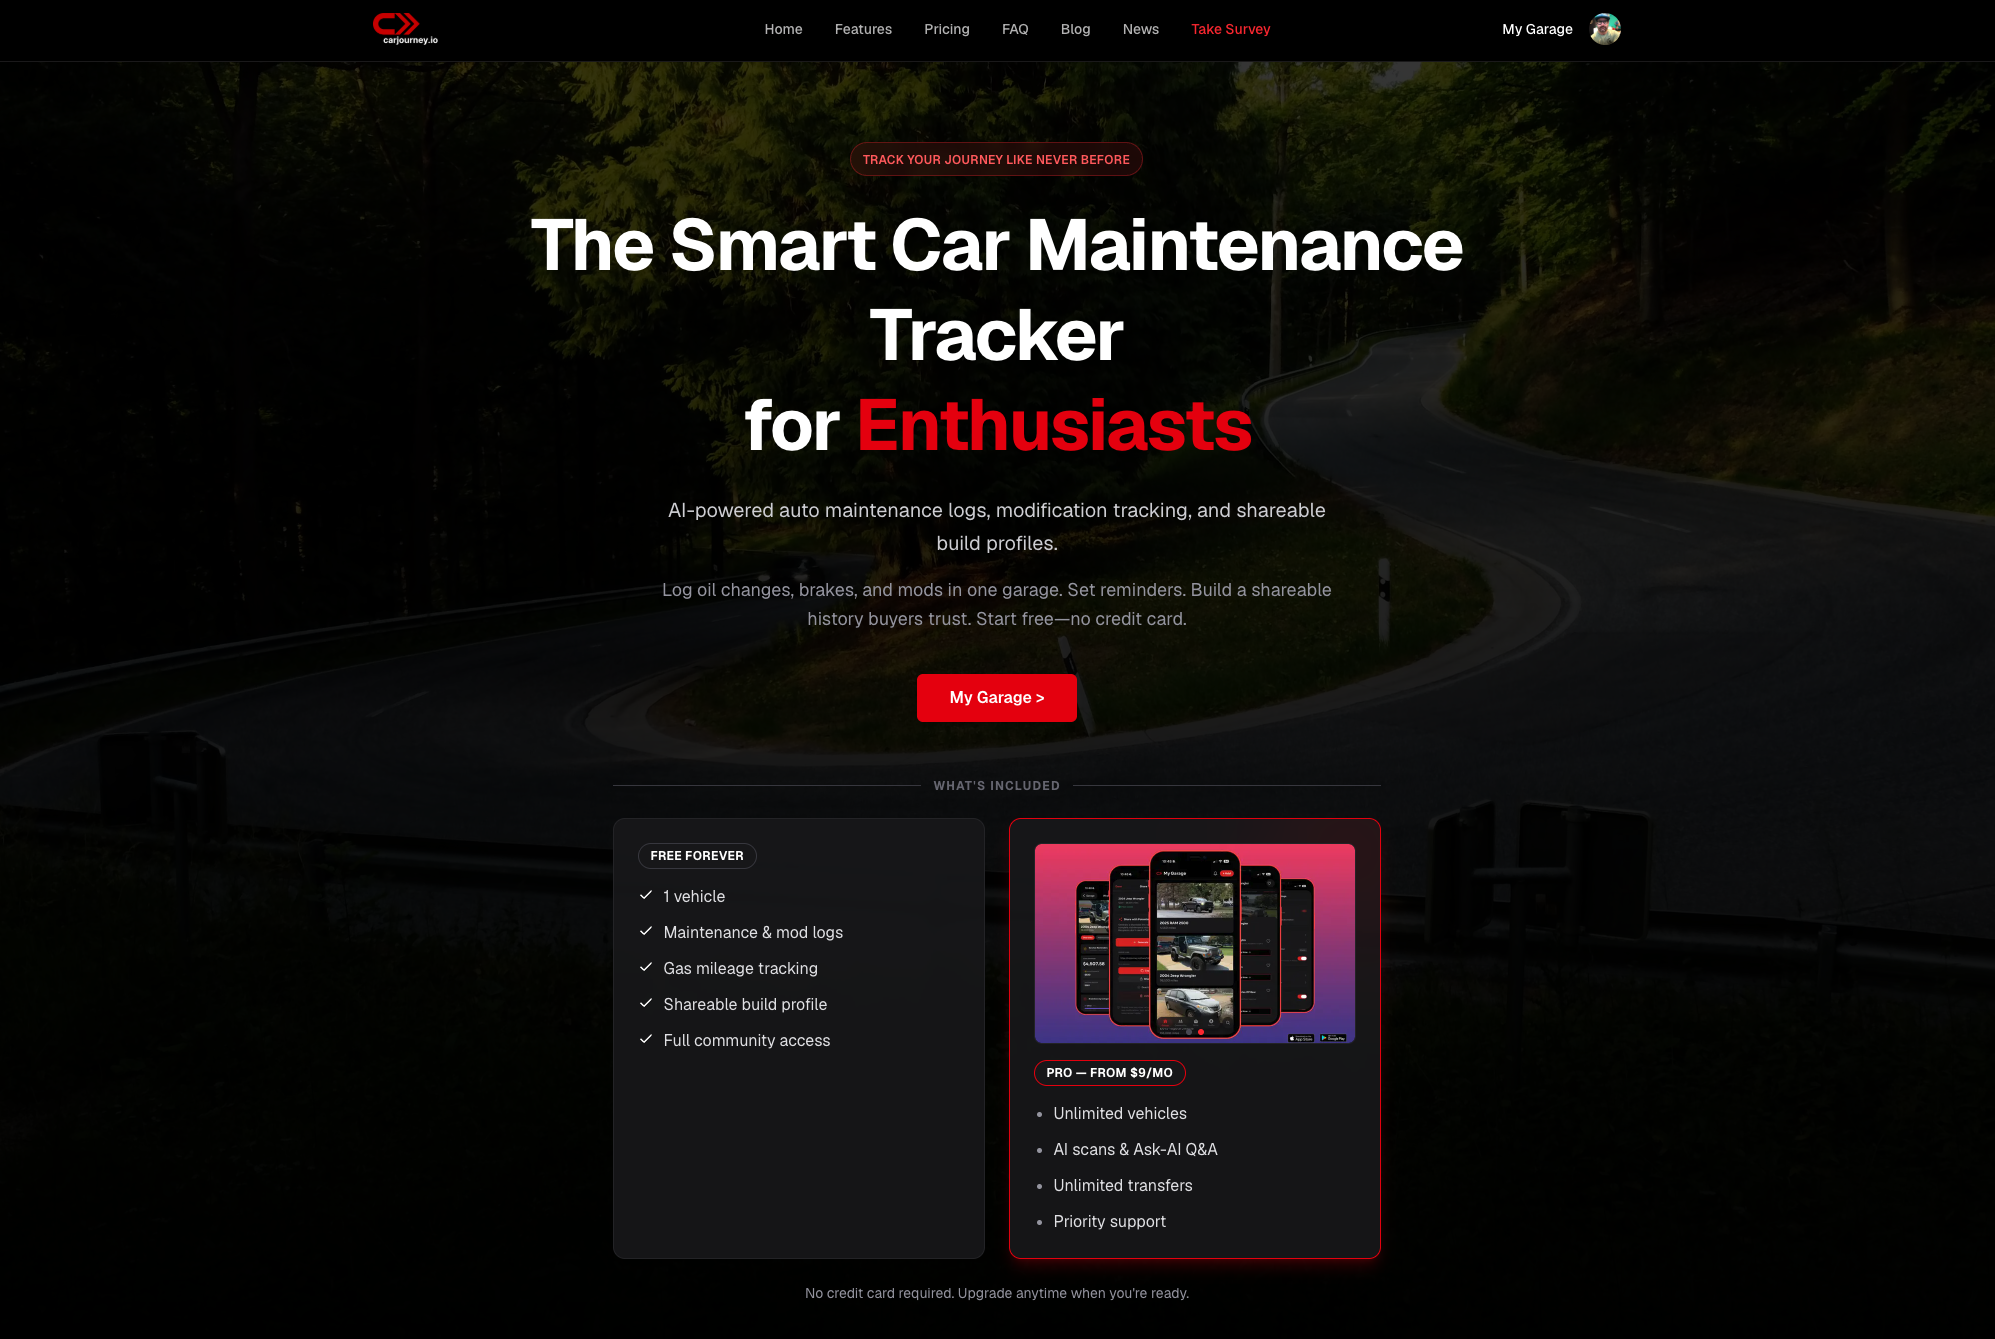
The features that matter most for modifiers:
- Receipt OCR: photograph a receipt and Carjourney extracts and stores the details automatically
- Build timeline: every mod logged in sequence, with odometer readings and photos
- Shareable build profile: send a buyer a link to your complete documented history
- AI-powered recommendations: get maintenance and modification suggestions verified across multiple AI models for your exact vehicle
- Community knowledge: see what owners of the same make and model have actually installed and how it performed
The free plan covers the basics. The Pro tier unlocks unlimited vehicles, full AI features, and the complete build-profile sharing tools. Start your build log at Carjourney and know exactly what you have done to your car, in the order you did it.
Useful sources for further reading
- Car Tuning — Wikipedia: a solid starting point for understanding the history and categories of vehicle modification, from engine tuning to suspension and aesthetics.
- 10 Popular Car Modifications — HowStuffWorks: covers common mods and includes notes on emissions compliance and state-level legal variation.
- Budget-Friendly Car Upgrades — Peak Auto: useful for cost benchmarks on audio and infotainment upgrades.
- How to Document Car Upgrades — Carjourney Blog: step-by-step instructions for recording parts, receipts, and photos to protect resale value and legal compliance.
This article is general information for educational purposes. Consult a qualified mechanic, your state’s DMV, and your insurance provider before making modifications that affect emissions systems, safety equipment, or vehicle structure.