 carjourney
From the CarJourney journal
Car Interior Care Tips That Protect Your Investment
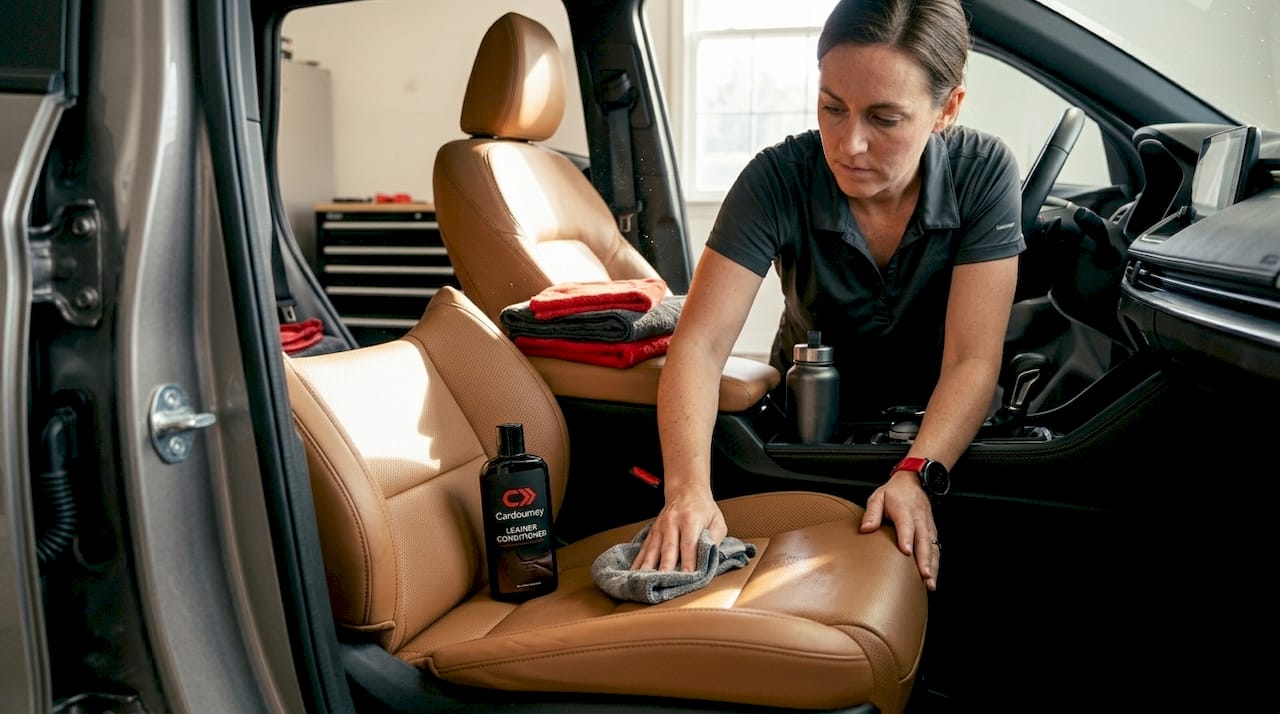
Most vehicle owners grab a random cleaner from under the sink and wipe things down, believing that’s enough. It isn’t. The wrong product on leather can cause irreversible discoloration. Over-wetting fabric creates mold. Skipping UV protection turns a pristine dashboard into a cracked, faded mess within a few years. Good car interior care tips aren’t about scrubbing harder. They’re about understanding your materials, using the right tools, and building a routine that actually sticks. This guide gives you exactly that.
Table of Contents
- Key takeaways
- 1. The right car interior care tips start with the right tools
- 2. Leather seat care: conditioning and protection
- 3. How to clean car upholstery: fabric seat techniques
- 4. Dashboard and vinyl care
- 5. Carpet and floor mat maintenance
- 6. Building your interior maintenance schedule
- 7. Advanced techniques and costly mistakes to avoid
- My honest take on interior care routines
- Keep your interior on schedule with Carjourney
- FAQ
Key takeaways
| Point | Details |
|---|---|
| Match products to materials | Using the wrong cleaner can permanently damage leather, vinyl, or fabric surfaces. |
| Clean first, then protect | Always clean surfaces before applying any conditioner or protectant for best results. |
| Maintain a tiered schedule | Vacuum every one to two weeks and deep clean every three to six months. |
| Spray onto towels, not surfaces | Applying cleaner to a microfiber towel prevents streaking and controls moisture. |
| UV protection is non-negotiable | Regular use of UV-blocking products prevents fading and cracking on all interior materials. |
1. The right car interior care tips start with the right tools
You cannot do this job well with the wrong equipment. Before you touch a surface, you need a toolkit that matches the complexity of your interior.
The non-negotiables:
- Vacuum with attachments. A standard upright vacuum misses the spots that matter most. Crevice tools and brush heads are critical for reaching seat seams, carpet edges, and tight corners where dirt and debris concentrate.
- Microfiber towels in multiple colors. Color-coding prevents cross-contamination. Use one color for glass, another for leather, another for plastic and vinyl. Mixing them transfers residue from one surface to another.
- Brushes matched to materials. A soft horsehair brush works for leather and delicate trims. A stiffer brush handles carpet and floor mat agitation without damaging fibers.
- Material-specific cleaners and protectants. Leather needs a pH-balanced leather cleaner. Fabric needs a foam or water-based upholstery cleaner. Vinyl and plastic need a dedicated interior detailer. Household cleaners damage automotive surfaces and cause discoloration that cannot be reversed.
Pro Tip: Label your microfiber towels with colored tape and store them in separate zip bags. It takes thirty seconds to set up and saves you from accidentally rubbing grime from your floor mats onto your leather seats.
2. Leather seat care: conditioning and protection
Leather looks premium and ages well. But only if you treat it right. Many owners clean leather once and consider it done. Leather actually requires ongoing conditioning to stay supple.
Leather needs conditioning every two to three months because UV exposure and daily friction gradually strip its natural oils. When those oils disappear, cracking starts. And once leather cracks, conditioning slows the damage but never fully reverses it.
The cleaning sequence matters. Wipe down the surface with a damp microfiber towel to remove loose debris first. Then apply a pH-balanced leather cleaner to your towel, not directly onto the seat. Work in small sections using light circular motions. Follow with a quality leather conditioner. Finish with a UV protectant designed for leather interiors.
What you should never do: use baby wipes, dish soap, or all-purpose cleaners on leather. They strip the protective coating and accelerate degradation faster than you’d expect.
Pro Tip: After conditioning, inspect your leather from a low angle toward a window. Residue that looks invisible from directly above becomes obvious with raking light. Wipe again with a dry microfiber towel to remove any leftover product.
3. How to clean car upholstery: fabric seat techniques
Fabric seats hide dirt better than leather but hold it longer. The mistake most people make is scrubbing immediately after applying cleaner. That pushes the stain deeper into the fibers.
The professional method works differently. Vacuum the seat thoroughly first. Then apply your fabric cleaner and let it dwell for two to five minutes before agitating. That dwell time allows the cleaner to break down embedded soil at the fiber level rather than just sitting on top.
Agitate with a soft brush using short strokes in one direction. Then blot with a clean microfiber towel. Do not rub. Rubbing spreads the stain and damages fabric texture. For heavily soiled seats, a wet-dry vacuum or carpet extractor pulls the loosened dirt out instead of pushing it around.
Drying matters more than most people realize. A wet seat left in a closed car grows mold within 24 hours. Leave windows cracked or doors open after cleaning to allow airflow. If you have access to a portable fan, use it.
| Method | Best for | Key step |
|---|---|---|
| Foam cleaner + brush | Light soiling and regular maintenance | Dwell 2 minutes, blot dry |
| Extractor machine | Heavy staining and pet odors | Extract immediately after agitation |
| Steam cleaner | Bacteria, odors, and deep soiling | 120-150°F for odor removal |
| Spot cleaner spray | Fresh spills and isolated stains | Blot from outside in |
4. Dashboard and vinyl care
Your dashboard takes a beating every single day. Sun hits it directly. Hands touch it constantly. Dust settles into every vent and texture. Good car dashboard care tips focus on two things: removing what’s there without damaging the surface, and then protecting it from future degradation.
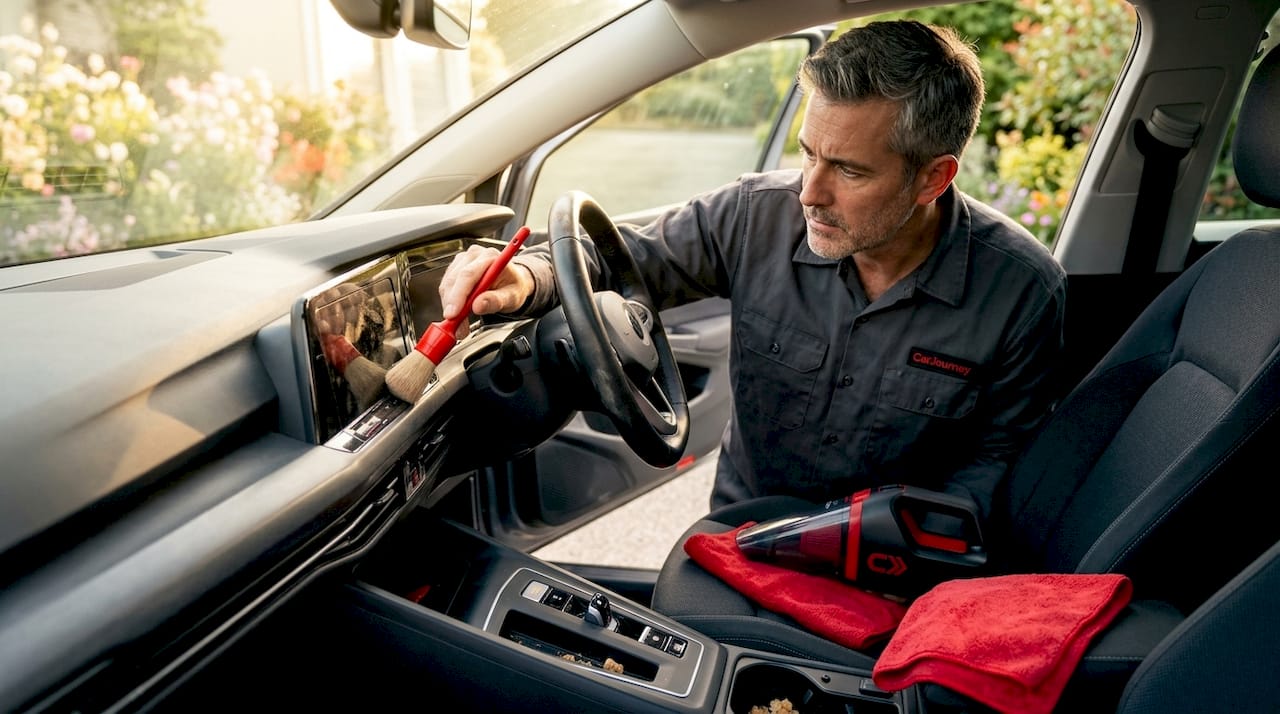
Start by removing loose dust with a soft detailing brush or low-power vacuum. Work from the top of the dashboard downward so falling debris doesn’t land on already-cleaned surfaces. Cleaning from top to bottom is a fundamental rule in professional detailing because it eliminates the frustration of re-cleaning surfaces you already finished.
Apply your interior detailer or vinyl cleaner to a microfiber towel, not the dashboard itself. Wipe in straight lines rather than circles to avoid pushing dust into seams and vents. For textured surfaces, a soft detailing brush with a small amount of cleaner reaches into grain patterns that a flat towel misses.
Finish with a UV protectant. Neglecting UV protection causes fading, cracking, and a chalky surface texture that no amount of cleaning can fix. Choose a matte-finish protectant unless you want that greasy sheen that reflects in your windshield and creates glare while driving.
5. Carpet and floor mat maintenance
Floors are the most neglected part of most interiors. They collect everything: dirt, food, moisture, and odor sources. A thorough vacuuming every one to two weeks makes a real difference, but the technique matters as much as the frequency.
Remove floor mats before vacuuming. Shake them outside first to knock out loose debris, then vacuum both sides. Vacuum the bare floor underneath with a crevice tool along the edges and under the seat rail gaps. Those corners trap more compacted grime than anywhere else in the vehicle.
For stains on carpet, the same dwell-time principle from fabric seats applies. Apply cleaner, wait, agitate with a stiff brush, and extract. Skip the extraction step and you leave behind detergent residue that attracts new dirt faster than the original carpet would have.
Rubber floor mats are easier. Rinse them with water, scrub with an all-purpose cleaner, rinse again, and let them dry completely before reinstalling. A wet rubber mat back on a carpet floor creates the exact moisture problem you were trying to prevent.
6. Building your interior maintenance schedule
Consistency beats intensity every time. A quick vacuum twice a month prevents the kind of buildup that requires a full deep clean. Here’s how the pros structure their interior maintenance schedule:
| Task | Frequency | Notes |
|---|---|---|
| Vacuuming and surface wipe-down | Every 1-2 weeks | Remove mats and use crevice attachments |
| Spot cleaning spills and stains | Immediately | Treat before stains set permanently |
| Leather conditioning | Every 2-3 months | Follow with UV protectant |
| Deep cleaning seats and carpet | Every 3-6 months | Use extractor for best results |
| Full professional detailing | Twice per year | Addresses areas you cannot reach alone |
If you have kids or pets in the vehicle regularly, compress that schedule. Weekly vacuuming becomes necessary, not optional. Pet hair embeds into fabric and carpet in ways that standard vacuuming struggles to address. A rubber bristle pet hair brush used before vacuuming dramatically improves removal.
Consistent interior care also directly affects resale value. A well-maintained interior signals to buyers that the vehicle received attentive overall care. That impression translates to negotiating leverage when it matters.
7. Advanced techniques and costly mistakes to avoid
Even experienced owners make avoidable mistakes. These are the ones that cause the most damage.
Applying cleaner directly to surfaces. Spraying cleaner onto your towel instead of the surface reduces streaking and prevents product from seeping into seams, electronics, and stitching where it causes long-term problems.
Ignoring odors instead of eliminating the source. Air fresheners mask smells temporarily. Enzymatic cleaners actually break down the bacteria causing the odor. Treat spill sources immediately to prevent permanent odors and staining from setting in. A coffee spill cleaned within ten minutes is a minor inconvenience. Left overnight, it becomes a stain that requires professional extraction.
Over-wetting fabric and carpet. More moisture is not more effective. It creates mold, leaves water marks, and damages seat foam. Use the minimum amount of product needed and always allow complete drying before closing the vehicle.
Skipping the inspection step. Inspecting from multiple angles after cleaning catches streaks and residue invisible from a straight-on view. Raking light reveals everything. Take thirty extra seconds to look across each surface before moving on.
“The clean-then-protect sequence is not optional. Applying a protectant over a dirty surface seals in the dirt and creates a film that’s harder to remove than the original grime.”
My honest take on interior care routines
I’ve seen car owners spend thousands on modification and performance upgrades while letting their interiors fall apart. Cracked leather, stained fabric, a dashboard so faded it looks chalky. It’s one of the most common contradictions in vehicle ownership.
Here’s what I’ve learned: most people underestimate how material-dependent interior care actually is. They assume a single cleaner works for everything and then wonder why their leather looks dull or their plastic looks greasy. Every material in your interior has a different chemical tolerance, a different texture, and a different failure mode when mistreated.
What actually pays off is respecting those differences from the start. A $15 leather conditioner used every three months costs you almost nothing over the life of the vehicle. Ignoring it for two years means replacing or reupholstering seats that could have lasted the life of the car. The car maintenance checklist approach works just as well for interiors as it does for oil changes. Schedule it, do it consistently, and the results compound over time.
Pride in your vehicle isn’t just about how it drives. It’s about how it feels when you open the door and sit down. A clean, well-maintained interior does something to your relationship with your vehicle that nothing else quite replicates.
— Chally
Keep your interior on schedule with Carjourney
Knowing what to do is only half the challenge. Remembering when to do it, especially across multiple vehicles or a busy life, is where most people fall short.

Carjourney makes it easy to track your maintenance tasks and set reminders for everything from weekly vacuuming to bi-annual detailing sessions. The platform uses AI to build schedules specific to your vehicle and your usage patterns. No more guessing when you last conditioned your leather or whether your carpet is due for a deep clean. Your interior care routine becomes something you manage with the same discipline as an oil change. Because it deserves that kind of attention.
FAQ
What are the most important car interior care tips for beginners?
Start with regular vacuuming every one to two weeks, always use material-specific cleaners, and apply cleaner to your towel rather than directly onto surfaces to prevent streaking and moisture damage.
How often should leather car seats be conditioned?
Leather seats need conditioning every two to three months to prevent drying and cracking from UV exposure and regular use.
What’s the best way to remove odors from a car interior?
Enzymatic cleaners break down the bacteria causing odors at the source, which air fresheners cannot do. Treat spills and contaminated areas immediately before smells have a chance to set into fabric or carpet fibers.
Can household cleaners damage car interiors?
Yes. Household cleaners are formulated for different surfaces and pH levels than automotive materials. They cause discoloration, stripped finishes, and accelerated degradation on leather, vinyl, and fabric.
How do I prevent my car dashboard from fading and cracking?
Apply a UV-blocking protectant to your dashboard regularly after cleaning. UV exposure is the primary cause of fading, cracking, and chalky texture on interior plastic and vinyl surfaces.