 carjourney
From the CarJourney journal
15 Examples of DIY Repairs Every Enthusiast Can Handle
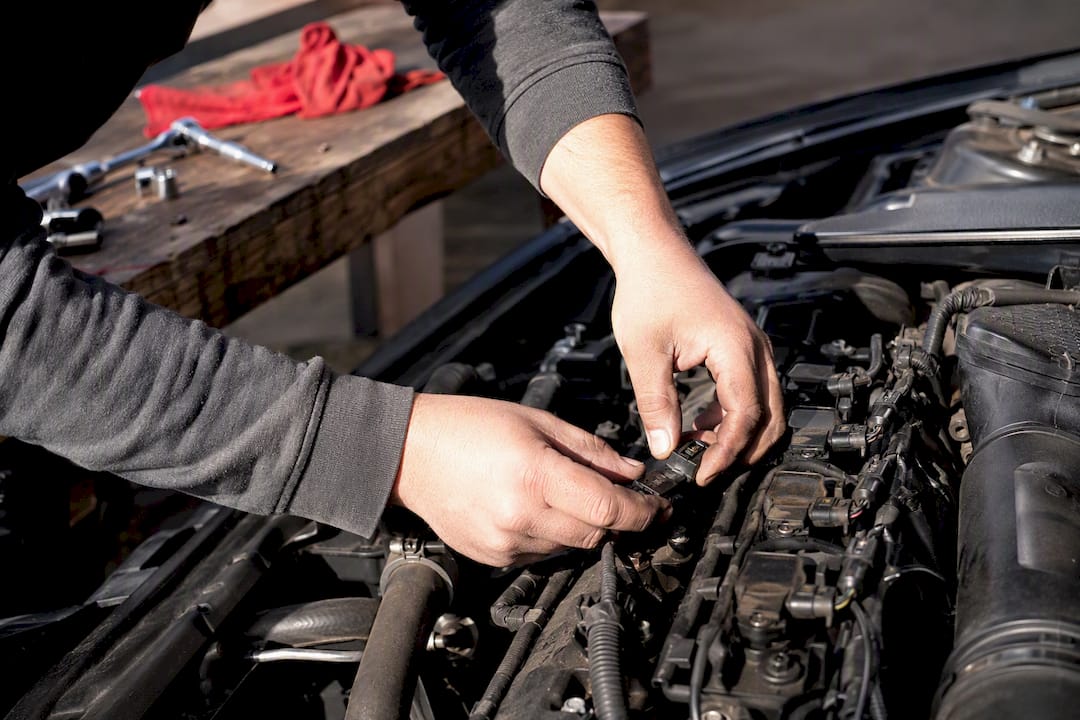
Most weekend mechanics can knock out eight jobs without a lift, a scanner, or a call to the shop: wiper blade swaps, tire pressure checks, engine and cabin air filter changes, battery terminal cleaning, bulb replacement, and topping off fluids. None require special tools, and all of them are the kind of routine work Consumer Reports flags as safe first projects, including regular tire pressure checks. Verdict: if you own basic hand tools, you can handle these today. Anything touching brakes beyond pads, suspension geometry, or engine internals still belongs with a professional, and guides like Haynes Manuals and CarJourney both draw that line the same way.
- Wiper blades
- Tire pressure and tread check
- Engine and cabin air filters
- Battery terminal cleaning
- Bulb replacement
- Topping off washer fluid, coolant, and oil
- Spare tire and jack
- Drill
- Basic OBD-II code check
Key Takeaways
Beginner-level DIY car repairs save real money and build toward intermediate work, but safety-critical systems still need a professional.
| Point | Details |
|---|---|
| Start with the easy wins | Wiper blades, filters, and fluid checks need no special tools and save $30 to $80 each versus dealer labor. |
| Build a real toolkit | A jack, stands, torque wrench, and OBD-II scanner cover most jobs a driveway mechanic will face. |
| Know your red flags | Airbags, transmission work, and full brake overhauls belong with a professional mechanic. |
| Log every job | Dates, receipts, and photos protect warranty claims and raise resale value. |
| Track it in one place | Carjourney attaches receipts and photos to service entries and builds a searchable maintenance history for resale. |
Table of Contents
- Examples of DIY Repairs Ranked by Difficulty, Time, and Savings
- What Tools and Safety Prep You Need Before Starting
- Should You DIY It or Call a Mechanic?
- Four DIY Repairs You Can Learn This Weekend
- Why Keeping a Repair Log Actually Pays Off
- Track Every DIY Job Without Losing the Paper Trail
- Sources
- FAQ
Examples of DIY Repairs Ranked by Difficulty, Time, and Savings
Fifteen jobs cover most of what a driveway mechanic will tackle in a normal year, and the spread runs from five-minute checks to half-day projects. The difficulty tags below assume no prior experience beyond basic hand tools; your actual time will shrink fast after the first attempt.
- Check and inflate tires — Beginner, 10 minutes, tire gauge and compressor, saves the $15 to $25 a shop charges just to look. Do it monthly, per Consumer Reports.
- Replace wiper blades — Beginner, 5 to 10 minutes, no tools usually needed, saves $20 to $40 versus dealer install on a $20 part.
- Replace engine air filter — Beginner, 10 minutes, screwdriver, saves $30 to $50 in labor alone.
- Replace cabin air filter — Beginner, 15 minutes, screwdriver, saves a similar $30 to $50.
- Change oil and filter — Intermediate, 30 to 45 minutes, jack, stands, drain pan, filter wrench, saves $40 to $70 per change and adds up fast over a year.
- Clean battery terminals — Beginner, 15 minutes, wire brush and baking soda, prevents a $150 tow for a no-start.
- Replace headlight or taillight bulbs — Beginner, 10 to 20 minutes, sometimes a socket set, saves $25 to $50 in labor.
- Replace the 12-volt battery — Beginner to intermediate, 20 minutes, basic socket set, avoids installation labor fees for battery replacement.
- Rotate tires — Intermediate, 30 to 45 minutes, jack, stands, torque wrench, avoids the labor cost associated with tire rotation service visits.
- Swap brake pads (non-performance calipers) — Intermediate, 1 to 2 hours per axle, C-clamp, torque wrench, significant labor cost savings per axle on brake pad swaps. Torque specs matter here; check the owner’s manual.
- Replace spark plugs — Intermediate, 45 minutes to 2 hours depending on engine layout, spark plug socket and gap tool, substantial savings on spark plug replacement labor.
- Touch-up paint for chips — Beginner, 30 minutes plus cure time, touch-up pen and clear coat, can save a notable amount compared to a body shop for touch-up paint.
- Headlight lens restoration — Beginner, 30 to 60 minutes, restoration kit, avoid costly replacements by restoring headlight lenses yourself.
- Minor dent pull (no paint damage) — Intermediate, 20 to 40 minutes, suction dent puller, provides notable savings compared to professional minor dent repairs
- Top off washer fluid, coolant, and oil — Beginner, 5 minutes each, funnel, avoids an unnecessary visit to a service shop.
Several of these, particularly oil changes and pad swaps, are also the ones where DIY savings compound fastest over a year of ownership, because labor rates, not parts, drive most dealer quotes. None of the fifteen affect factory warranty coverage as long as you use OEM-spec parts and log the work, but always check the warranty language in your owner’s manual before opening anything under warranty.
What Tools and Safety Prep You Need Before Starting
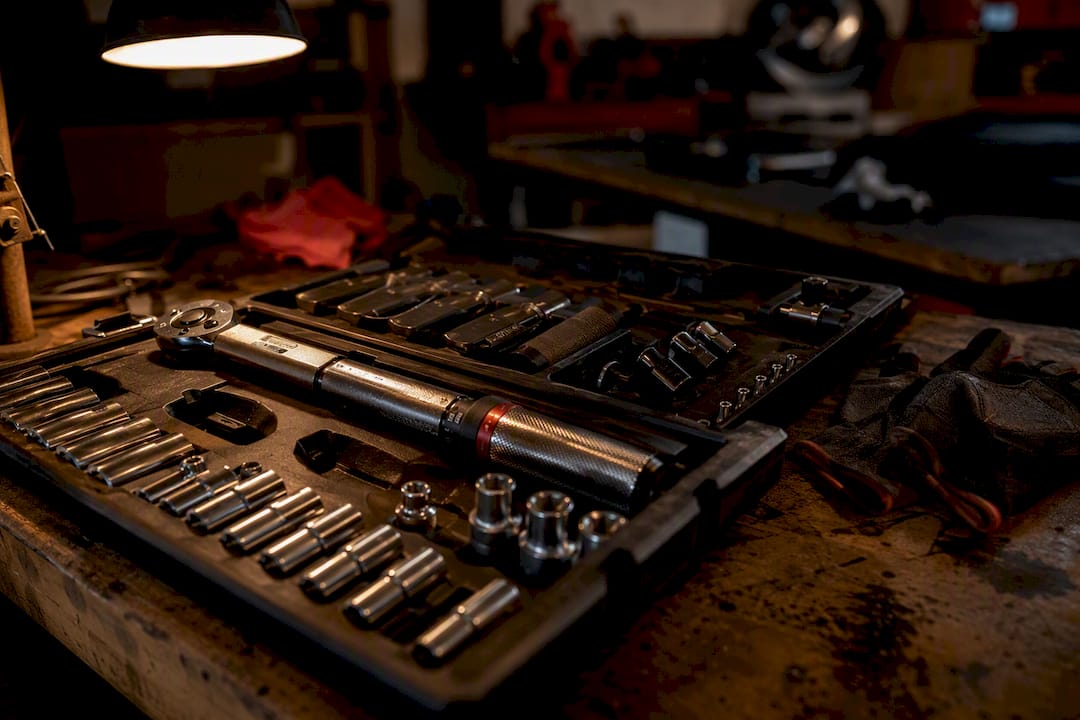
A modest toolkit handles nearly everything on the list above. Budget guides estimate a starter kit costing $170 to $320 pays for itself within a few jobs, and that math holds up once you skip even two dealer labor charges.
- Floor jack and a pair of jack stands (never work under a car on the jack alone)
- Torque wrench and a basic socket/wrench set
- Digital tire gauge and a 12V compressor
- Funnel, drain pan, and nitrile gloves
- Multimeter and an OBD-II scanner for diagnostics
- Shop light or headlamp for visibility under the hood or car
Work on level ground, chock the wheels opposite the end you’re lifting, and keep the garage door open or a fan running when you’re handling fluids. Safety glasses aren’t optional once you’re under a car with a torque wrench in hand.
Pro Tip: Log every tool purchase and its condition inside an app like CarJourney alongside your parts receipts. When a socket set goes missing or a torque wrench needs recalibration, you’ll have a record instead of a guess.
Should You DIY It or Call a Mechanic?
Run through five questions before you pull a wrench: Can you actually access the part without removing other components? Does the job need a specialty or dealer-only tool? Do you have the time to finish, or will the car sit disassembled overnight? Does the job require a specific torque spec you can verify? Does it touch a safety-critical system like brakes, steering, or airbags?
Complex repairs touching engine internals, transmissions, or major electrical systems belong with a professional. Attempting them without the right diagnostic tools can multiply your repair cost rather than save it, according to guidance from Car Brands.
Red flags that should stop you cold: any structural or frame damage, anything involving airbags or pyrotechnic components, transmission rebuilds, and full brake-system overhauls beyond a pad swap.
- 30 days: fluids, filters, wipers, and the tire drill
- 90 days: oil changes, spark plugs, basic brake inspection
- 180 days: tackle one intermediate electrical or suspension task with a service manual in hand
Four DIY Repairs You Can Learn This Weekend
Replace your windshield wipers
- Lift the wiper arm away from the glass until it locks.
- Press the release tab where the blade meets the arm.
- Slide the old blade out and the new one in until it clicks.
- Lower the arm gently back onto the glass.
Tools: none, usually. Time: 10 minutes. Safety warning: never let the metal arm snap back onto bare glass, it can crack the windshield.
Check and replace the engine air filter
- Locate the air filter housing (check your owner’s manual if unsure).
- Unclip or unscrew the housing cover.
- Pull the old filter and hold it up to light. If light barely passes through, replace it.
- Seat the new filter and reclip the housing.
Tools: screwdriver, sometimes none. Time: 10 minutes. Troubleshooting note: a dirty filter can mimic a rough-idle sensor issue, so check this before chasing a check-engine light with an OBD-II scanner.
Perform the tire drill
- Park on level ground and engage the parking brake.
- Loosen the lug nuts a quarter turn before jacking.
- Raise the car using the manufacturer’s jacking point, never the frame rail or plastic trim.
- Remove the lug nuts, swap the wheel, and hand-tighten in a star pattern.
- Lower the car and torque the lug nuts to spec with a torque wrench.
Tools: jack, lug wrench, torque wrench. Time: 20 to 30 minutes. Safety warning: always use the jack points listed in the manual, and practice this once in your driveway before you need it on the shoulder of a highway, as Consumer Reports recommends.
Change spark plugs
- Let the engine cool completely.
- Remove the ignition coil or wire from each plug one at a time.
- Use a spark plug socket and extension to remove the old plug.
- Check the gap on the new plug against your manual’s spec.
- Hand-thread the new plug, then torque to spec, no more.
Tools: spark plug socket, extension, gap tool, torque wrench. Time: 45 minutes to 2 hours depending on access. Safety warning: overtightening can crack the cylinder head; undertightening causes misfires. Torque specs vary by engine, so verify yours before starting.
Pro Tip: Take a photo of the coil pack wiring before you disconnect anything. On some engines, the harness order isn’t obvious once everything’s unplugged.
Why Keeping a Repair Log Actually Pays Off
Every job above is worth more when you can prove you did it. Log the date, odometer reading, part numbers, and a before-and-after photo for each repair, along with a short note on the symptom that prompted it.
- Date and odometer at time of service
- Part numbers and receipts
- Before and after photos
- Notes on the original symptom and what fixed it
A documented history protects warranty claims and adds real resale value, something both Consumer Reports and Haynes point to repeatedly when buyers ask about a car’s condition. Pro Tip: In CarJourney, attach the receipt and photo directly to the service entry. When you sell the car, that build history becomes your proof, not just your memory.
A mechanic’s honest starting point
Nobody nails a brake job on the first try without at least one moment of doubt, and that’s fine. Start with the 30-day list: fluids, filters, wipers, the tire drill. Move to oil changes and spark plugs by day 90, and add a basic brake inspection once you’ve built confidence. I’ve written CarJourney’s DIY guides from years of driveway work, and the pattern holds for nearly every reader who starts small and logs everything as they go.
Track Every DIY Job Without Losing the Paper Trail
Once you’re swapping your own plugs and rotating your own tires, the receipts pile up fast, and glove-box chaos is where most maintenance histories die. Carjourney lets you attach receipts and photos to each service entry, set reminders for the next filter or fluid change, and build a searchable maintenance history that a buyer can actually see when you sell.
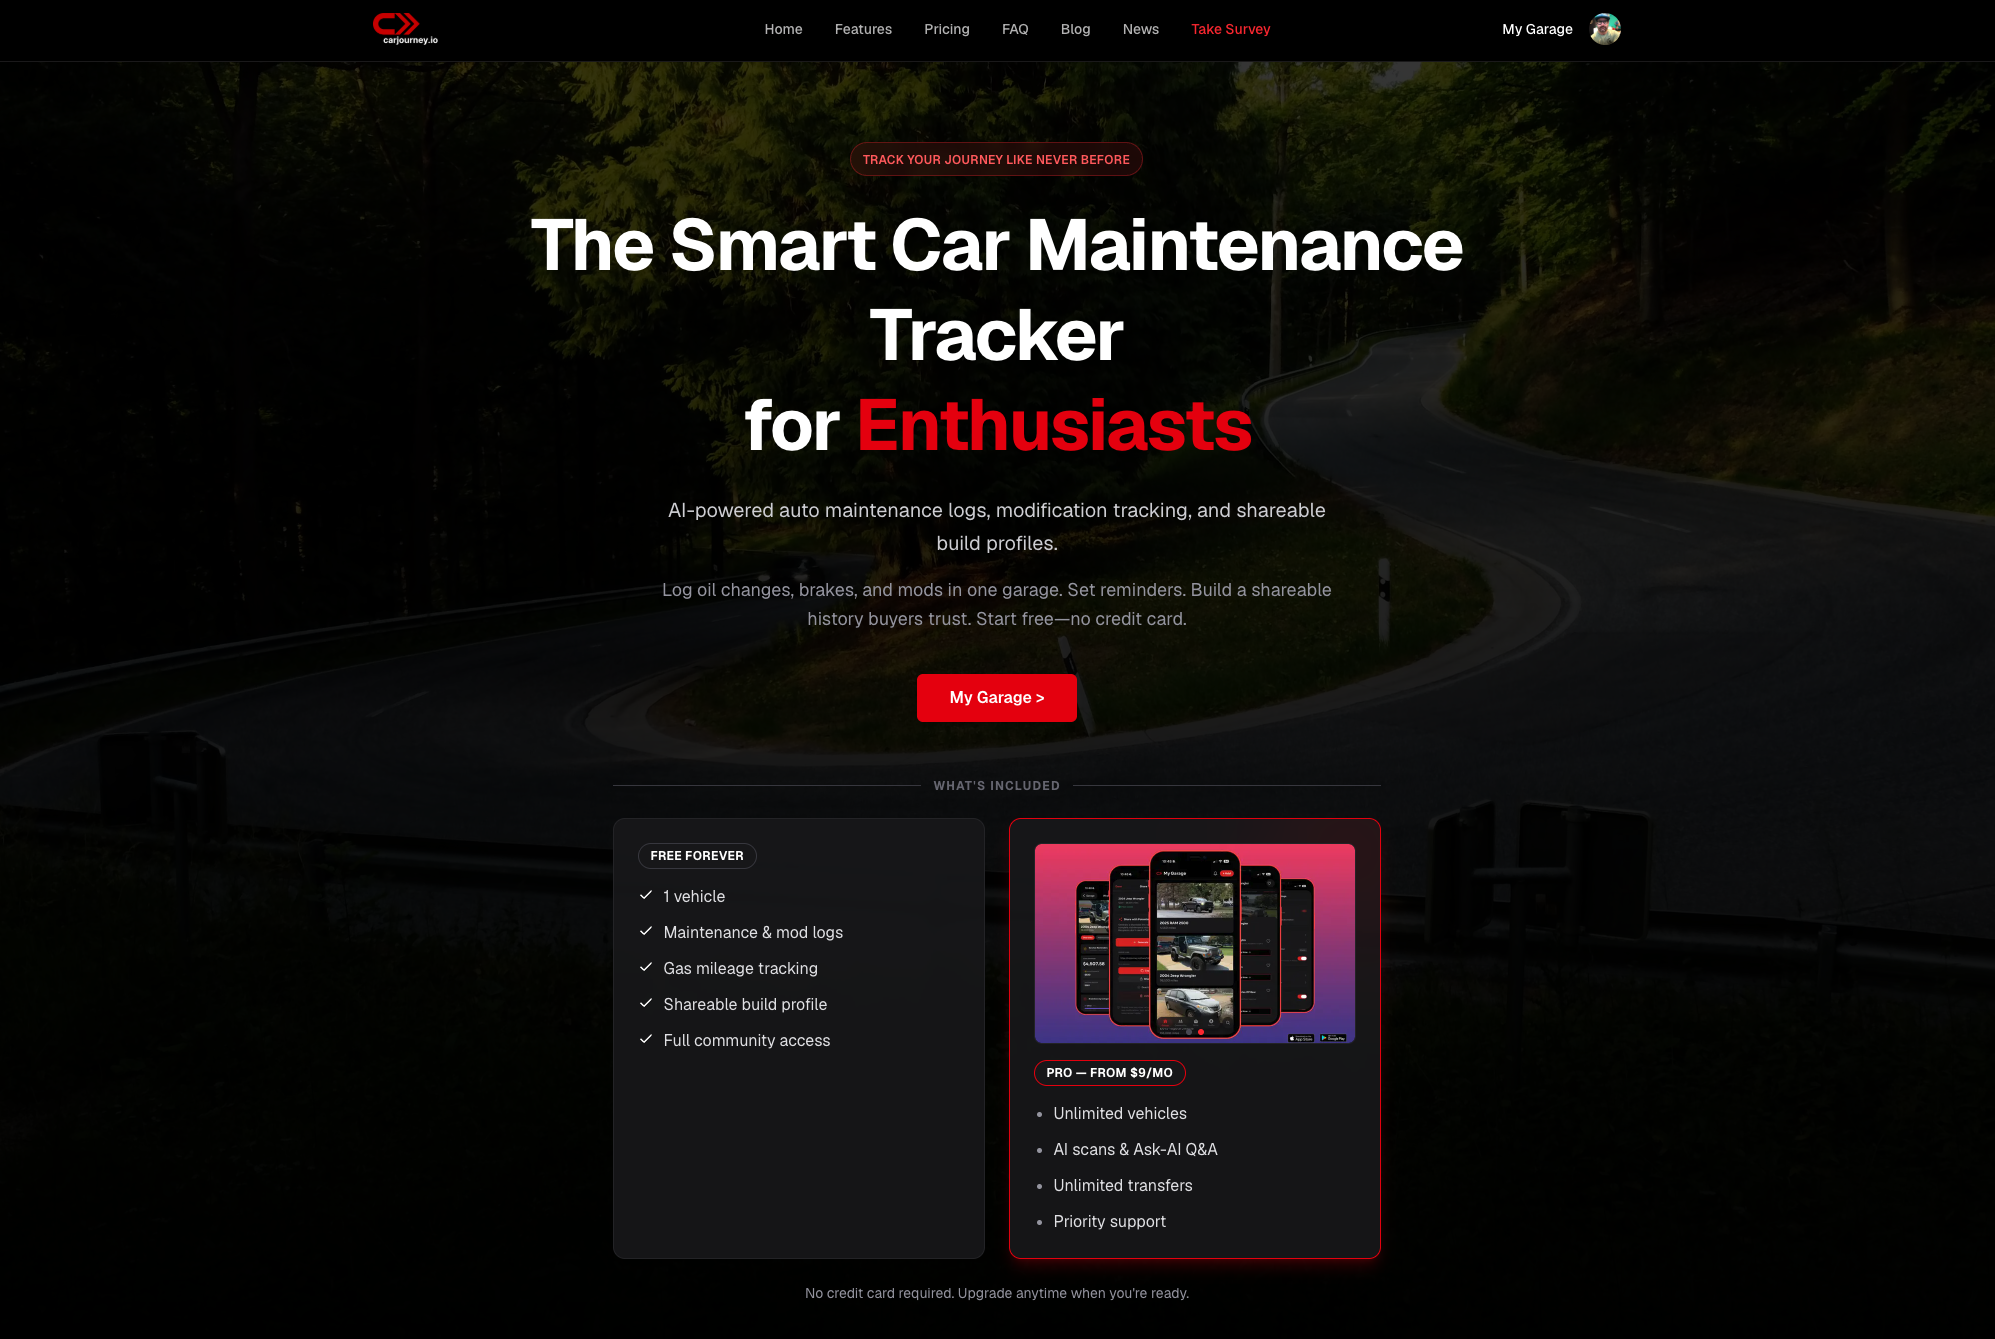
That last part matters more than most DIYers realize: a documented history of your own oil changes, brake jobs, and filter swaps is leverage at resale time, not just a personal record. Carjourney’s free tier covers the basics, and the Pro upgrade unlocks AI-powered recommendations that flag what your specific build needs next. Start logging your next repair on the Carjourney DIY tracking tools before the receipt ends up lost in the console.
Sources
- Car care basics for first-time owners
- Can I perform car repairs myself? 15 tasks to DIY or outsource
FAQ
What are the easiest DIY car repairs for beginners? Wiper blades, engine and cabin air filters, bulb replacement, and battery terminal cleaning top the list. None require specialty tools, and most take under 20 minutes.
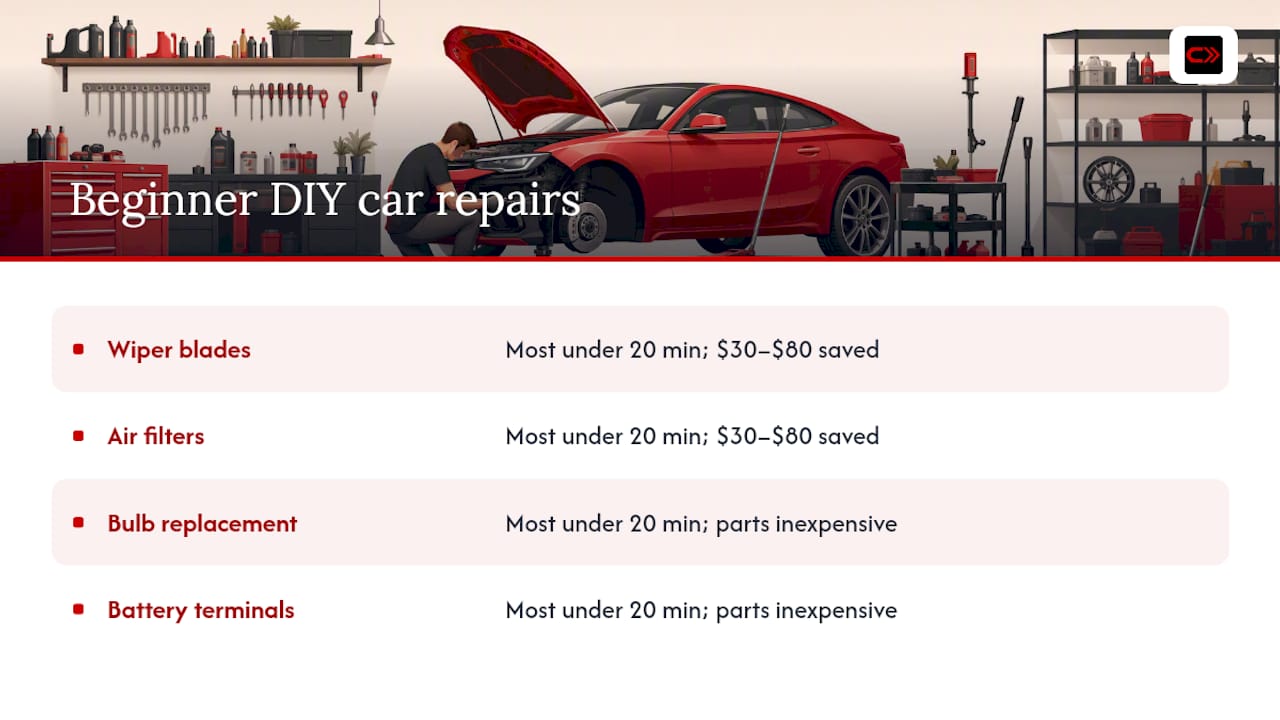
How much money can I actually save doing DIY car repairs? Routine jobs like filter and wiper swaps typically save $30 to $80 each by cutting out dealer labor, since parts themselves are usually inexpensive.
What DIY car repairs should I never attempt myself? Skip anything touching airbags, transmission internals, or a full brake-system overhaul. Stick to pad swaps and leave rotor and caliper work to a shop unless you have real experience.
Do I need an OBD-II scanner for basic DIY maintenance? Not for filters or fluids, but it’s worth owning once you start troubleshooting check-engine lights or diagnosing symptoms before replacing parts.
How do I know if a DIY repair will void my warranty? Check your owner’s manual first. Most routine maintenance done with OEM-spec parts doesn’t affect warranty coverage, but always verify before opening anything under active warranty.